Don’t forget to grease your propshaft regularly!


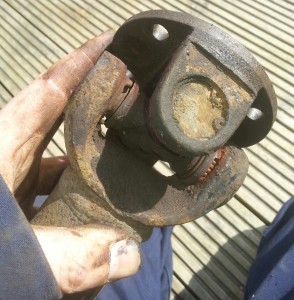
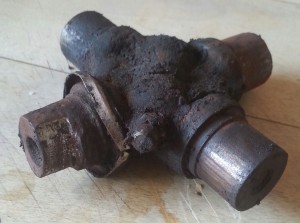
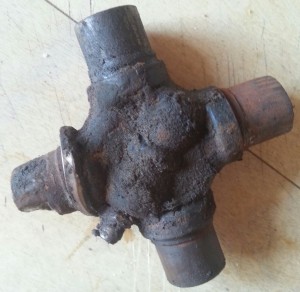
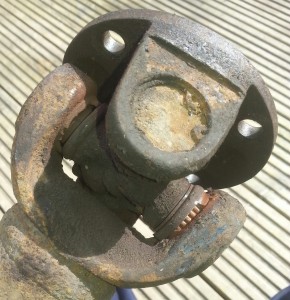
Just had a job to replace the UJs on a 109 S3 propshaft. It appears that for some reason the rear axle end UJ has never seen a grease gun, however the front appears to have been been greased regularly. Maybe the nipple was blocked, I don’t know. However the rear UJ was clearly dry as a bone and I’m surprised it hadn’t failed spectacularly due to the huge amount of wear!

My press really struggled too get the cups out, once I finally did get them out it was clear why they were so difficult to remove. The yokes have been damaged by the bearing cups and as a result the old prop is beyond repair and a new one has been ordered. The UJs were the larger 82mm size (RTC3346).

Word of advice, make sure all prop UJs are greased regularly, if you think the grease nipple is blocked then replace the nipple. Otherwise if left dry a prop will eventually fail with disastrous consequences!!

20170422_153905-1

20170422_153918-1

20170423_110631-1

20170423_110639-1

Brake Adjusters RTC3176


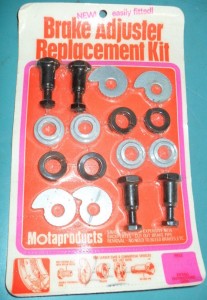
If you’ve been struggling to get hold of some decent brake adjusters for your Series then you are not alone. The modern pattern ones made by Britpart, Bearmach etc may as well be made of cheese. However a set of genuine adjusters will set you back silly money and they are not as well made as they used to be.
When looking for a decent set of adjusters, remember that the same ones were common with many other 60s and 70s vehicles that used Girling back plates. I’ve managed to get hold of a batch of 1970s/80s new old stock pattern adjusters made by Moprod (remember them?), Moprod are now part of Quinton Hazell.
These fit a Series Landy fine and a far better than modern pattern parts.
I’ve got a limited amount of these that I am selling for £15 inc P&P within the UK, if you want one then let me know via the contact button above.

RTC3176

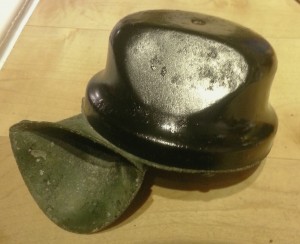
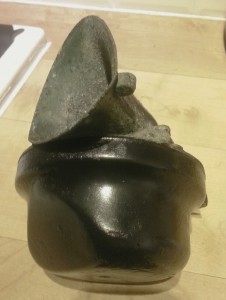
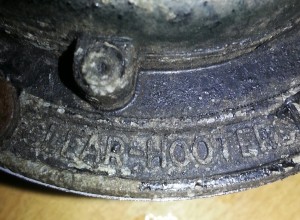
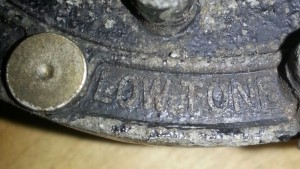
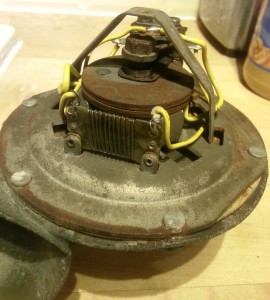
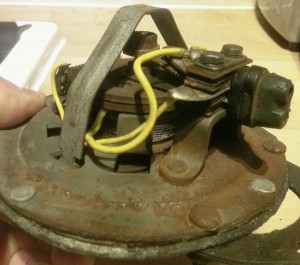
Clear Hooters Ltd Horn from a Series 2


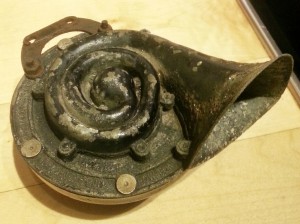
Found this lovely old horn attached to a S3 front panel I’ve just bought to repair – it was covered in muck and rust and I didn’t hold much hope it was still working, however I’ve tested it on a battery and it honks like a good ‘un. It’s a Clear Hooters Ltd Low Tone horn that were fitted to S2s as far as I’m aware in the late 50s / early 60s. Have cleaned up the back cover which was very rusty and given it a coat of paint,I’ve left the other side as I quite like the patina!

Clear Hooters Low ToneClear Hooters Low ToneClear Hooters Low Tone20141009_213140_120141009_213157_1Clear Hooters Low ToneClear Hooters Low Tone

Brakes


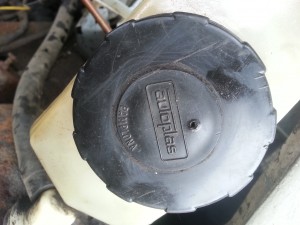
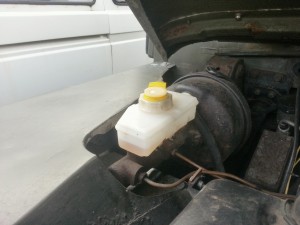
The 109 has been off the road for a while as it blew a seal in one of the front brake cylinders and due to me losing my usual brake bleeding assistant to baby duties it’s taken far longer then it should have done to get it sorted! I’ve never been able to use an Eezi-Bleed on the 109 as it has an odd sized reservoir cap and none of the Eezi-Bleed caps fit (even in the extension pack) so it’s always been a pain bleeding the brakes. The reservoir is an Autoplas one, no idea if it is original or not and I’ve decided to replace it with the correct Land-Rover one which my Eezi-Bleed will fit, making bleeding the brakes a one man job.

reservoir cap

brake fluid reservoir new brake drums

The reservoir was easy enough to replace, just tap out the two pins holding it in the cylinder and pull it out of the seals that it sits in. The new one came with two new seals so I cleaned the holes up and fitted the new seals and reservoir.

On stripping the font brakes down I realised I needed two new 11″ drums as they were quite badly scored so got a set of Mintex shoes from Paddocks along with two Drums (can’t remember the make but they aren’t Britpart and they are ok). Also needed to free up the adjusters as they were totally seized.. a couple of days soaking them in penetrating oil and eventually the freed up and are now working fine.

I’ve also changed the arrangement of the front two brake cylinders so the bleed nipple is on the top cylinder rather than the bottom, therefore in theory making it easier to get all the air out. Twin shoes are notoriously hard to bleed so I’m hoping this will make it a lot better. I managed to use the exisiting bottom to top brake pipe but had to make up a new one from the flexi down to the bottom cylinder. Just need to bleed them now.

Military style under seat tool tray


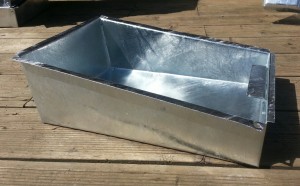
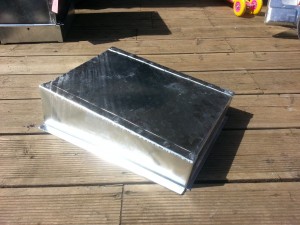
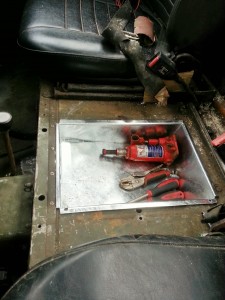
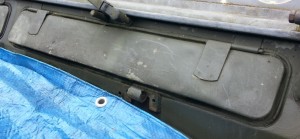
It’s been a while since I’ve updated due to being very busy with work and another new baby. I’ve done some more front panel refurbs and I’ve also made some under seat tool trays that go in the cavity under the centre seat as usually found in ex MOD Land Rovers. I’ve had the front panels and the tool trays hot dipped galvanised to protect from rust.

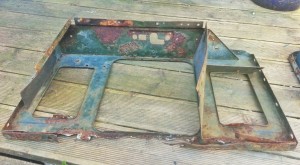
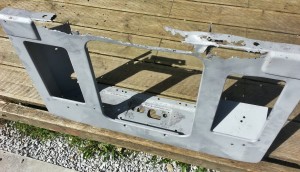
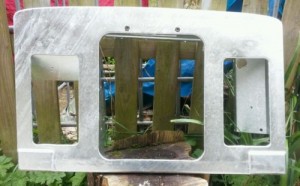
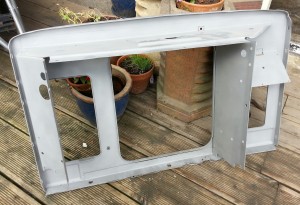
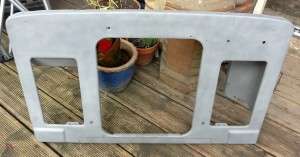
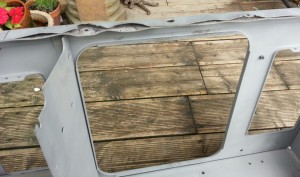
Here are some pictures one of the front panels which was in a very poor state, much of the bottom section was completely missing after shot blasting. The last image is of the panel fully repaired and galvanised. This panel is a late 2A panel that has the ‘Maltese Cross’ grille – it looks like a Series 3 panel but on closer inspection it has two large round holes at the top where the badge screws in and secures the top of the grille. It also has the two lower grille brackets hold the bottom of the grille.

Series Land Rover Front Panel

Series Land Rover Front Panel

Series Land Rover Galvanised Front Panel

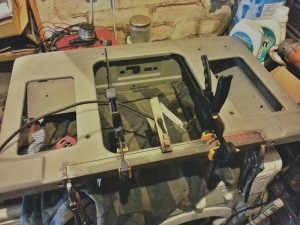
Here are the tool trays that I have also made and had galvanised as used by the military and are helpful for storing tools etc. The bottom of these trays are open to the elements and tend to rust out quite quickly unless well protected, galvanising these trays will make them last a very long time.

Series Land Rover Under Seat Tool TraySeries Land Rover Under Seat Tool TraySeries Land Rover Under Seat Tool Tray

The trays are for sale at £35 + £6 postage each (within UK), if you would like to purchase one then send me your details through my contact section and I’ll send you a Paypal invoice.

Also if you have a front panel that you would like to repair rather than scrap and buy a new one then I can repair it for you, price dependent on how much work is required. Again, contact me through the site and I’ll get back to you.

Series 3 Heater Blower/Fan


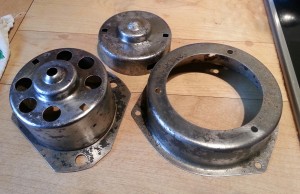
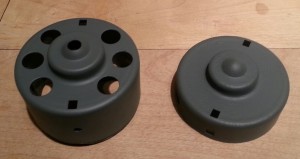
Series 3 heater motors have a poor reputation for not being very effective but this is not really true when everything is in good condition. The main problem is there are a number  of components that, when they fail, can lead to less effective air movement. Firstly the snail cases tend to rot and therefore leak air, the hose from the heater to the matrix needs to be in good condition with no splits as this will also impact the amount of air getting to the cab. There is also a seal between the heater matrix and the bulkhead that should be air tight and also a seal on the other side between the bulkhead and the dashboard/air box. Then you need the lower dash to be in good condition, unfortunately the vinyl cover usually hides a lot of rot and holes where air can escape. The vent direction flaps are also poorly designed and tend to seize over time so you either get little air through the windscreen vents or little through the lower vents. If all these things are in good condition then the Series heater is absolutely fine and very effective.

Amongst some of the stuff I had galvanised recently were a batch of series 3 heater motor ‘snail’ cases. I had them all shot blasted first and then welded any areas in need of repair. Not easy to weld as the steel is very thin and non existent in places! They turned out well, just had to drill out the galv from the bolt holes and I’ve retapped them to metric and will be using stainless bolts and washers. Of course being galvanised they won’t rust!
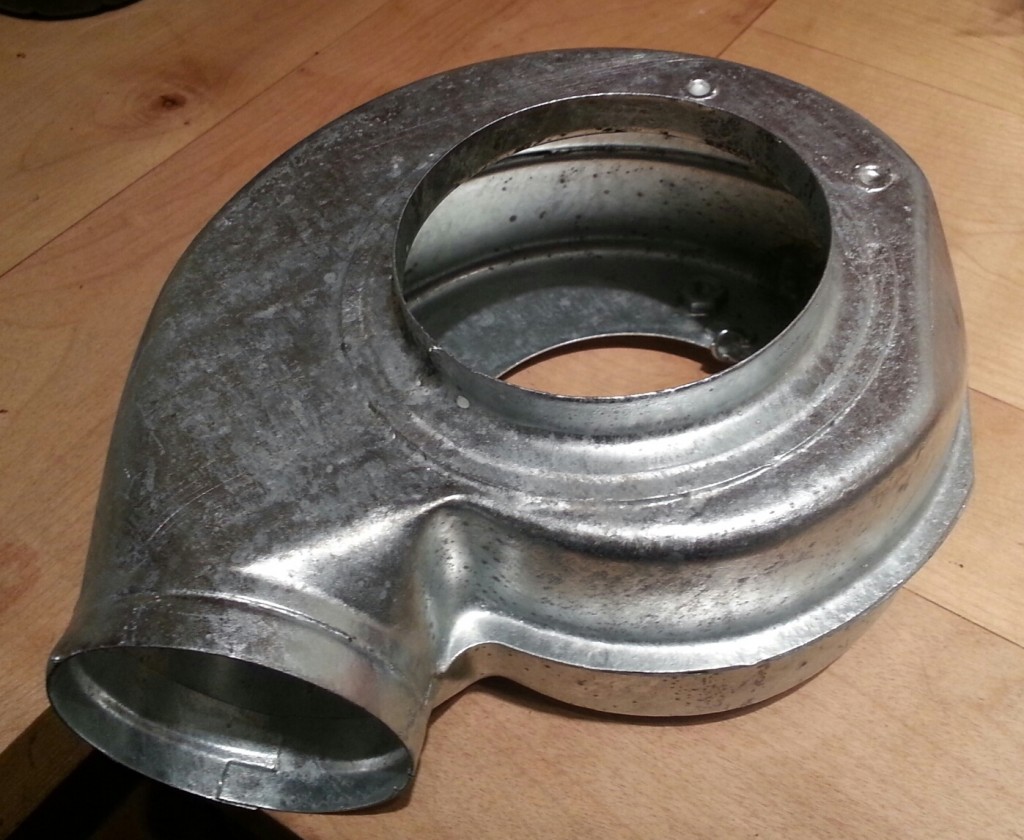
Series 3 heater fan snail case

The cases have had a couple of coats of etch primer on the outer case and then a few coats of black gloss as per the the originals. I’ve left the inside of the case bare galv.

I’ve also got a stack of Smiths heater motors that I’ve stripped down. The motors are very simple to strip down, they are usually pretty rusty so sometimes need a little persuasion to come apart. Just unplug the pos/neg wires from the motor and undo the two little nuts at the back of the case. The back of the motor case can then be removed and you’ll see the brushes. You’ll need a container to keep all the little bits together. I clean up the brushes using brake cleaner as it does not leave an oily residue, WD40 or switch cleaner should not be used on motor brushes for that reason.
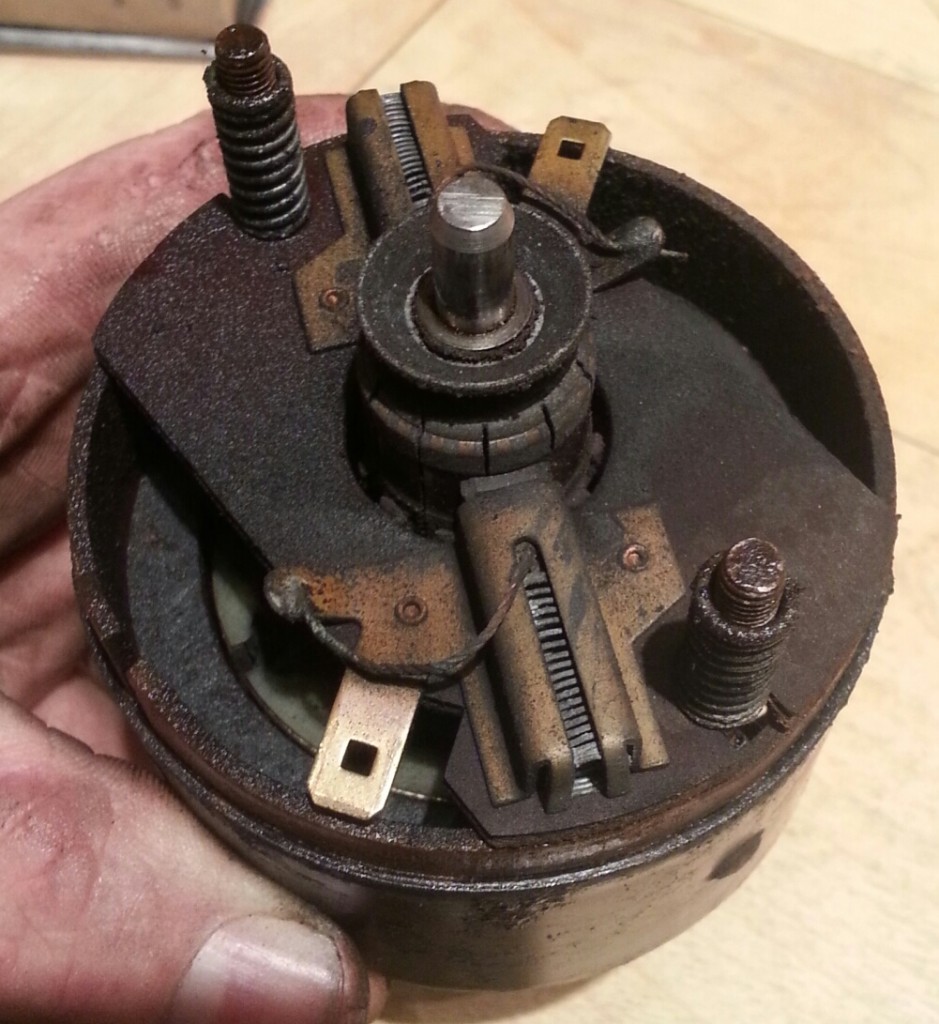
Series 3 Heater motor brushes

Before trying to remove the shaft I’d recommend cleaning the external section of the motor shaft with some fine emery, there is a brass bearing/bush just inside the case and this will come out of it’s housing when you remove the shaft as it will be stuck on the shaft if you don’t clean the shaft first. It’s not the end of the world if the brass bearing comes out but it’s a bit fiddly getting it back in again. One the shaft is out the commutator can be cleaned with very fine wet and dry paper. The pic below shows the brass bush stuck on the shaft – that was the first motor I dissembled and the others I managed to keep the bush in the housing be cleaning the shaft first before I removed it. There are some very fine washers on either side of the shaft, be careful not to loose these and or forget to put them back on when putting it back together.
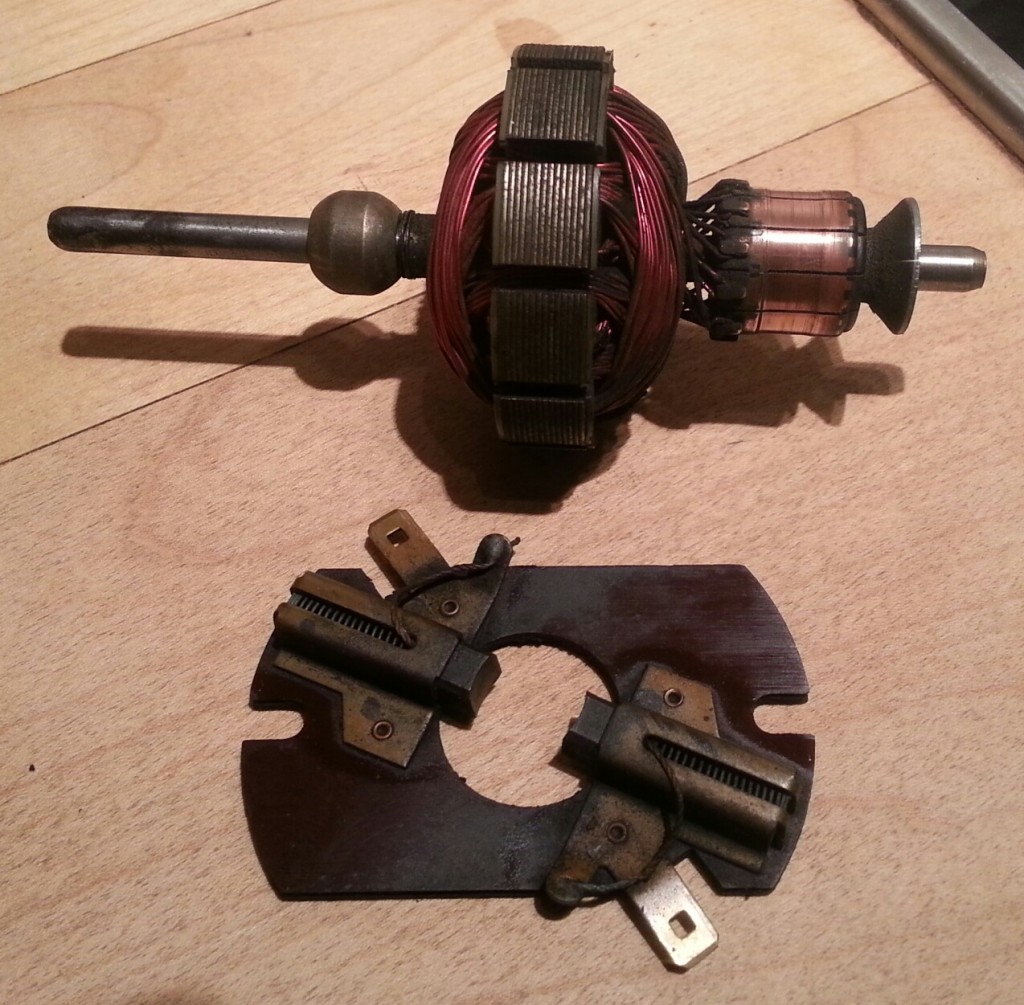
Heater motor commutator

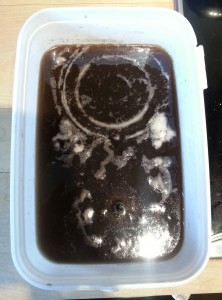
My favourite method of rust removal is soaking in vinegar. It’s a method that requires very little effort and cost,  500ml of vinegar is only 20p at Aldi, so I buy 10 at a time! I submerged the rusty cases and left them for two days, then I scrubbed them under a tap with a washing up scourer, then left them to soak for another day. On the third day, after another scrub the parts are all back to clean metal ready for priming.
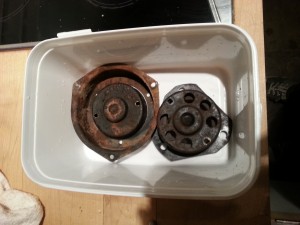
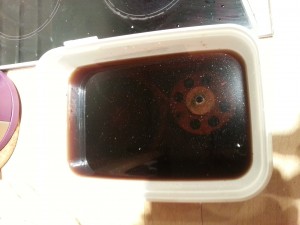
vinegar rust removalvinegar rust removalvinegar rust removal

vinegar rust removalvinegar rust removal

I also had a new heater motor kicking about that are made by Clayton Heaters Ltd. It is a Canadian made motor that is a direct replacement for the original Smiths motor. It’s much better made than the originals and so I’ve used this motor with one of the new galv snail cases. The Clayton Heaters part number is M1210 and Clayton Heaters sell them for £67.80 inc vat plus shipping. I got this one from a job lot of parts I bought some time ago from a local farmer, only cost me £30 for the lot including an engine! Here’s the finished one with the Clayton motor – this one’s now been sold but I’ve still got a few more to finish with the cleaned up Smiths motors and new wiring. I’ve also fitted one to my 109.
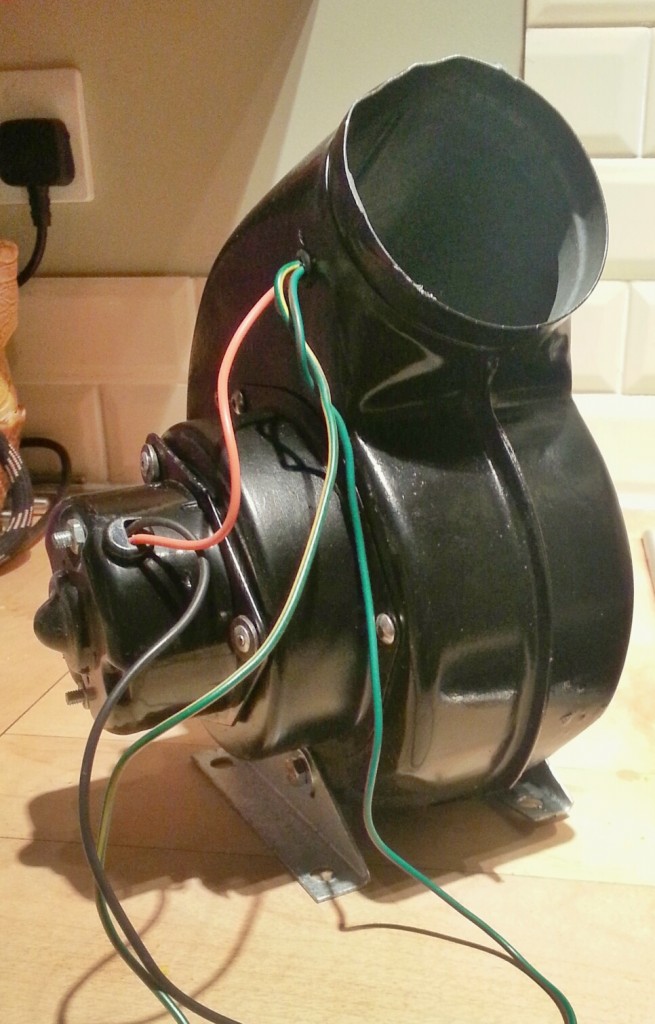
Series 3 Heater motor

New bulkhead vent seals


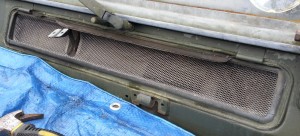
Today I’ve replaced the vent seals and also freed up the mechanism that opens and shuts the flaps, they were both partially siezed and not opening properly. The below pic shows the flap as far as it would open before I had a look at the mechanism(!):
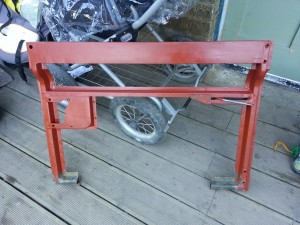
Bulkhead vent flap

I managed to force it open a little wider so I get to the two small bolts that secure the flap to the opening mechanism and removed the flap. Below with the old seal:

Vent flap seal

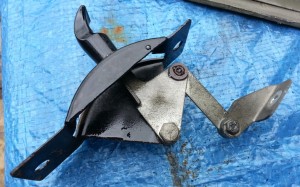
I removed the opening mechanism by undoing the two screws that hold the lever to the dash and pulled out the mechanism which was seized solid. I managed to loosen it up with some WD40. To work properly all three pivots should be moving easily.

Vent opening mechanism

I removed the old seal and cleaned up the vent surround for the new seal. I have used seals made by Allmakes (MUC4299) which are far superior to other pattern seals. I’ve also got a set of Allmakes one piece door seals to go on at some point. I used a bead of clear silicone to secure the seal in place and closed the flap and left it to cure.

As you can see in the pic below, the flaps are now opening and shutting fully with ease. The seals are a good fit and water tight. When the silicone has fully cured I’ll remove the flaps again to clean up and paint them.

 opening bulkhead vent flap

Door bottom repairs


The skins had split at the bottom of my doors where the aluminium and corroded against the steel door frame. The bottom of the frames appeared to be quite corroded too so I decided to remove the skins, repair the door frames and replace the skins with some better ones that I have on some spare doors with rotten frames.

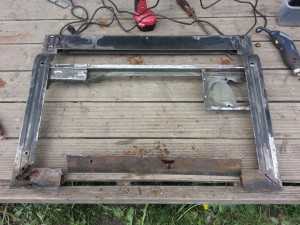
Firstly I prised off the old skin using a screwdriver to lift up the lip of the skin. The rot was worse than expected on the bottom rail so I replaced it with a repair section bought off ebay. The rest of the frame was ok, needing only a couple of minor welding repairs. I cleaned up the rest of the frame with a wire brush in an angle grinder and gave it a coat of red oxide primer.

Door bottom frame

Door Bottom frame repairs Door Bottom frame repairsDoor bottom in primer

repaired door bottom repaired door bottom

New door skin

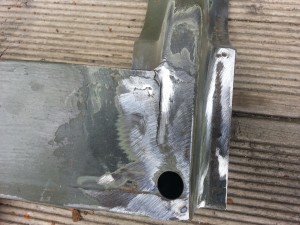
The other door bottom had similar corrosion to the bottom rail but only the flat section was corroded, the U channel was ok, so I drilled out the spot welds and replaced that section with galvanised steel and spot welded it on.

*If you weld with galvanised steel, unless you are using professional breathing apparatus, always grind off the galv in the area you are welding as welding zinc creates a poisonous gas that is very dangerous to your health if you breath it in*

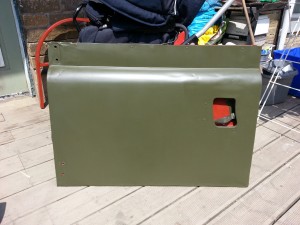
Below is the finished door, needs another coat of paint.

Front radiator panel repairs


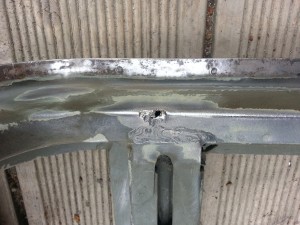
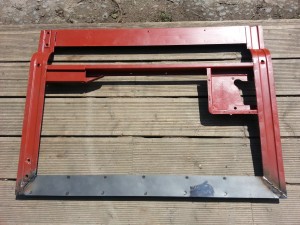
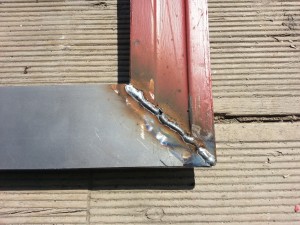
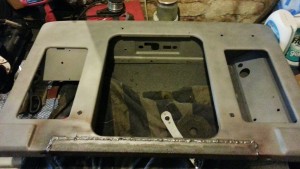
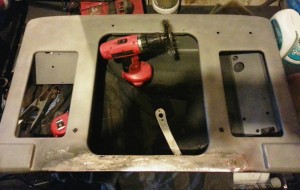
I’ve just had a large amount of parts shot blasted including three front panels that I am going to get galvanised. All three panels have the usual rot on the bottom section of the panel and I’m repairing this by cutting out the damaged area and welding in some 30mm x 3mm angle iron that I’ve got kicking about. All three panels have come back in great shape after blasting, I didn’t take any pictures of the panels prior to blasting but believe me they were rough!! Apart from the bottom sections that obviously need repair, the rest of the panel is as good as new. The first two panels just required a section cutting out and replacing with a length of angle, the third has a bit more rot then the other two and will require more fabrication.

20130907_093107_1

20130907_093120_1

Shot Blasted Front panel

Welding front panel

Welding front panel

Repaired front panel

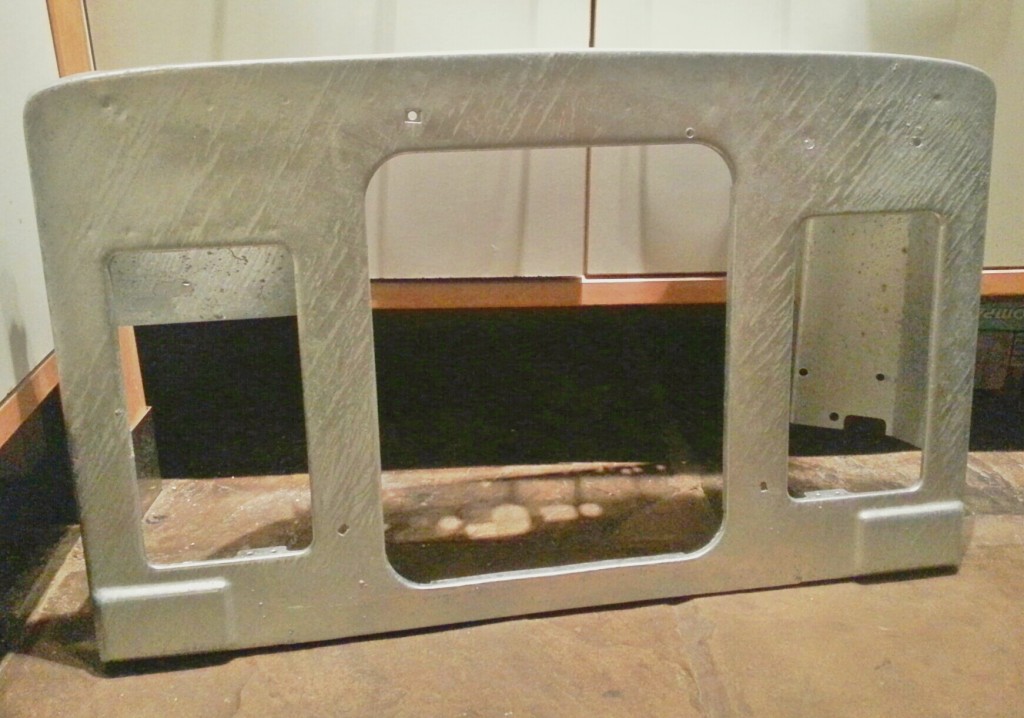
And the finished galvanised article:

Galvanised front panel

It’s been a while…


Haven’t updated for a while as I’ve been busy with work and home life. I have done a fair bit of work to the 109 over the last couple of months and I’ll update the site over the next few weeks. Still haven’t finished the High Ratio Transfer box but it’s nearly there, just need to put the transfer box and gearbox back together and find a spare day to fit it. I’ve got a removable cross member so it’s not as as bad as having to remove the seat box to swap boxes. The bulkhead footwells needed some repairs and I have had to replace the nearside pillar and bracket. Have also stripped and repaired the door tops, bottoms and fitted new genuine hinges. I’ve removed all the galvanised steel parts such as cappings, truck cab gutter, tailgate hinges, pigtails etc and had them shotblasted prior to getting them galvanised again next week. She’s also had a new coat of paint, just used a 5L tin of military paint and a gloss mini roller and the results were better than expected. Plenty of pics to follow.