New Injection Pump

Further delays – after the rebuilt engine back in the vehicle I could not get it to start. I was not getting fuel to the injectors, it’s unusual to get an air lock in the 200tdi fuel system as they self bleed however I thought that it must have air in it somewhere. I used a pump to suck diesel back through the return pipe and tried to start again – this time the engine fired up but at full throttle. I tried a few more times but just got the same result. The weights in the fuel pump are at full throttle when resting, a design to aid starting and the reason for the famous black puff of smoke whenever a 200 starts. Mine had got siezed due to the pump being off the vehicle for 12 months and stored without diesel in it, apparently they corrode VERY quickly internally if not vacuum sealed. Lesson learned. I took the pump to a diesel specialist and there were a few other issues (including a previous owner forcing a imperial thread banjo bolt into a metric thread on the case!) that rendered the pump a write off. The diesel specialist offered me a rebuilt pump for £300 that would be ready in a couple of weeks.

In the meantime I purchased another 200tdi complete engine for £300 in the hope that the injection pump was ok, I wouldn’t need the refurbed one and I’d also have a whole engine for spares. This spare engine had come from a Range Rover Classic but had also been sat in a garage for a long time so it would be a long shot that the pump was running ok. I fitted the pump from that engine, however it would only idle for a few seconds before stalling and it idled roughly. So i removed that and in the end bought and fitted the refurbed pump and that one runs like a dream.

I’m stripping the Range Rover engine, so if anyone needs any 200tdi engine parts let me know!

Range Rover 200tdi Engine


200tdi Timing Belt Replacement guide (from scratch)

The threads in the block and timing case have now been repaired with Helicoils and the timing case is back on the engine block. Now to replace the timing gear. This is where I’m up to, the cam shaft pulley has already been replaced:

Bare 200tdi timing case

The bolt that secure the pulley onto the camshaft has two O-Rings and these should really be replaced with the timing belt as they stop oil passing down the camshaft into the case.200tdi camshaft O-Ring seals

The cam shaft bolt can be safely undone by resting a large screwdriver against the camshaft timing pointer moulded into the timing cover and jamming it into the camshaft pully to stop it turning as you undo the nut. Torque back up the same way to 45nm.

The injection pump is locked with a 9.5mm diameter locking pin (or a drill bit in my case). The pump pulley is secured back on by a flange with three bolts. The holes for the bolts on the flange are slightly elongated to allow for slight movement of the injector pulley in either direction while the injector timing remains locked. This allows the pulley to move slightly as the belt is tensioned. At this stage the bolts should be set finger tight in the centre of the holes and will only be fully tightened once the belt has been correctly tensioned.

200tdi Injection pump locked 200tdi injection pump pulley


Make sure the engine is at TDC before removing the belt. It’s not the end of the world if you don’t, but can be a bit fiddly getting the timing marks to line up afterwards as the camshaft and crankshaft will now be moving independently of each other and you will need to turn them both at roughly the same time to avoid valves hitting pistons etc. In my case I forgot and needed to turn both clockwise to get the timing marks to line up. In the image below you can see the timing dot on the camshaft pulley (yellow arrow) and where is should be (red arrow) lined up with the pointer on the timing case. The crankshaft woodruff key key should line up with the arrow on the timing case. There is also timing mark on the flywheel that you can fit a pin into through a hole in the bottom of the bellhousing to lock the flywheel, however if your 200 is in a Series there is no access to this hole a the cross member blocks it. The timing case marks are accurate enough to fit the belt though, just make sure you haven’t moved the crank when fitting the belt.

200tdi timing case 200tdi crankshaft timing mark

The crank and camshafts are now at TDC and the injection pump is locked so the new belt can now be fitted. Fit the idler pulley and torque to 45NM.
Start by fitting the belt around the crank sprocket, use a piece of folded cardboard between the bottom of the timing case and the bottom of the crank sprocket to hold the belt in place, take it around the camshaft pulley then the injection pump pulley, take care to make sure the pulleys have not moved from their timing marks. Make sure the belt is tight, you may need to slighlty manipulate the pulleys to get the belt to fit correctly. Then fit the tensioner on it’s pivot point on the timing case, using a dial type torque wrench pull it upwards to 19NM for a new belt or 17NM for an old belt. While you are holding the tension fit the tensioner bolt and torque to 45NM.

200tdi timing belt torque

Now tighten the three injector pump bolts to 25NM and remove the locking pin.
Temporarily refit the crank nut and turn the engine over on the crank nut for two full revolutions back to TDC and check the timing marks are where they should be, the locking pin should be able to fit back in the injection pump (however don’t leave it there!). If you feel any resistance when turning the engine you may be a tooth out on one pulley, so stop and double check the timing marks. If  there is no resistance and all the timing marks line up perfectly then you’re all done and can proceed to refit the front cover. The crank nut will require 340nm so make sure you have a suitable torque wrench – I use a very large screwdriver to lock the flywheel against the case through the starter motor hole for this.


Getting there..

It’s been 18 months since my last update on this, however! the 200tdi engine was rebuilt last year and has resided in my kitchen for 12 months as I have not been able to find any time at all to refit it, due to my time taken up with converting my loft.

The engine is now back in the Landy at last and I’m slowly getting to the point of starting it as I still have very little spare time. I’ve corrected a number of issues from the time I swapped the engine in, replacing the 2.25 5MB petrol, mainly electrical and how the engine bay is set out.

The head has been cleaned up, valves reseated, new stem seals, injectors have been sent for cleaning and checking.

I’ve got rid of the 200tdi radiator/oil cooler unit and gone back to the original Series radiator which is till in very good condition (only used for 40k miles from new). I was never very happy with the way the 200tdi rad unit fitted in the engine bay and always seemed a bit scruffy. I’ve sourced a 300tdi intercooler (has the exit pipes on the left hand side of the unit – 200 are on the right hand side) which is now situated inside a galvanised Front panel, a slight modification was required on the panel. I have also fitted an aftermarket oil cooler on the other side.

Engine bay looks much more tidy now with more space. I’ve just had to remove the timing case again as I stripped three threads putting it back together, one that goes through to the water pump and into the block that has the long stud at the top, and two water pump bolts into the aluminium timing case. I’ve now repaired the threads using Helicoils and are now even stronger that before. All the other timing case threads have been cleaned with an M8 tap.

Just need to put the timing case back on, rad back on, fill with water (will be flushing a few times before filling with coolant) and get it started.

Modified Series 3 Front Panel

Modified Series 3 Front Panel


Modified Series 3 Front Panel

Modified Series 3 Front Panel

200tdi engine

200tdi engine


Modified Series 3 Front Panel

Modified Series 3 Front Panel

Bits for the putting the 200tdi back together


I’ve got the crankshaft back from the machine shop. The main journals were fine and did not require any work however the big end journals needed two grinds to .020 (0.5mm) to clear the scoring.
I’ve got new bearings, piston rings, and a spigot bush from Turner Engineering which appear to be the best quality at the best price. I’ve also got a load of other bits from LRseries and some odds from eBay. Still need to get a timing kit and a 3 hole head gasket.

200tdi crankshaft200tdi crankshaft

Cleaning up the block


Got a bit further with cleaning up the mess today. I’ve been using Gunk and a combination of wire and nylon brushes which are doing the trick. I will finish off with a wire brush in a drill and then eventually paint the block again. It should be silver, however I already have some gold engine enamel so it’s going to be gold! I’ll get the crankshaft back next week so once I know how much has been taken off I’ll be able to order the new con rod bearings.

HRC200 Defender Engine Block 2000tdi

HRC2020 Defender engine block 200tdi


200tdi strip down, crankshaft re-grind and new shells


Had a bit of a disaster before Christmas, while on the motorway in the 109 one of the oil cooler lines sprang a leak, the engine was very rough when I left the motorway however was still running so must have happened just before I was turning off. The engine bay was covered in oil, I filled it up again at a petrol station and it ran fine again so I carried on until I got home which was only a few miles. However on starting the engine from cold the next day it was clear there was something wrong. I did a compression test and got following results:

Cyl 1 380psi
Cyl 2 420psi
Cyl 3 320psi
Cyl 4 415psi

Obviously 1 & 3 have issues, however as the lowest readings are not next to each other this suggests the head gasket is fine and the problem is bottom end, more than likely the big end shells have been trashed due to oil starvation.

So I finally managed to find the time to remove the engine last week. As it’s a Defender variant 200tdi it has to be separated from the gearbox to be able to remove the ladder frame as some of the securing bolts are in the flywheel housing, so the engine has to come out. Once on a stand I removed the cylinder head and everything was fine there. I’ve cleaned up the valves and replaced the valve seals with new genuine parts that I already had as spares. The engine block is extremely dirty due being covered in oil so I will degrease it and paint the block in engine enamel later. The bores look ok, no scoring and a lot of the cross hatching is still visible. Phew.

200tdi engine block covered in oil

200tdi engine block covered in oil200tdi pistons and bores200tdi cylinder head

Got the sump off which was full of glitter, actually it should be described as a big pile of ground big end shells which confirmed my diagnosis. I unbolted the con-rod cap ends and the shells were indeed very trashed. Unfortunately the crankshaft journals have been scored as a result and will need a regrind. The mains however appear ok so I may have got away with just getting the big end journals done. The last pic below is one of the mains, the other three are big ends. I’m taking the crankshaft to the machine shop tomorrow.

200tdi sump full of damaged con rod shells

200tdi trashed big end shells200tdi crankshaft

200tdi crankshaft big end journal200tdi crankshaft big end journal200tdi crankshaft big end journal200tdi crankshaft main journal

200tdi into a Series Land rover – which temp sender?


The problem here is the Discovery temperature sender in the 200tdi engine is not matched to the Series gauge so you will not get the correct temperature reading. The Series temperature sender (560794) does not physically fit into the 200tdi thermostat housing – so in order to use the original series temp sender you need to get an adaptor that screws into the 200tdi housing (ERC8973) and the series temp sender then screws into that.

However Richard at www.glencoyne.co.uk has just discovered that the temperature senders that were fitted to the 200tdi Range Rover Classics are a direct fit but also a good match for the Series temp gauge. I have test fitted one and when the engine is fully hot the needle is just into the N mark. The part number is AMR1712 and looks the same as the Disco version but has a blue insulator.

ERC8973 Temp sender adaptor

ERC8973 Temp sender adaptor

AMR1712

AMR1712

Battery re-location after engine conversion

After I installed the 200tdi I had to find somewhere else to put the battery as the standard Series 3 chassis battery tray has to be removed to make way for the 200tdi timing case. I’ve got twin fuel tanks under the driver and passenger seats as the land rover is ex-mod so I was unable to put the battery under the passenger seat. I thought about putting the battery in the rear tub but in the end decided to fix an ammunition box in front of the radiator between the dumb irons, it’s been there for the last two years without problem.

However I’ve always felt the battery was a little exposed there and also too easy for someone to steal, so I’ve decided to use the passenger side fuel tank to house the battery. The tank has not been used since it was in service as far as I know, and the change over tap is missing. The tank was fairly corroded but still water tight,  so I have cleaned it up, cut a section of the top out and painted it.


200tdi into a Series engine conversion


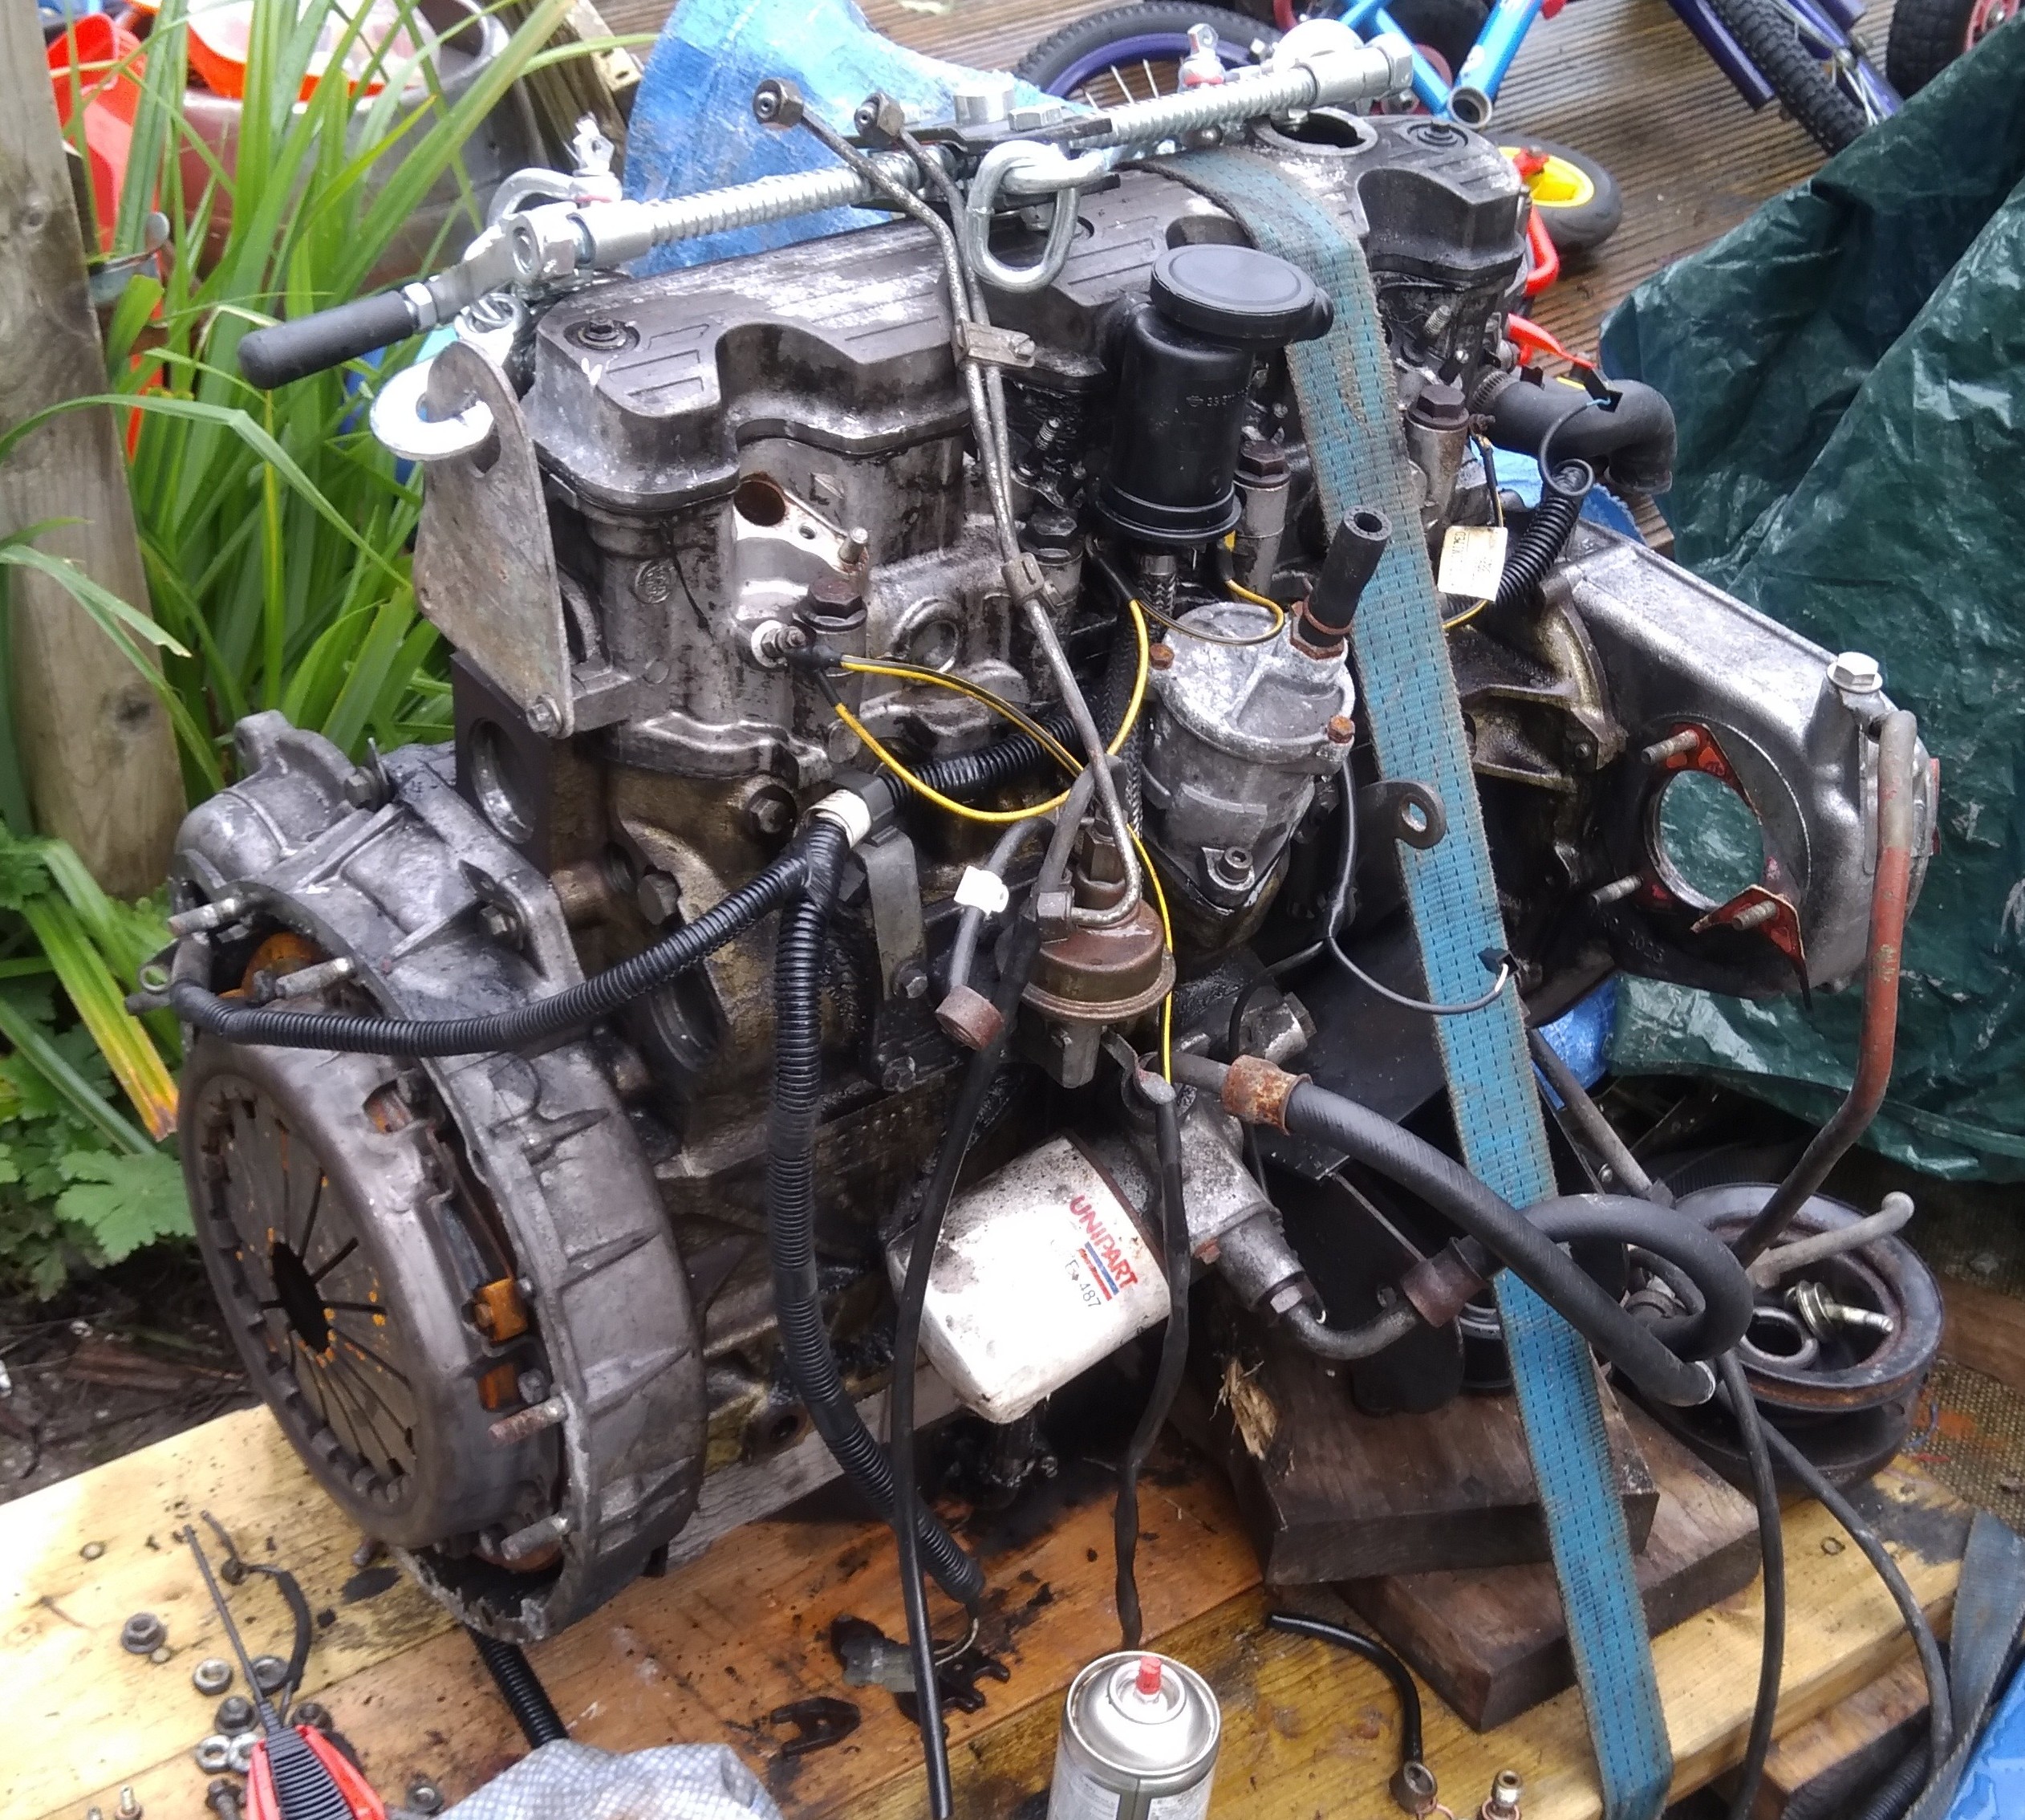
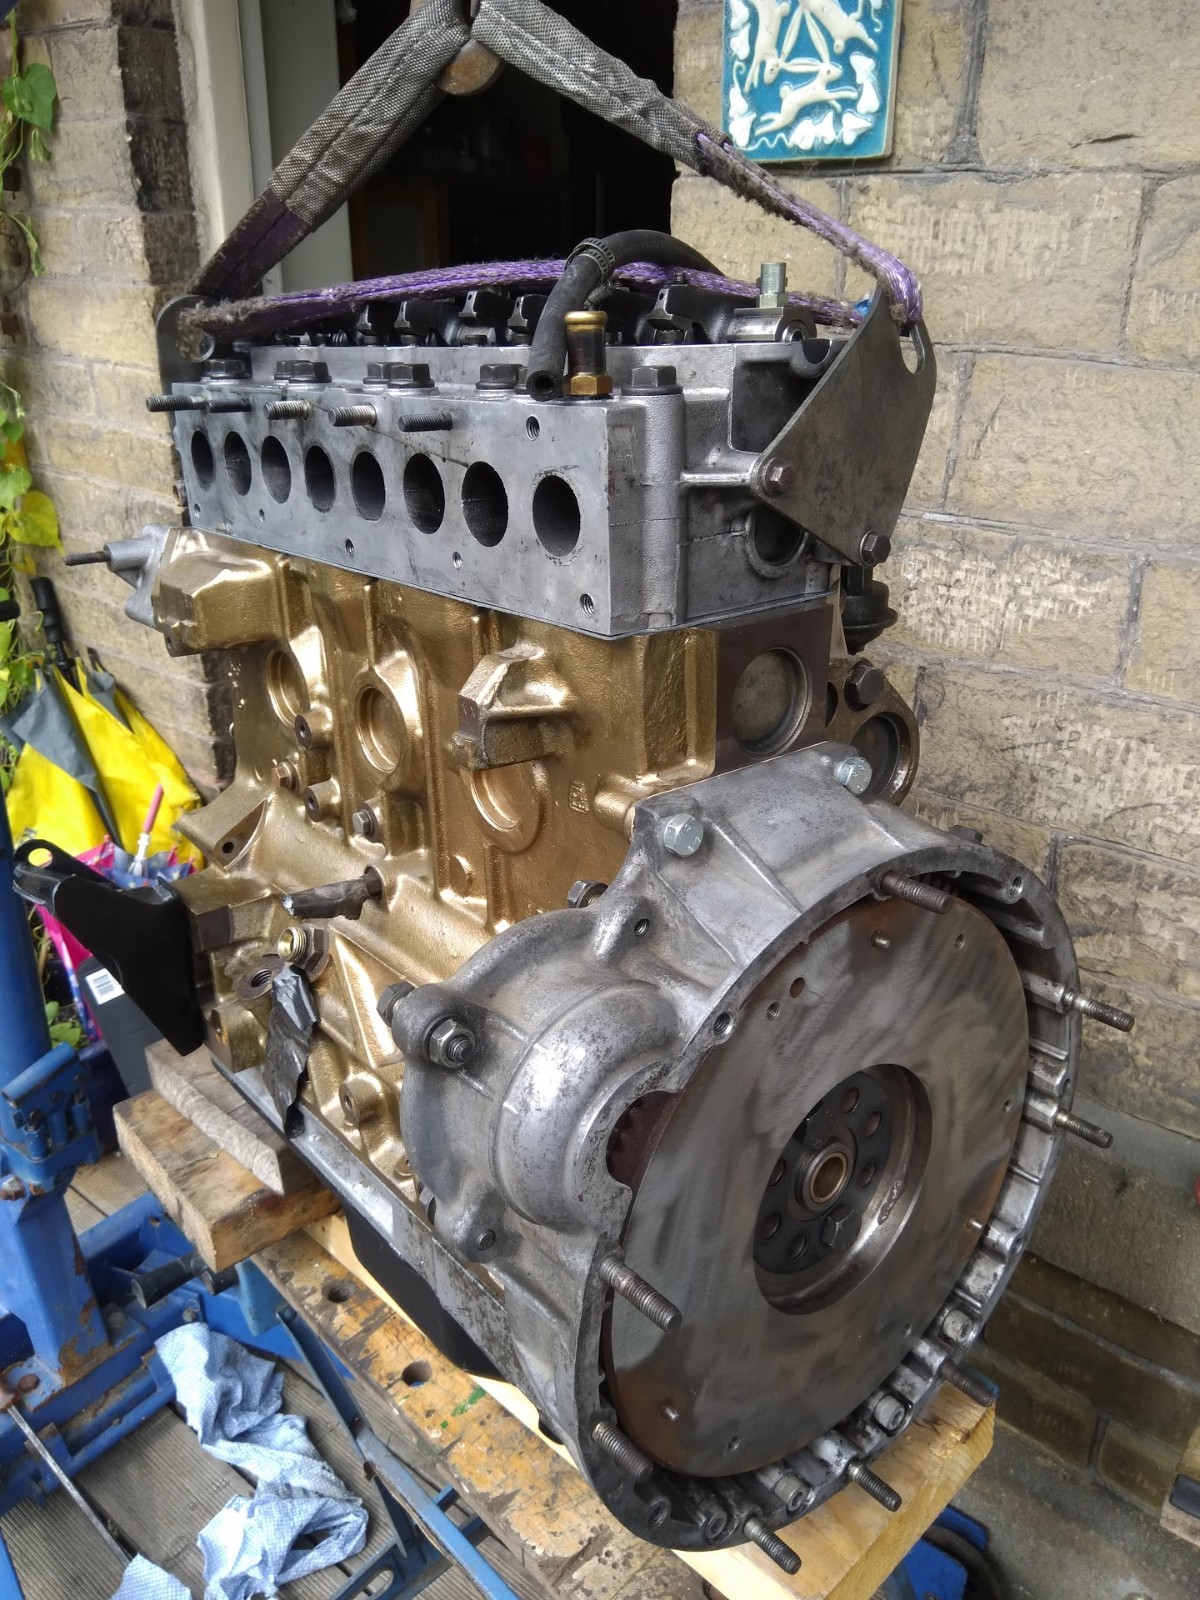
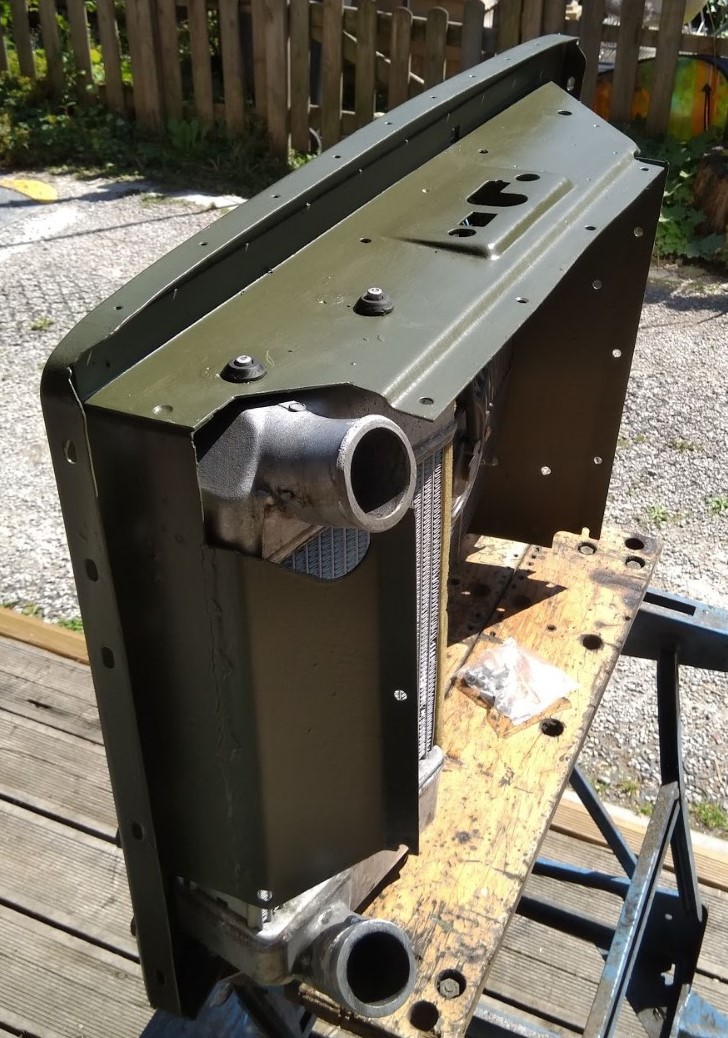
One of the best things I have done to the 109 is installed a 200TDI engine. It’s gone from being a fuel hungry underpowered old truck to a relatively economical, powerful & useable vehicle. The 200di (fitting the TDI without the turbo) conversion seems to be quite popular at the moment and is a good idea if you just want a little more power and reliability, it’s a simpler job to fit and a lot of the original series parts can be retained such as the radiator and oil bath air filter – however the engine I bought came with all ancillaries, radiator/oil cooler, hoses etc so not to fit everything would have been a waste. I’m glad I kept the turbo and it would now feel underpowered without it – I now think if you are going to the trouble of fitting a new engine you may as well spend a bit more time and fit the full kit.

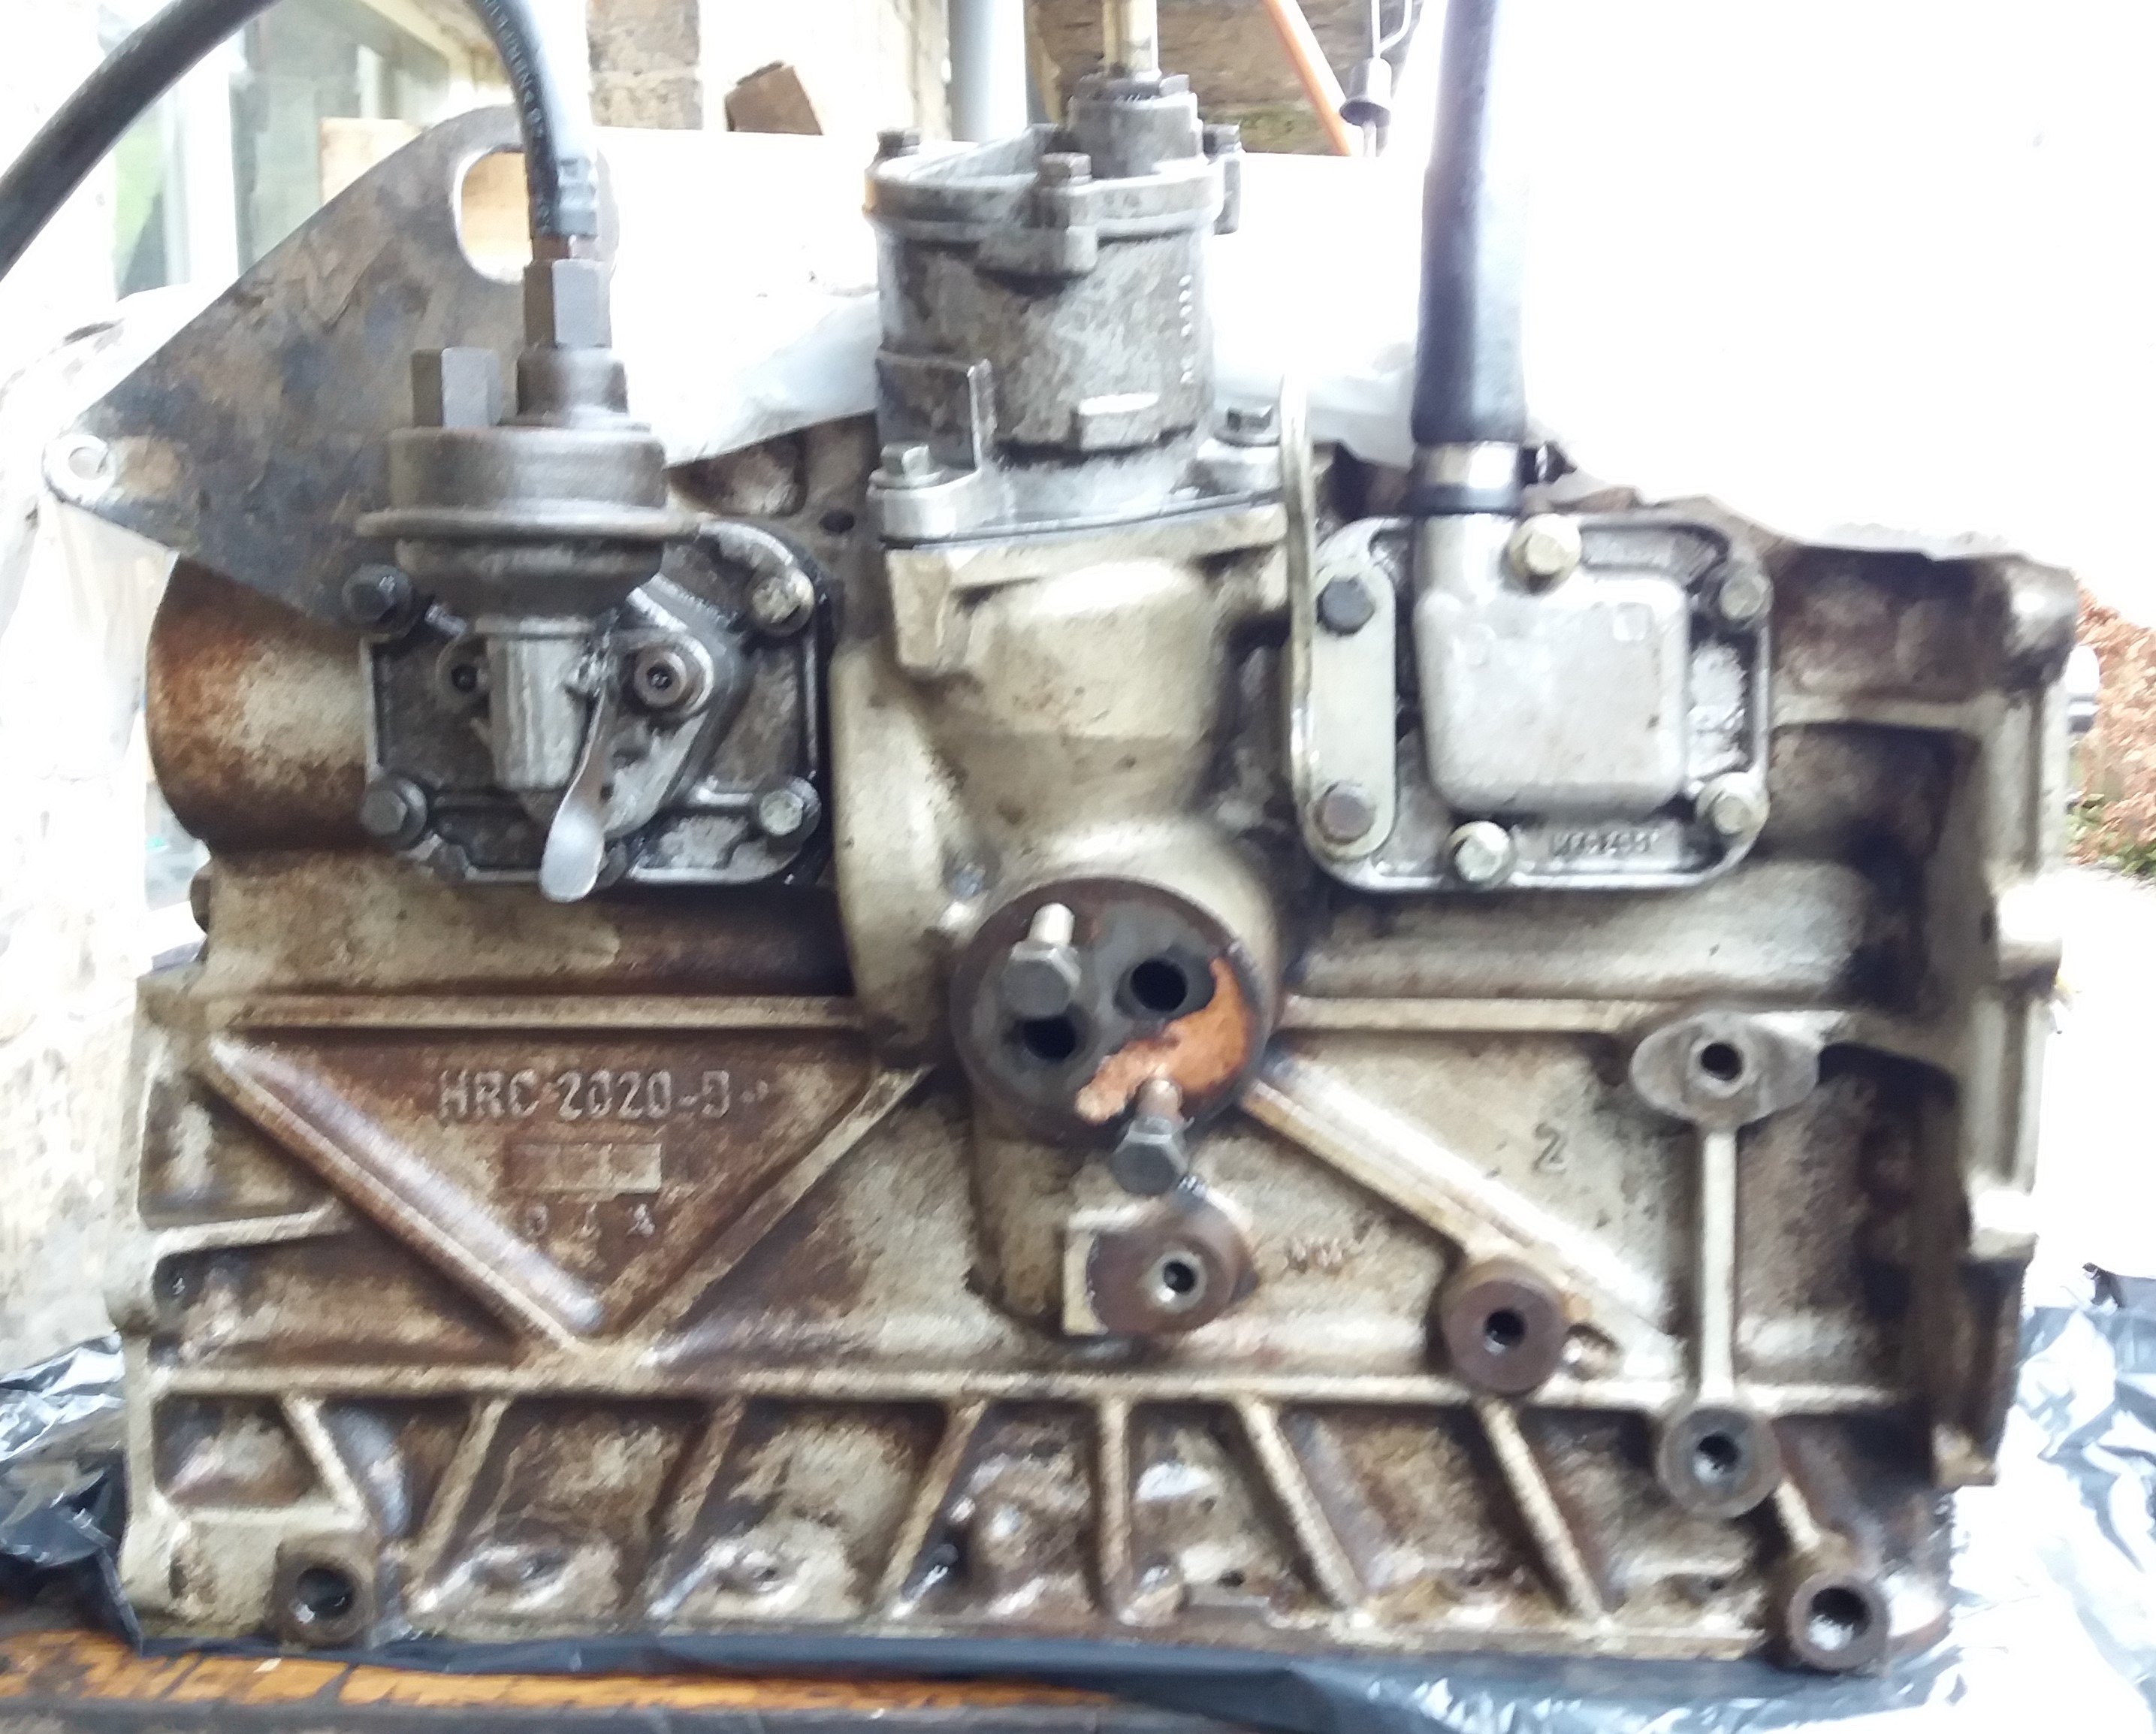
Whereas most people fit discovery engines as they are more common and cost less, I came across a defender engine and gearbox with low miles for the same price as the disco lumps. There are a couple of differences between the two versions – the manifolds are different – the turbo sits low down on the disco engines with injection pump up high but the turbo is high up on the defender engines with the injection pump lower down. It is the shape of the manifolds that give the difference in BHP between the two engines, with the defender variant being slightly less powerful.  The timing cases are also different shapes.

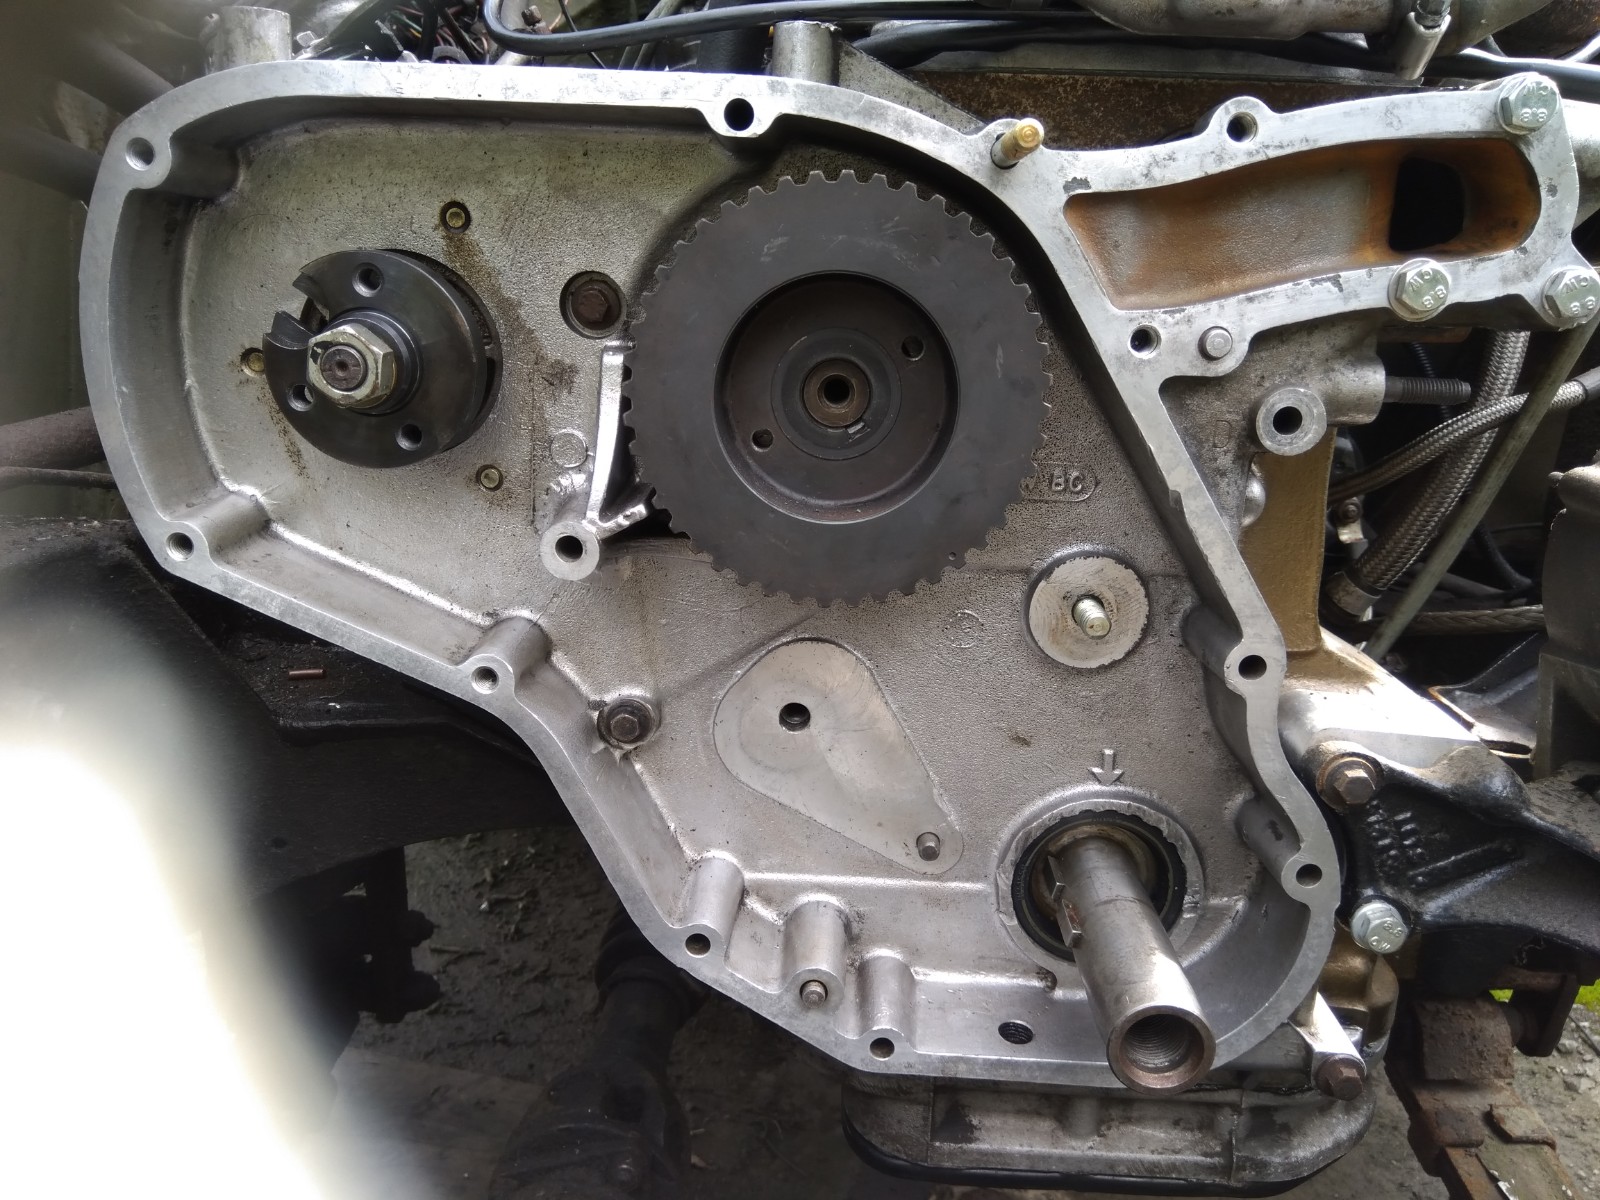
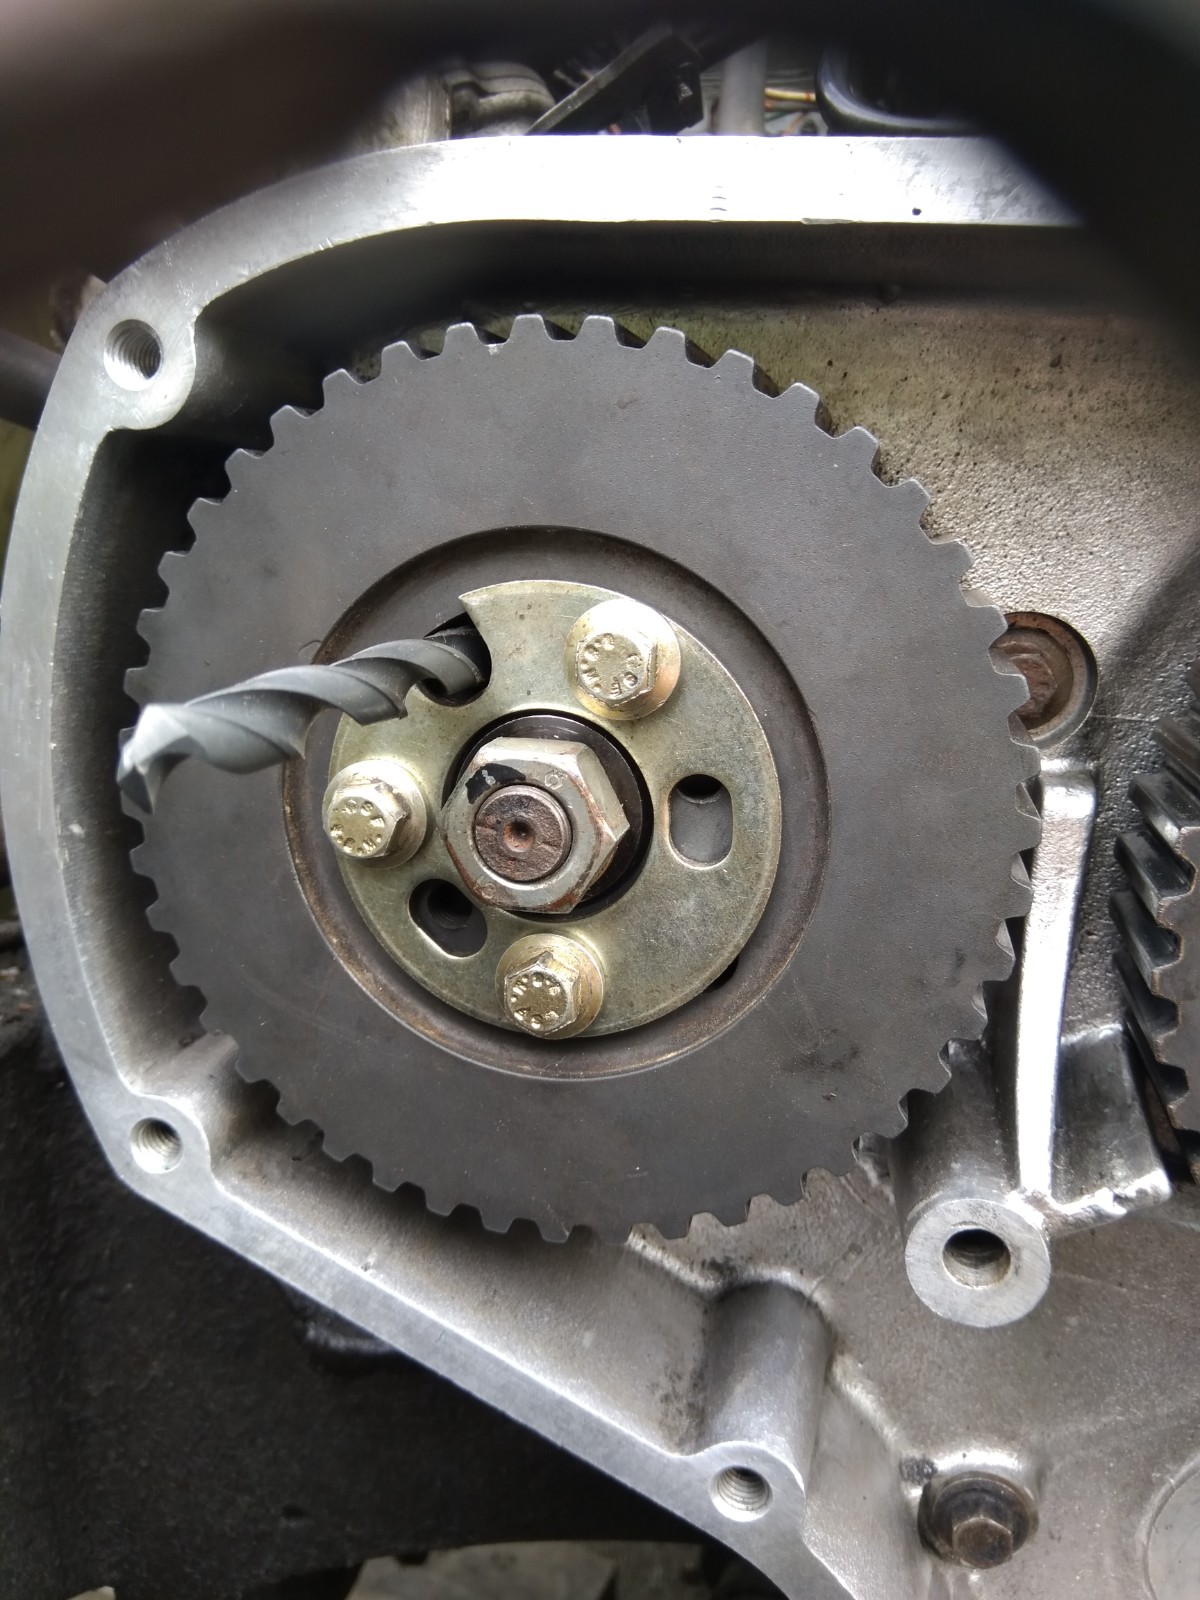
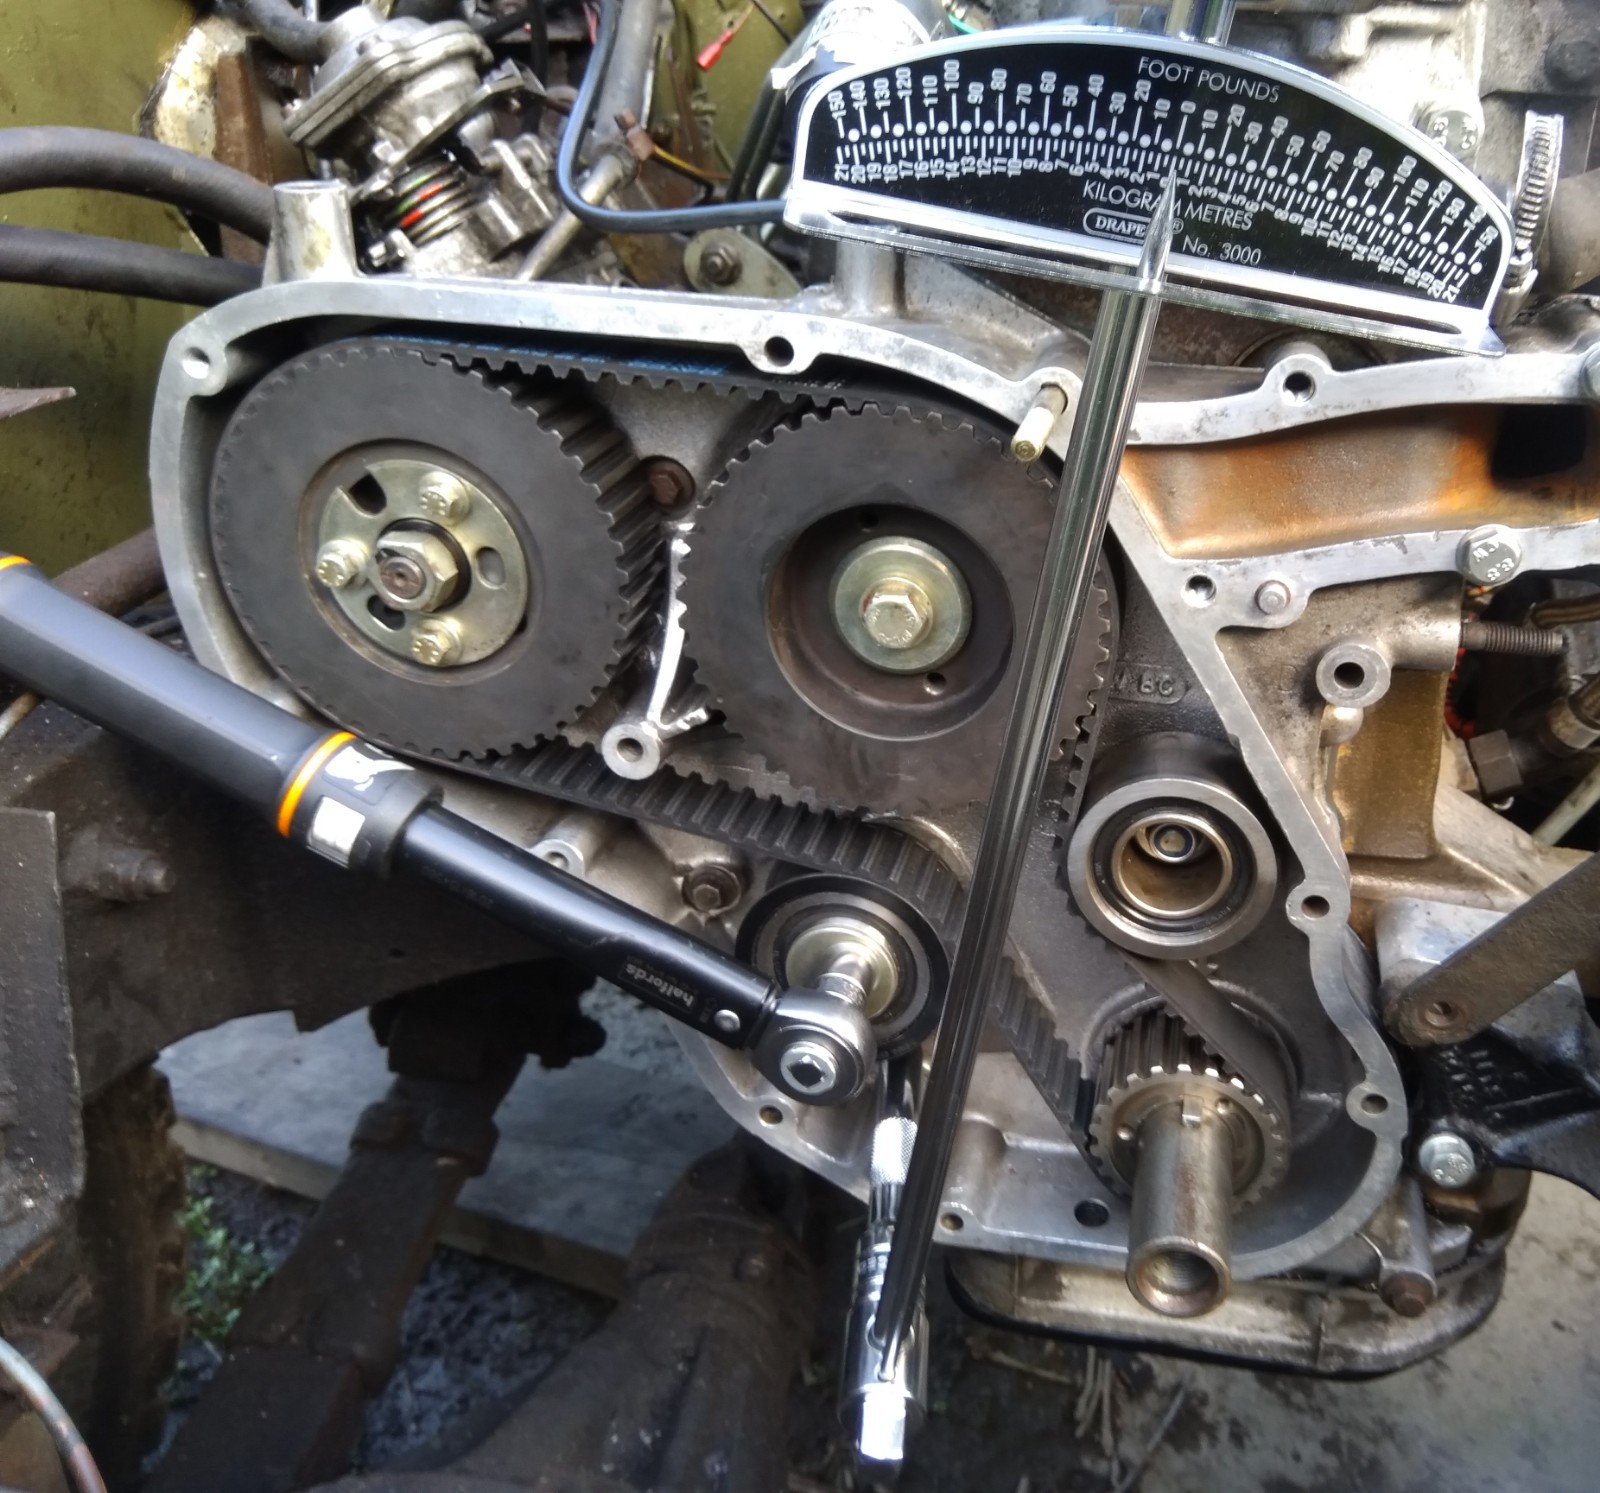
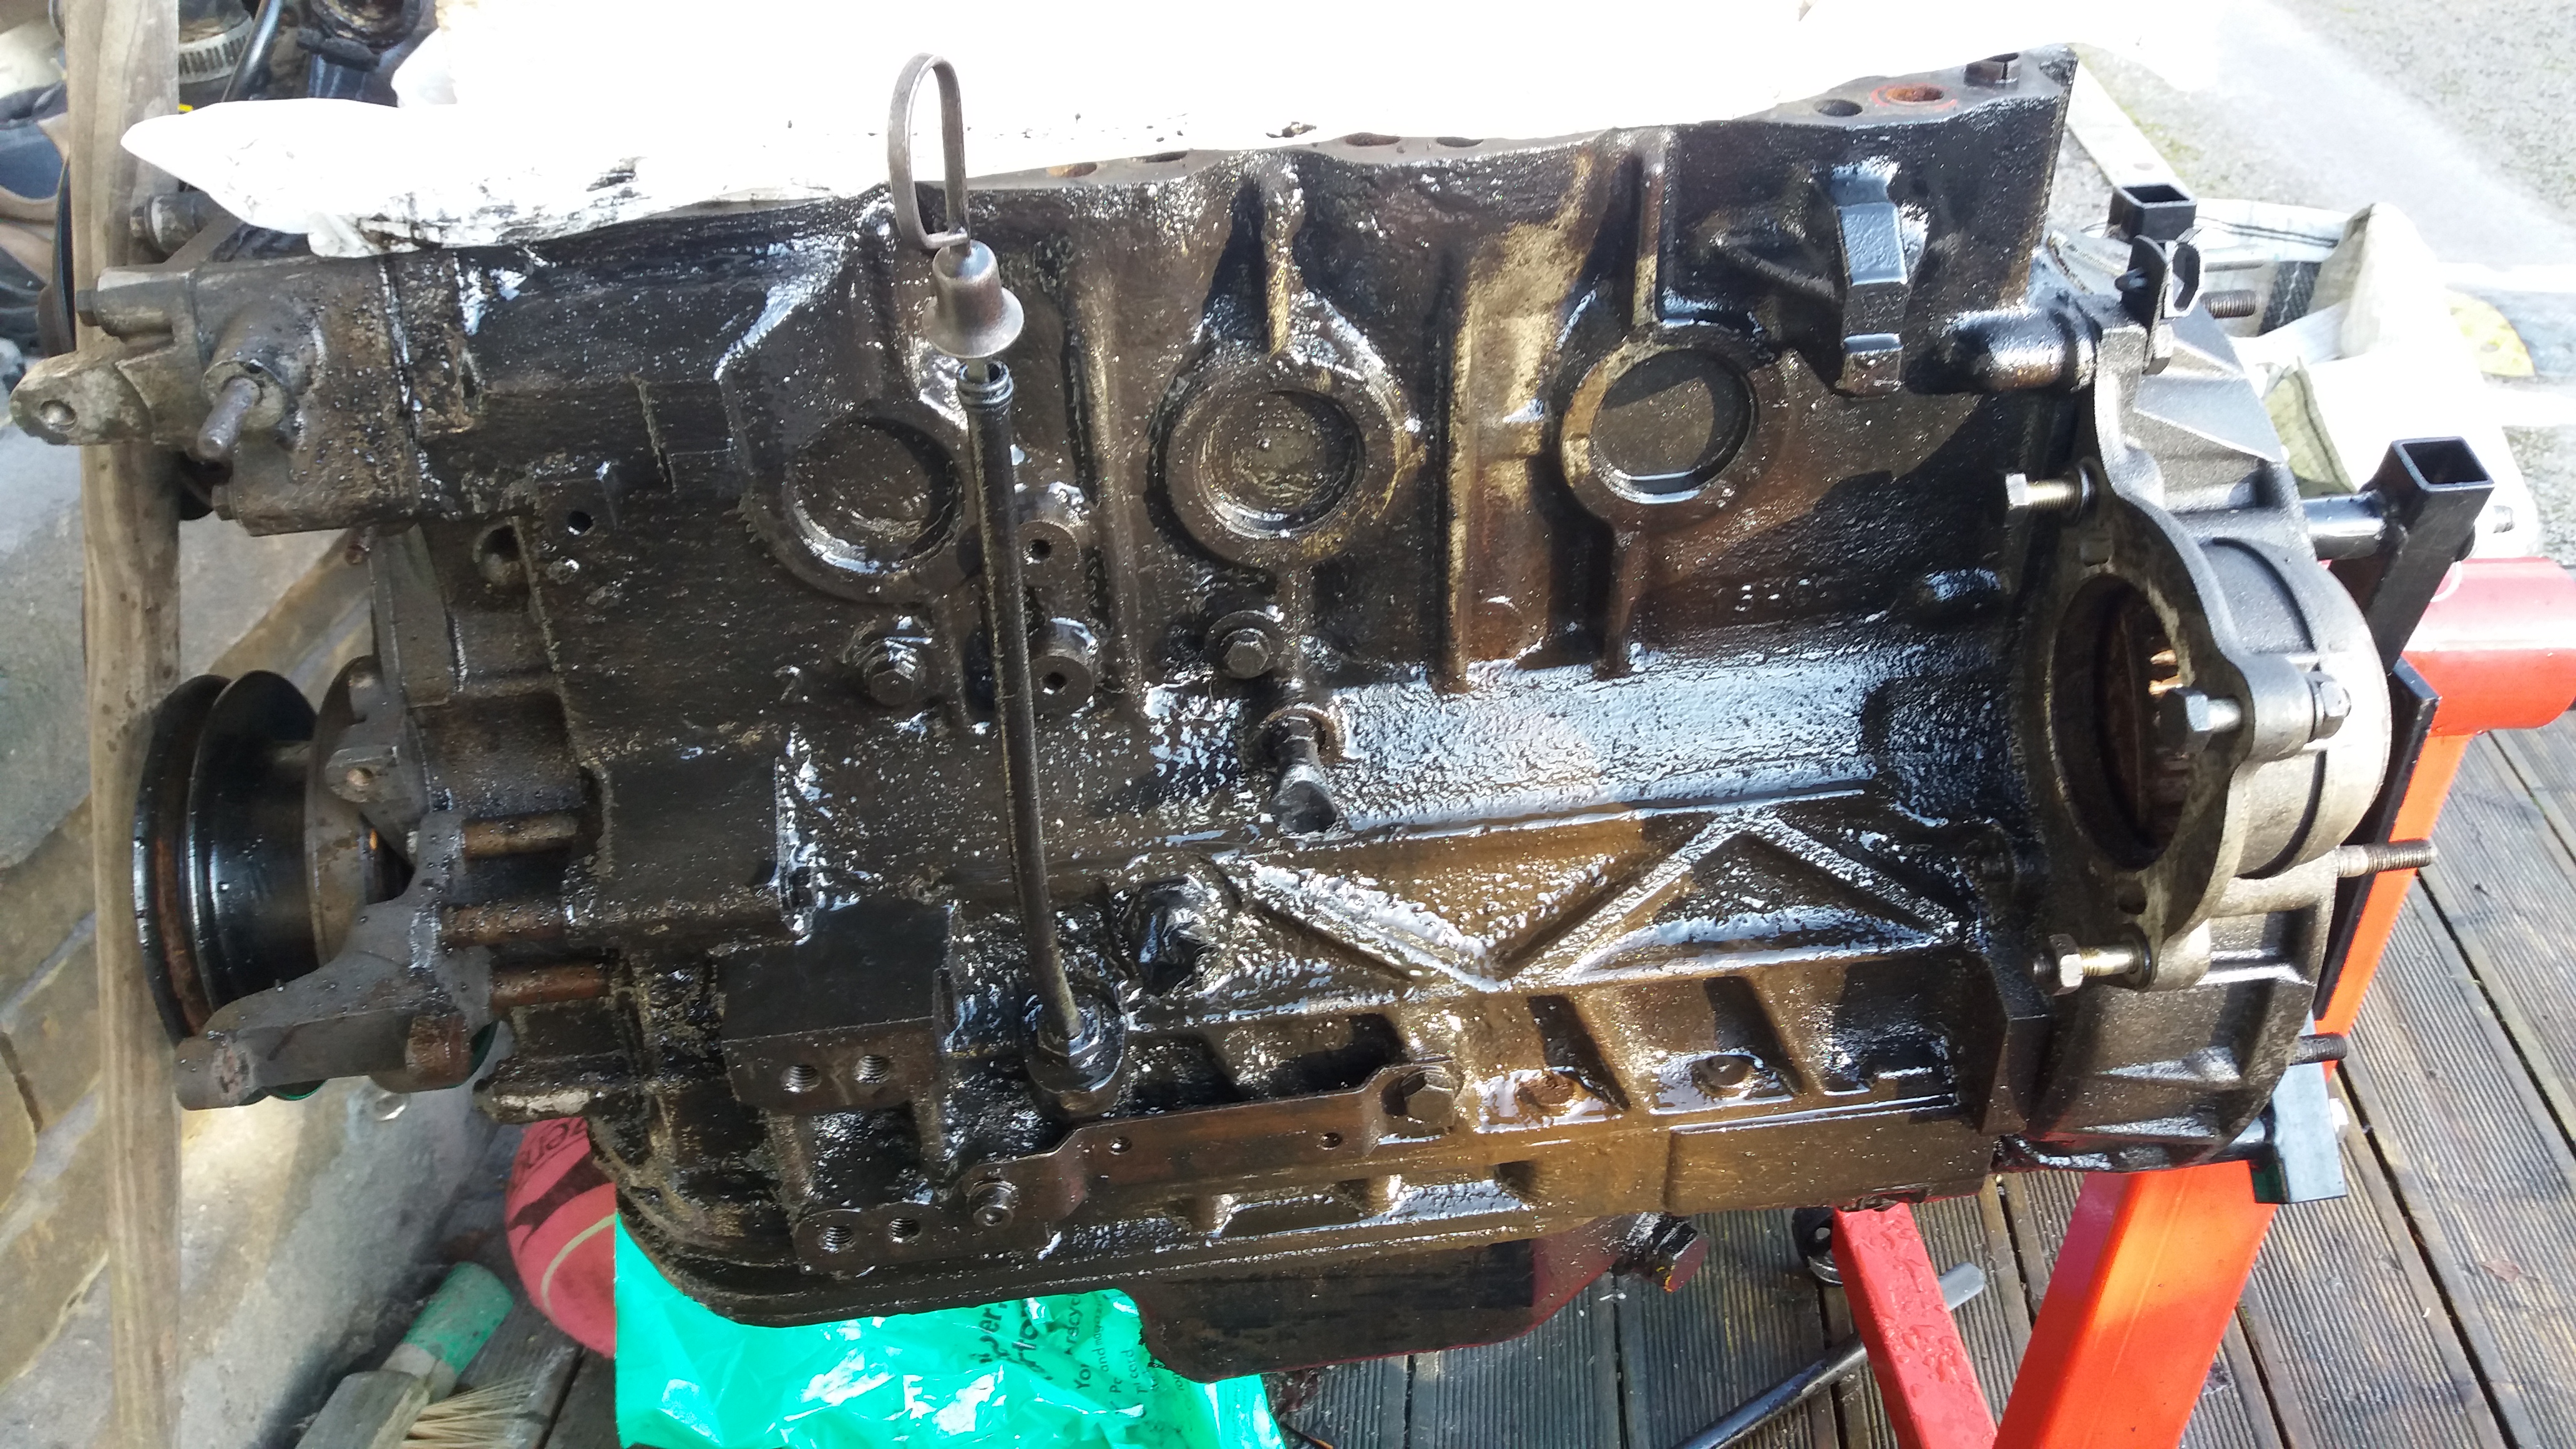
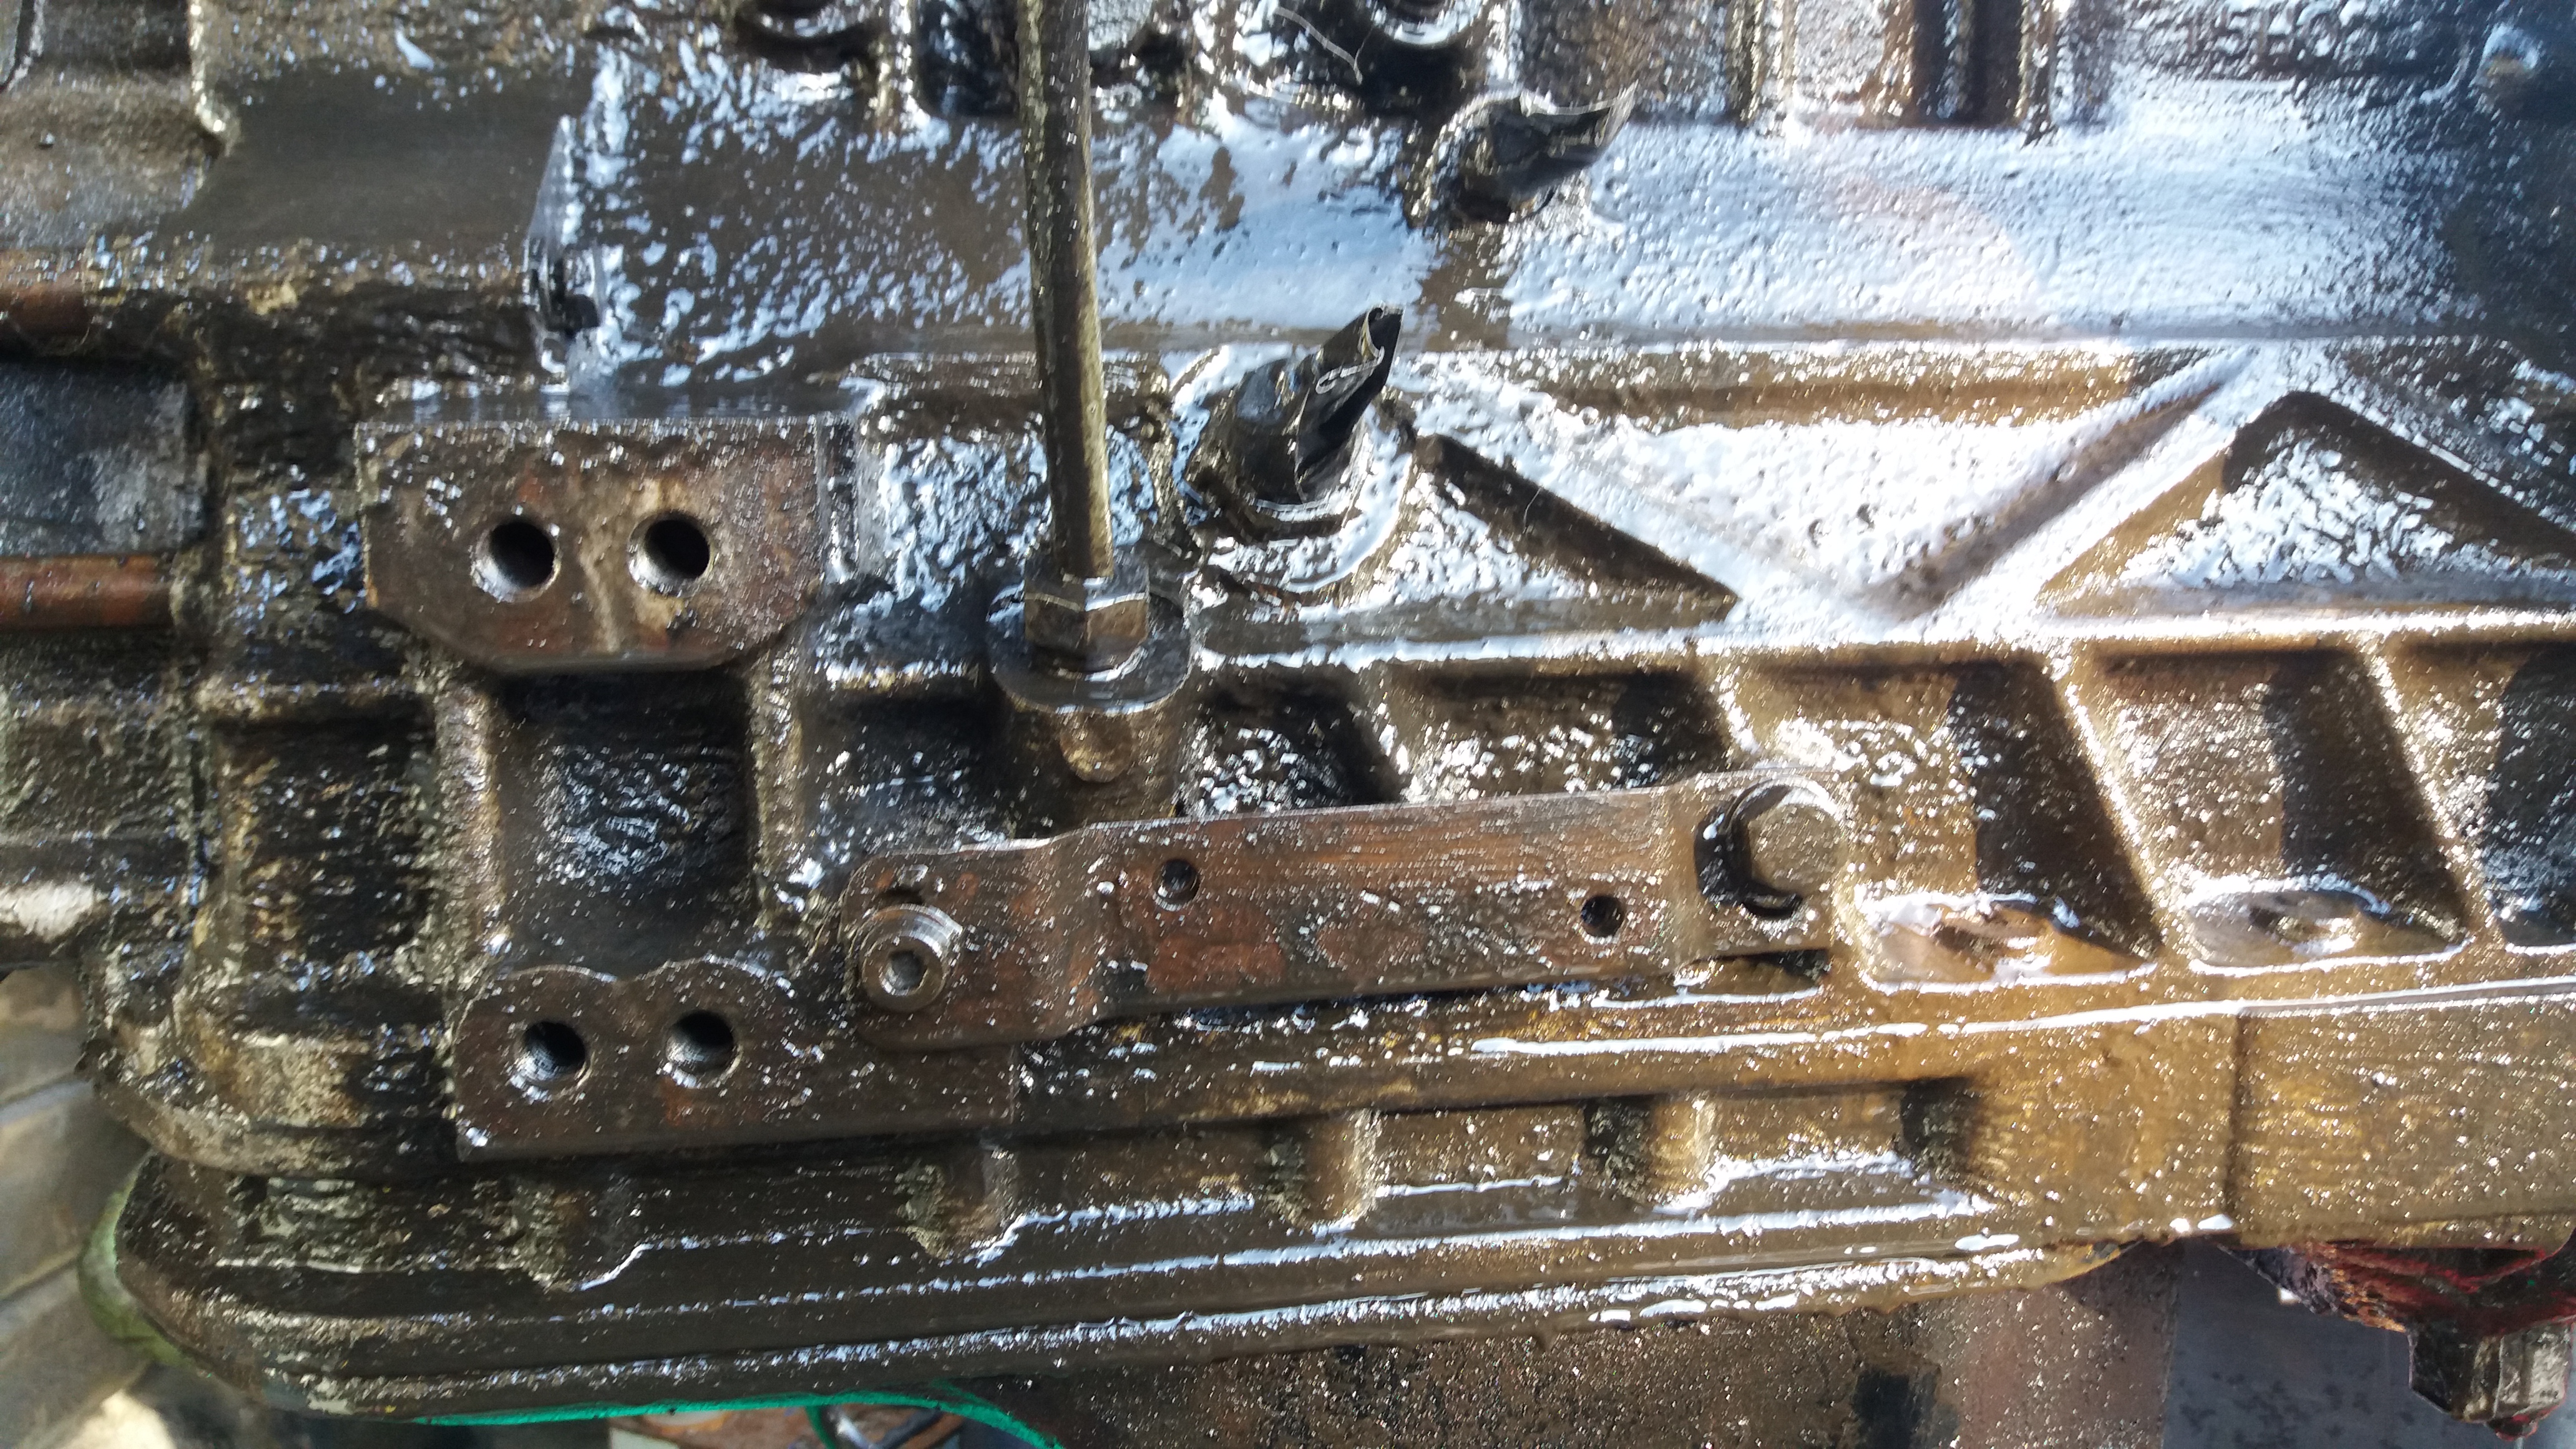
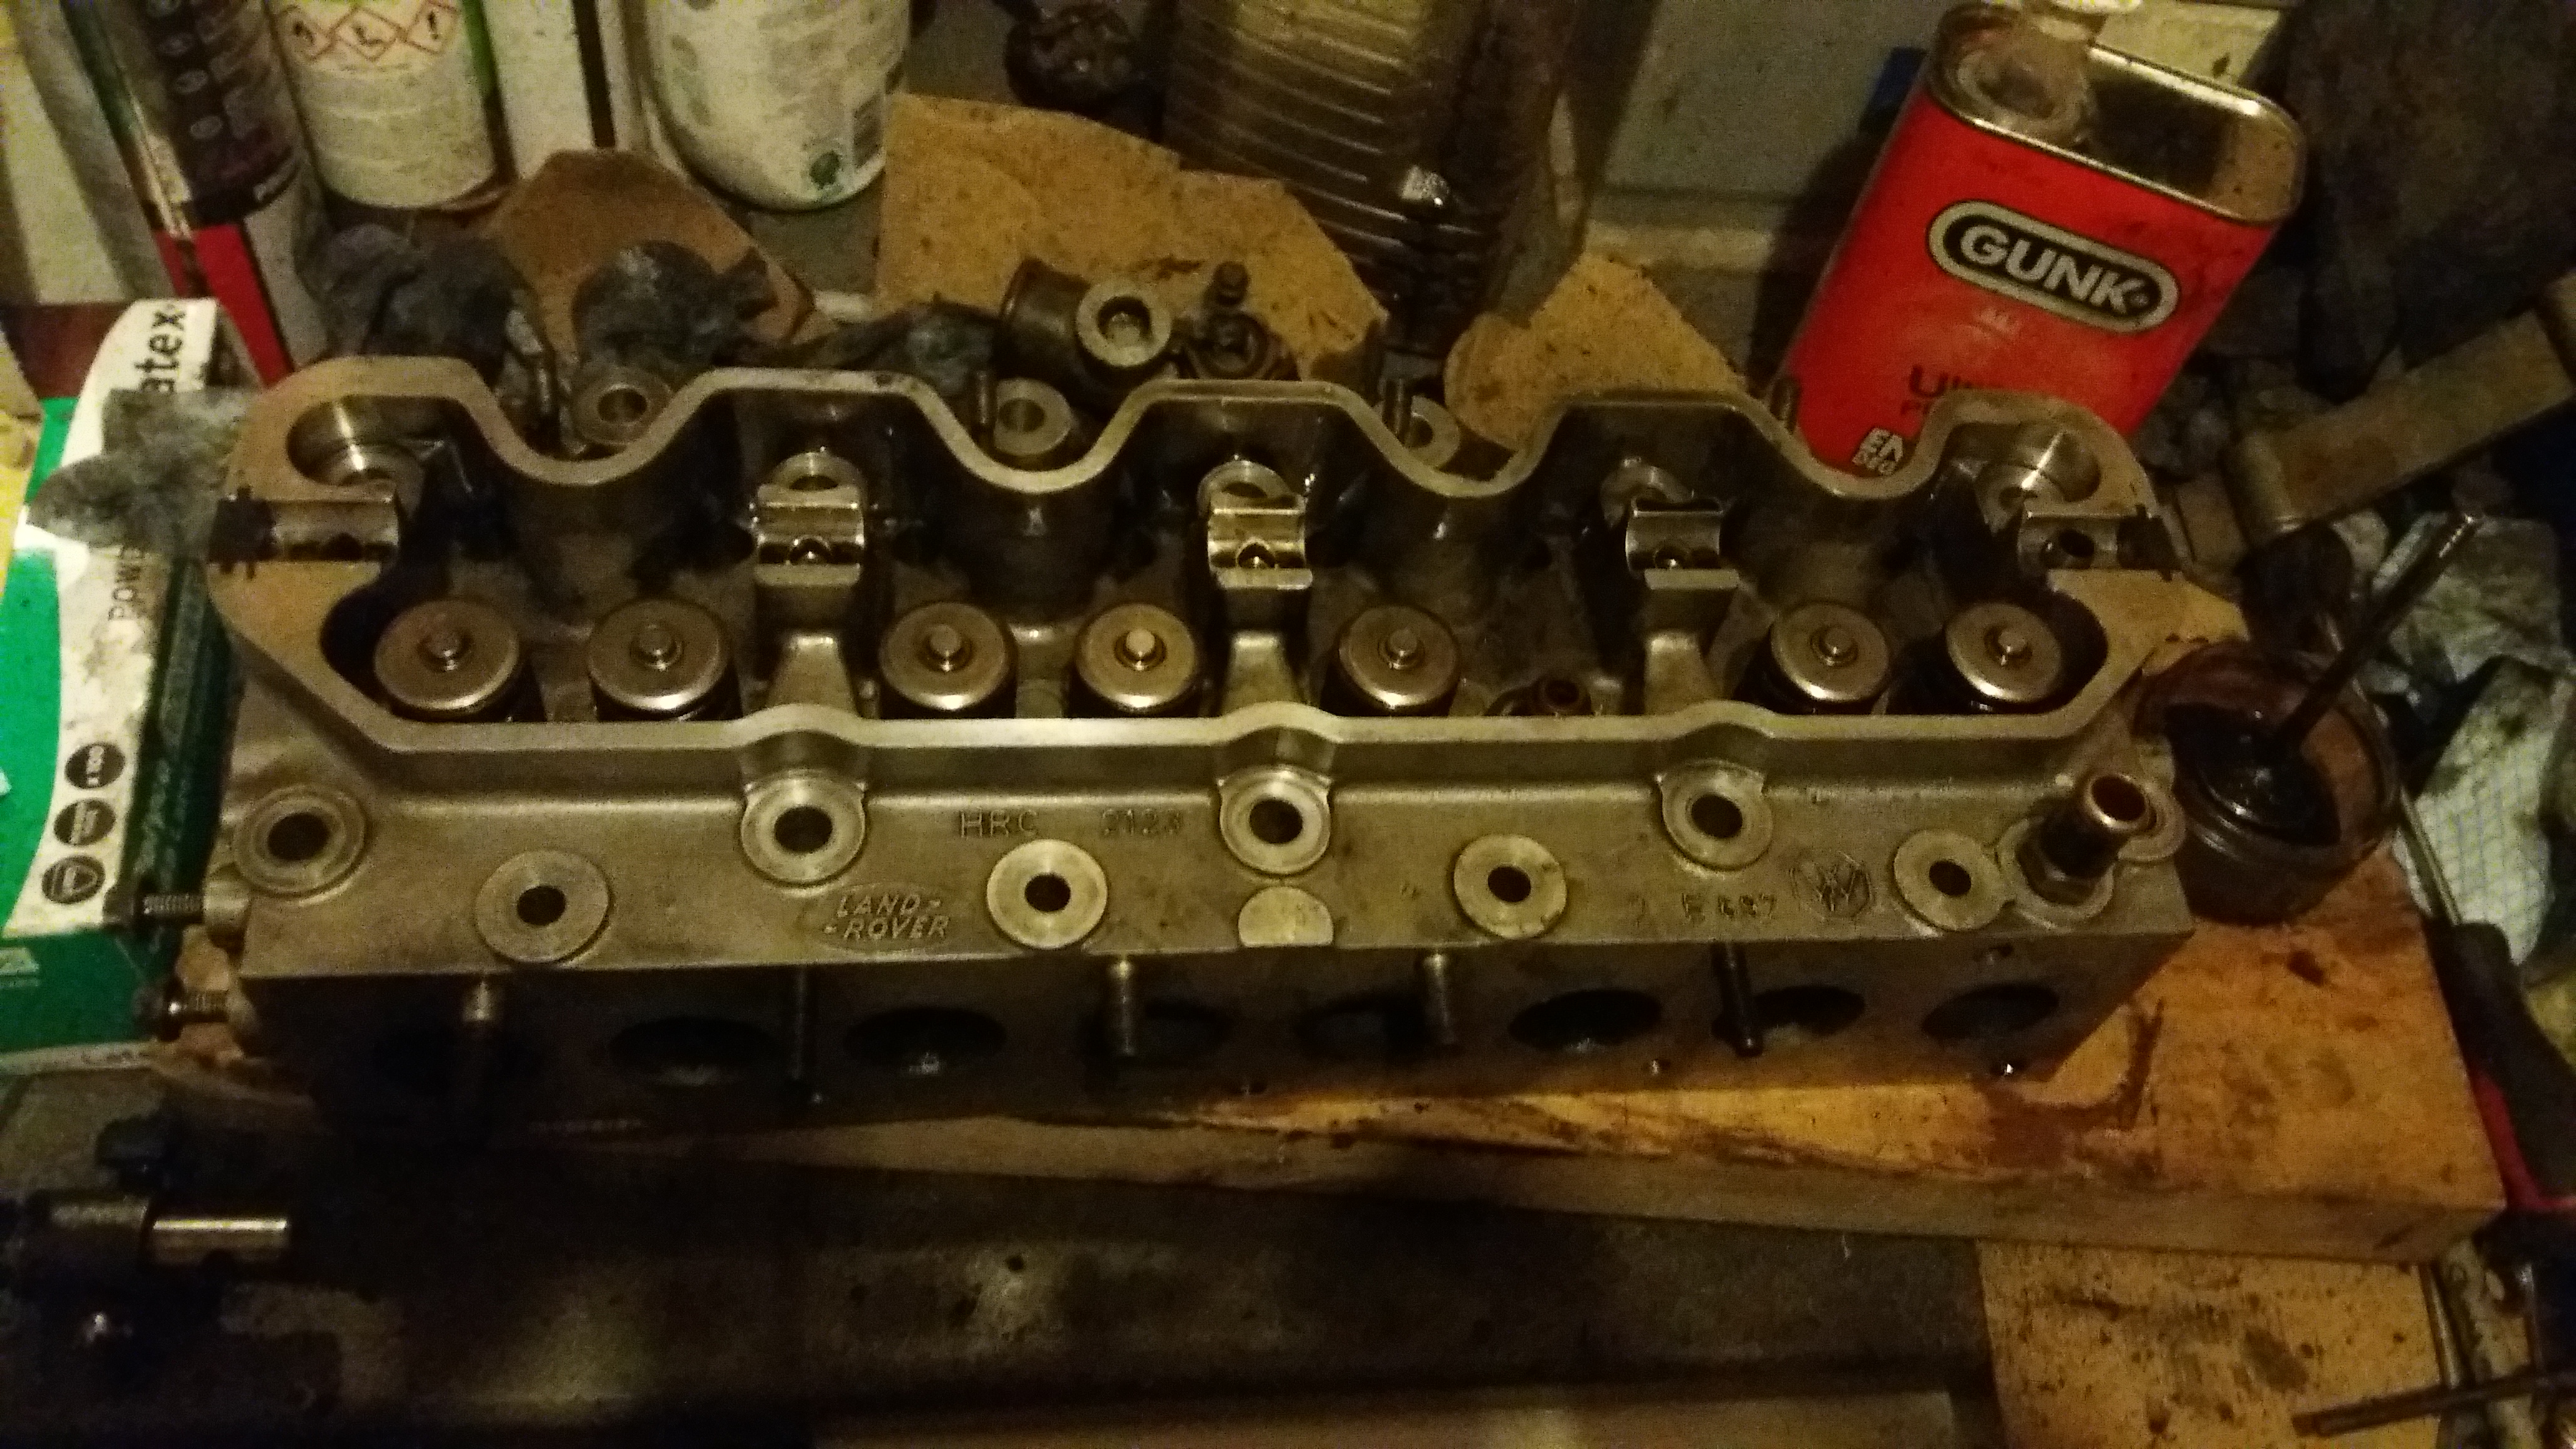
The engine block is the same for both defender and disco versions and you have two choices of position or the right hand engine mount, the disco engine uses the front engine mount bolts and the defender uses the rear bolts which is the same set up as the 12J (2.5D), so the defender engine requires the right hand engine mount moving on the chassis because the the timing case is in the way  – the disco engine does not have this problem as the timing case is  a different shape so the engine bolts to the standard series chassis engine mount. I decided not to move the engine mount as my chassis is galvanised and I did not want to break the galv, so I decided to swap the defender timing case for a discovery case, the engine was on a stand waiting to go in the vehicle and I had the timing belt to do anyway. It was just a case of removing all the timing gear and fitting the disco timing case in it’s place. I also had to source the disco injection pump bracket as the pump was now sitting much higher, also needed disco injector pipes, all the pulleys had to be changed as the disco ones are different to defenders, disco water pump & disco thermostat housing. I could now bolt the engine straight into the standard series mounts. So now I have what has become a disco engine with defender manifolds! I’ve kept all the defender parts so I can convert it back at a later date.

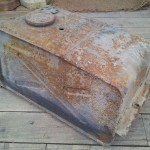
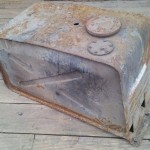
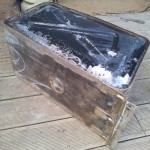
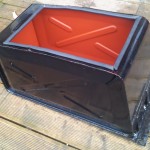
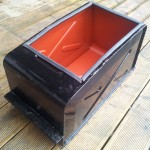
I wired up the glow plug relay to a switch on the dash, though have I never needed to use them even in -5 temps. I had to relocate the battery as there is no room under the bonnet and I have underseat fuel tanks, I ended up fixing an ammo box between the front dumb irons and the battery has been in there for the last couple of years, however I am going to convert the passenger side fuel tank into a battery box as the tank hasn’t been used for years. I’ll be relocating the battery there in the next few weeks, I’ve already got the tank off to clean up.

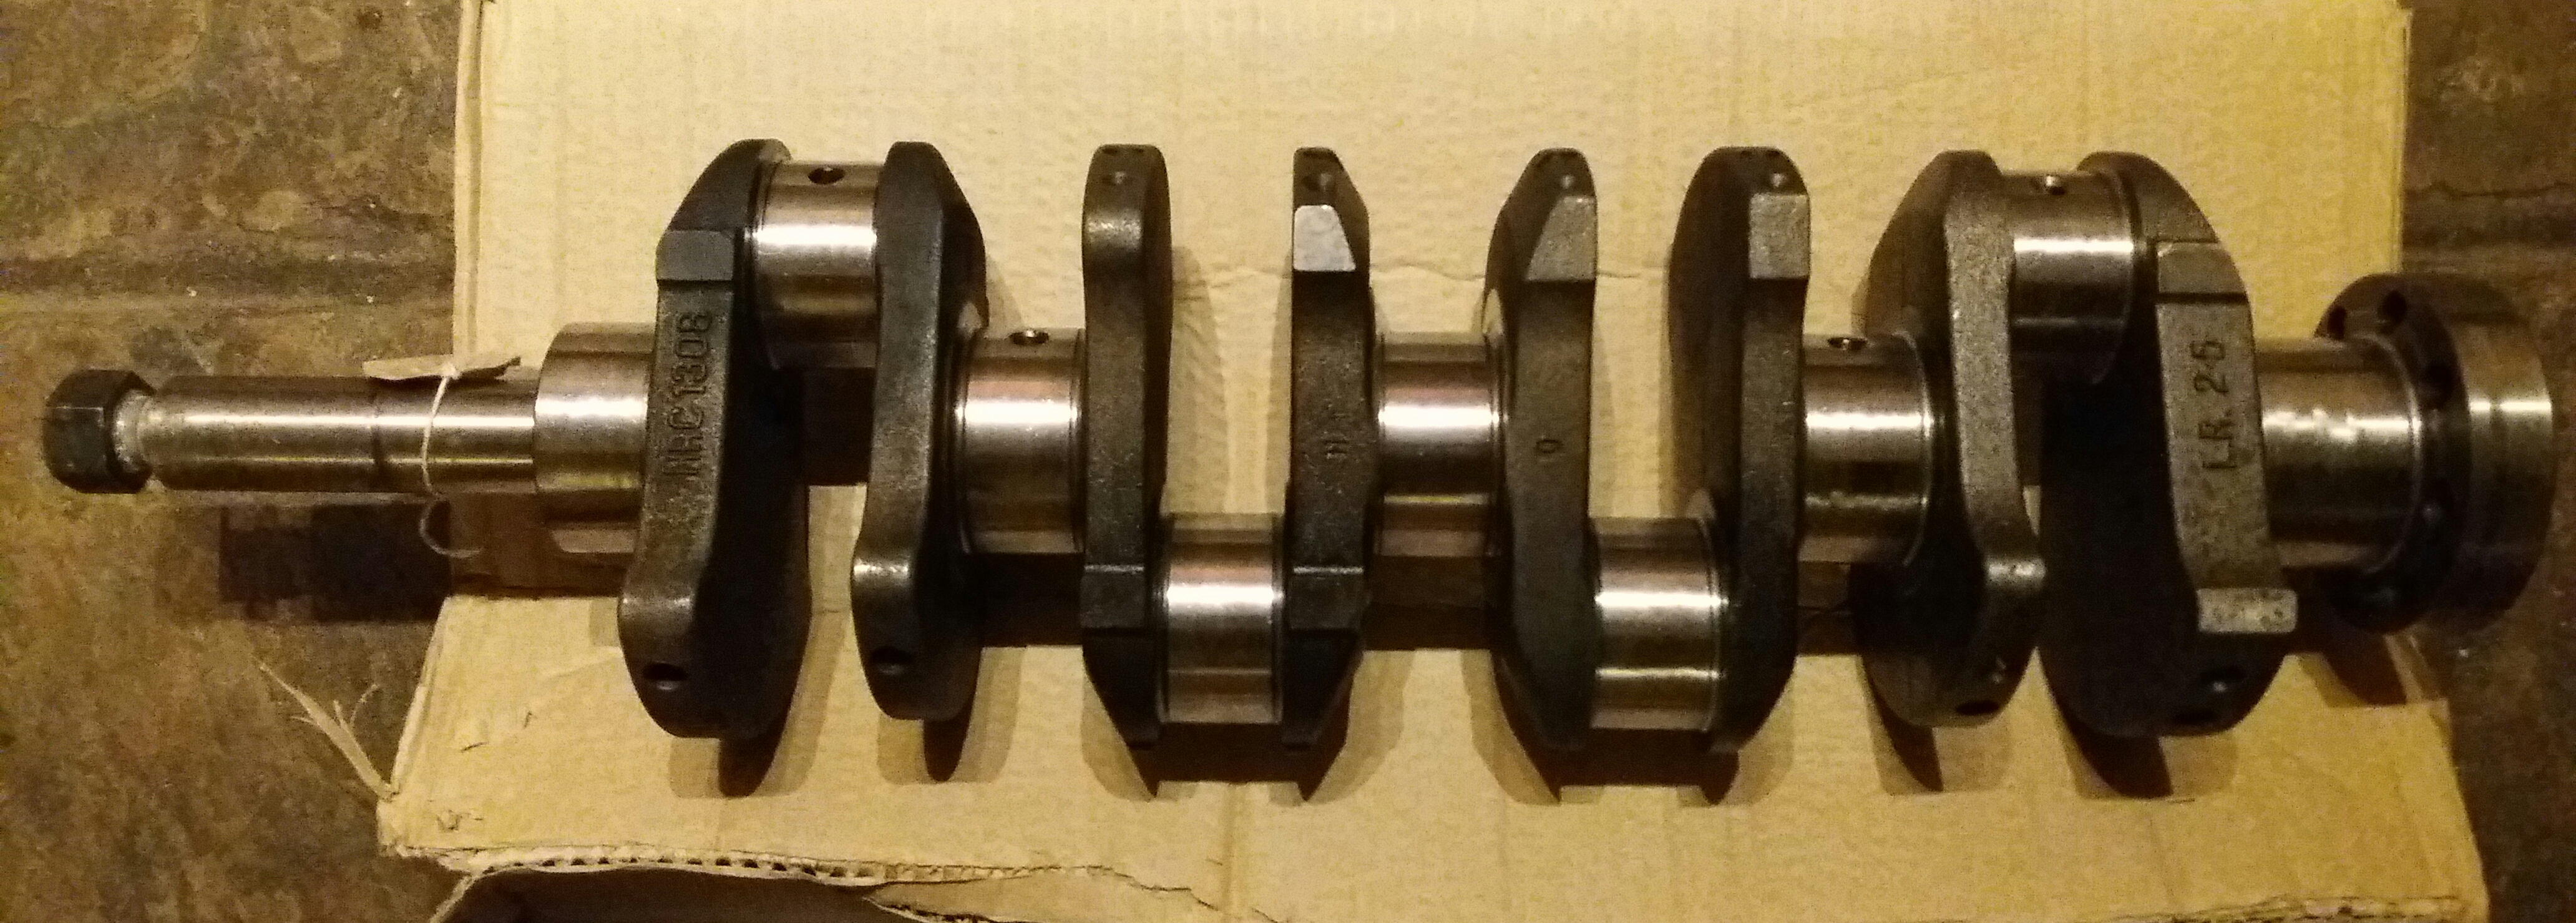
I didn’t do any work to the engine as it was low mileage at 85k, just changed the timing belt and gave it a service before starting it – fired up first time, no smoke! Changed the oil and filters again after a few hundred miles and all has been well since. I’ve had no problems with the gearbox taking the extra power either.