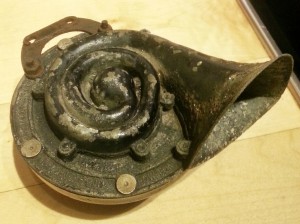
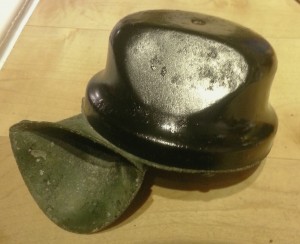
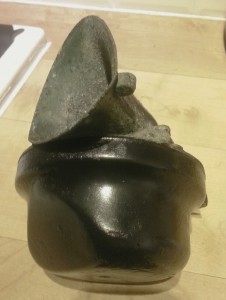
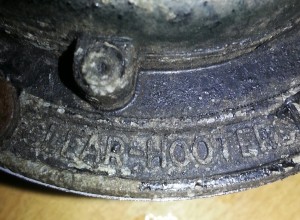
I need to tidy up some of the wiring in the engine bay as there has been a lot of bodges in the past. There are all sorts of wires that have incorrect colour codes in there that go nowhere and I’ll be pulling everything out and starting again.
The headlights have relays and I am now moving them into a waterproof box along with a relay for the electric fan.
For reference here is an extensive list of the cable colour codes for Series Land Rovers:
BLACK CABLE
Black/ Purple – Temperature switch to warning light
Black/ Green – Relay to radiator fan motor, windscreen wiper switch to single speed wiper motor.
Black/ Light Green – Brake switch
Black/ Light Green – Brake differential pressure valve to warning light
Black/Orange – Radiator fan motor to thermal switch
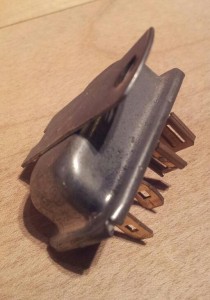
Black/Red – From 3 prong flasher unit to flasher light
Black/White – Flasher unit light to ground
BLUE CABLE
Blue – Headlamp switch to dimmer switch
Blue White – Headlight high beams, Dimmer switch to long-range driving light switch
Blue/ White – High beam dimmer switch to high beam indicator lamp
Blue/ Light Green – Windscreen wiper switch to motor
Blue/ Red – Headlight low beams
Blue/ Yellow – Long range driving lamp switch to lamp
BROWN CABLE
Brown/Yellow – GEN ‘D’ to volt. Regulator ‘D’. Ignition warning light
Brown/ Blue – power feed to headlamp switch and voltage regulator to ignition switch
Brown/ White – Ammeter to main alternator terminal, or voltage regulator
Brown/ Yellow – Alternator to ‘no charge’ warning light
Brown/ Purple – Alternator Regulator feed
Brown/ Green – Fuse to horn (No relay), Generator ‘F’ to voltage regulator ‘F’
Brown/ Light Green – Windscreen wiper motor to switch
Brown/ Black – Horn to horn button (no relay)
GREEN CABLE
Green/ Black – Fuel gauge to fuel tank unit (Light green/black for vehicles with voltage stabilizer)
Green/ Orange – fuel low level warning light to sensor on fuel tank
Green/ Slate – Heater motor to fast position on 2 speed heater switch
Green/ Blue – Water temperature gauge to temperature sender unit (Light green/black for vehicles with voltage stabilizer)
Green/ Blue – low fuel warning light to fuel sender unit.
Green/ Brown – Switch to reverse lamp
Green/ Red – Direction indicator switch to left-hand flasher lamps
Green/ Purple – Stop lamp switch to stop lamps
Green/ White – Direction indicator switch to right hand flasher lamps
Green/ Yellow – Heater switch to slow speed on heater motor or for single speed motor
Green/ Yellow – oil pressure light to oil pressure switch
Green/ Gray – Heater switch to high speed on heater motor
LIGHT GREEN CABLE
Light Green – choke cable mechanical switch to carburetter heater element (Solex optional fitment)
Light Green/ Black – Windscreen washer switch to washer motor
Light Green/ Blue – Flasher switch to left-hand flasher warning light
Light Green/ Yellow – Flasher switch to right-hand flasher warning light
Light Green/ Brown – Flasher switch to flasher unit ‘L’
Light Green/ Purple – Flasher unit ‘F’ to flasher warning light
Light Green/ Orange – Rear window washer switch to motor
Light Green/ Red – Fuel mixture light to fuel mixture thermostat switch (vech. with carb heater)
ORANGE CABLE
Orange/ Black – Wiper switch to to motor parking
Orange/ Blue – Wiper switch to low speed on motor
Orange/ Green – Wiper switch to high speed on motor
Orange/ Yellow – Rear wiper switch to rear wiper motor
Orange/ Light Green – switch to rear window motor parking
PURPLE CABLE
Purple/ Brown – Horn fuse to horn relay when horn is fused separately
Purple/ Red – Switches to map light, under bonnet light, glove box light and boot lamp when fed direct from battery fuse
RED CABLE
Red/ Yellow – Fog light switch to fog light or front fog light fuse to fog lights
Red/ Blue – Front fog light fuse to fog light switch
Red/ Brown – Rear fog guard switch to lamps
Red Orange – Power to rear fog guard lamp fuse
Red/ White – Fuse to instrument lamp switch, Instrument panel lamps
WHITE CABLE
White – Power to coil, fuse to cold running light (vech. w/o carb heater)
White – Power to electric fuel pump
White/ Black – Ignition coil to distributor
White/ Black – Distributor side of coil to tach impulse sensor
White/ Black – Mechanical choke cable mounted switch to cold running thermostat switch (1960’s vehicle without carb heater)
White/ Yellow – Mechanical switch on choke cable to thermostat switch( in 1970’s, white black earlier)
White/ Brown – Oil pressure switch to warning light or gauge
White/ Blue – Cold running light to mechanical switch on choke cable (vehicle without carb heater) (light blue in 1970’s)
White/ Pink – Ignition switch to radio fuse
White/ Red – Ignition switch or starter switch to starter solenoid
YELLOW CABLE
Yellow – Dynamo ‘D’ to voltage regulator ‘D’, Voltage regulator ‘D’ to gen. light on instrument panel
Yellow/ Green – Dynamo ‘F’ to control box ‘F’ Alternator field ‘F’ to control box ‘F
