Series 3 heater motors have a poor reputation for not being very effective but this is not really true when everything is in good condition. The main problem is there are a number of components that, when they fail, can lead to less effective air movement. Firstly the snail cases tend to rot and therefore leak air, the hose from the heater to the matrix needs to be in good condition with no splits as this will also impact the amount of air getting to the cab. There is also a seal between the heater matrix and the bulkhead that should be air tight and also a seal on the other side between the bulkhead and the dashboard/air box. Then you need the lower dash to be in good condition, unfortunately the vinyl cover usually hides a lot of rot and holes where air can escape. The vent direction flaps are also poorly designed and tend to seize over time so you either get little air through the windscreen vents or little through the lower vents. If all these things are in good condition then the Series heater is absolutely fine and very effective.
Amongst some of the stuff I had galvanised recently were a batch of series 3 heater motor ‘snail’ cases. I had them all shot blasted first and then welded any areas in need of repair. Not easy to weld as the steel is very thin and non existent in places! They turned out well, just had to drill out the galv from the bolt holes and I’ve retapped them to metric and will be using stainless bolts and washers. Of course being galvanised they won’t rust!

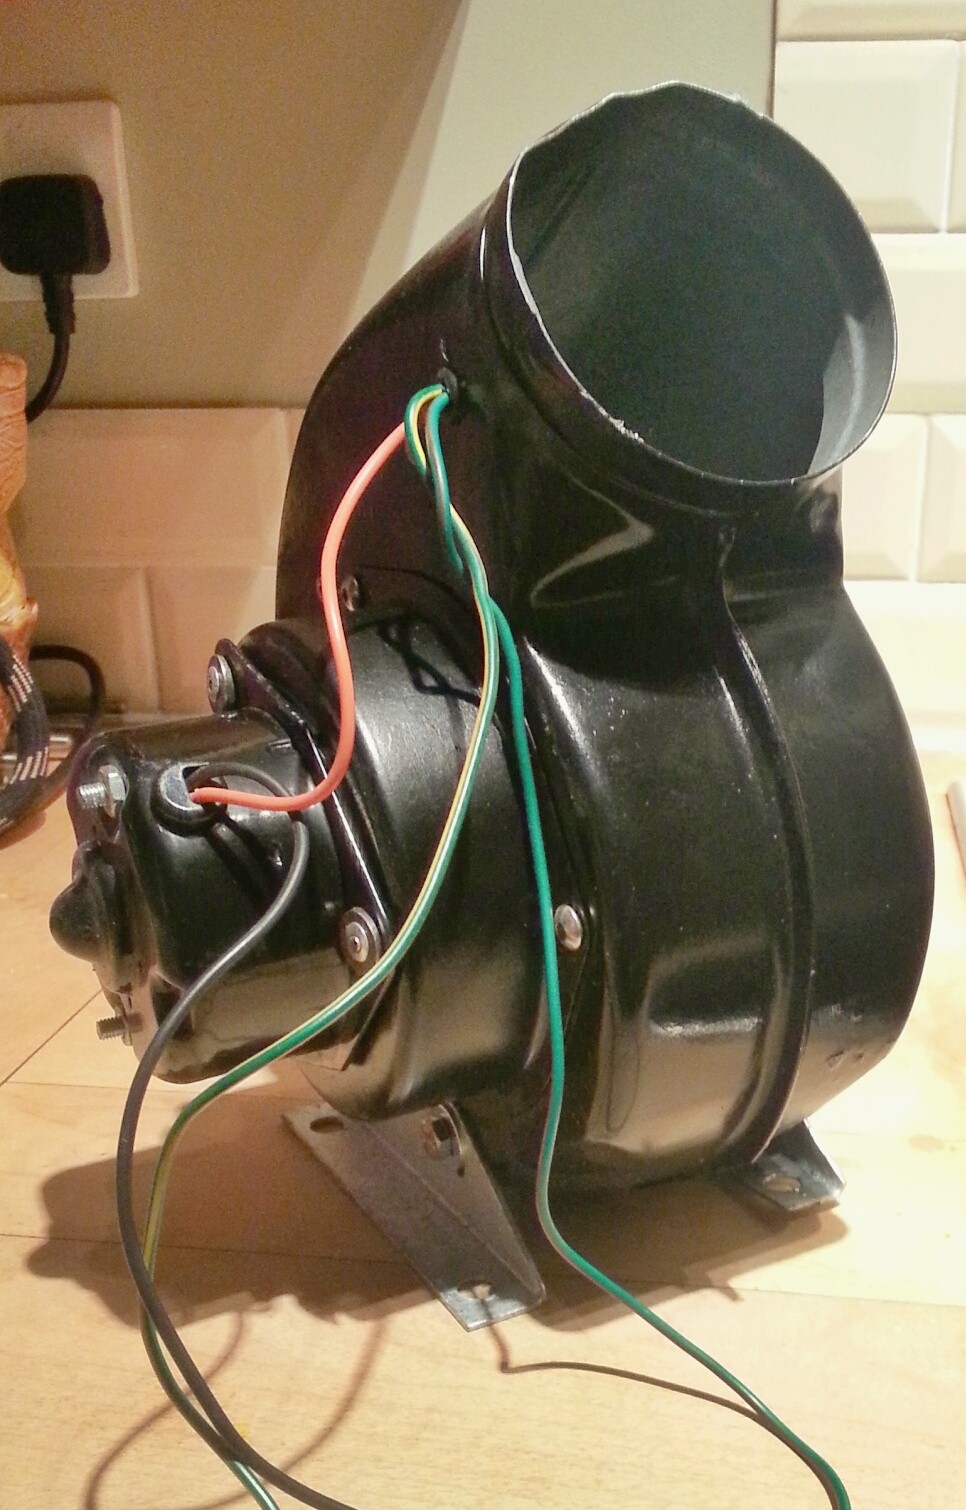
The cases have had a couple of coats of etch primer on the outer case and then a few coats of black gloss as per the the originals. I’ve left the inside of the case bare galv.
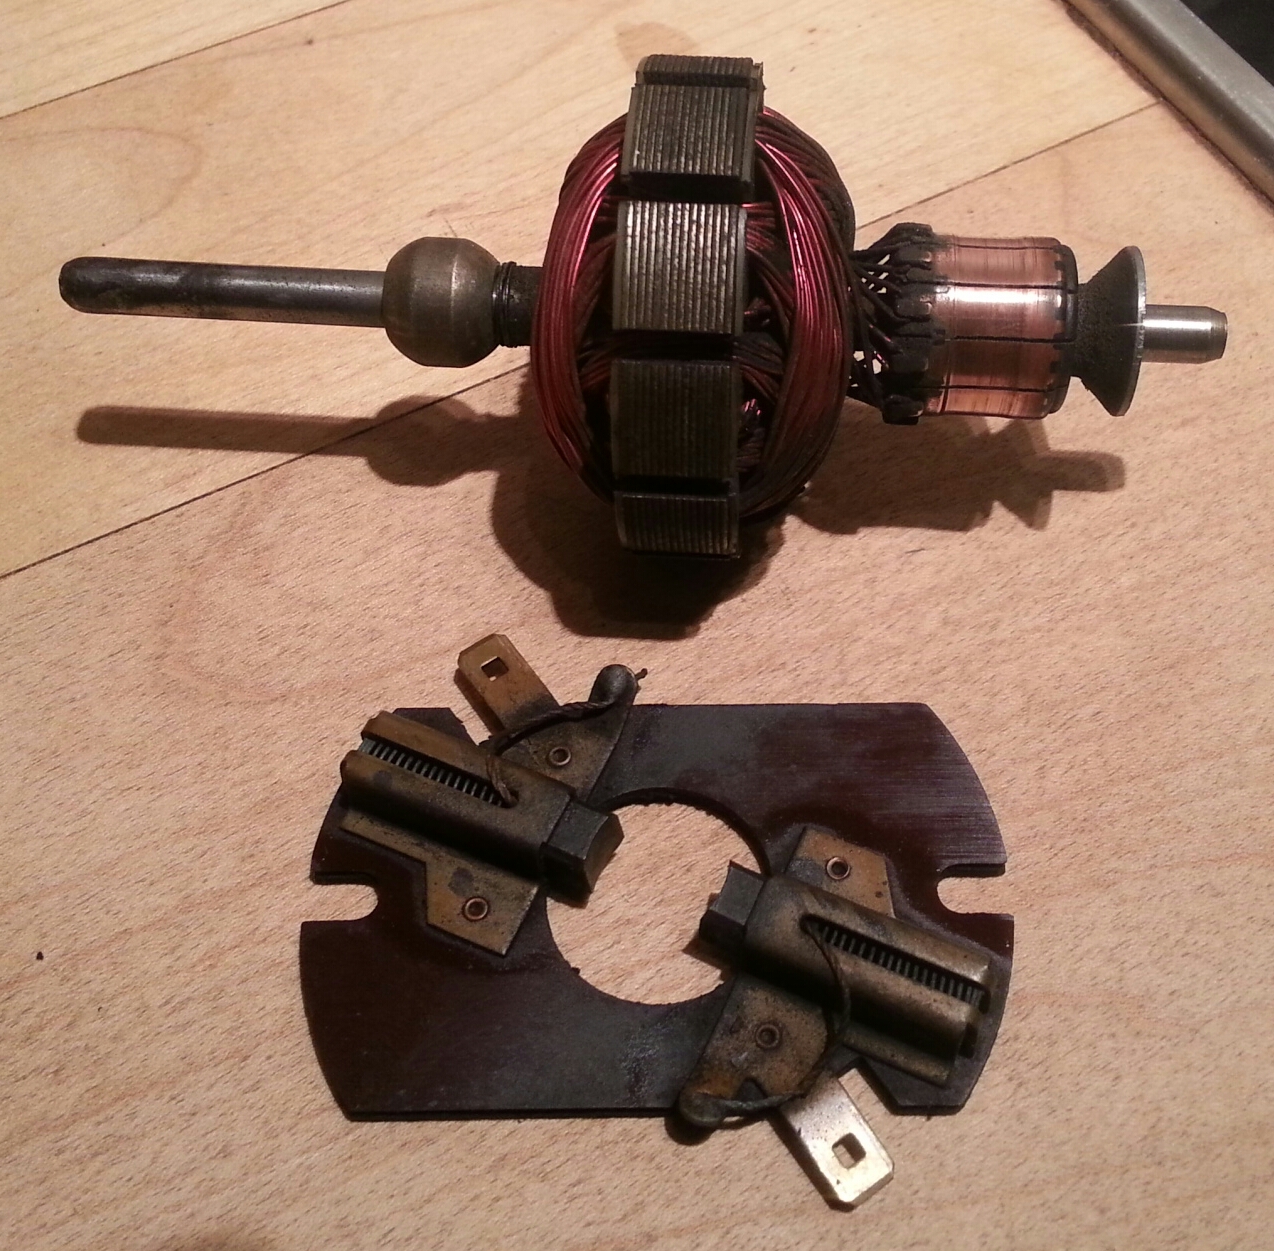
I’ve also got a stack of Smiths heater motors that I’ve stripped down. The motors are very simple to strip down, they are usually pretty rusty so sometimes need a little persuasion to come apart. Just unplug the pos/neg wires from the motor and undo the two little nuts at the back of the case. The back of the motor case can then be removed and you’ll see the brushes. You’ll need a container to keep all the little bits together. I clean up the brushes using brake cleaner as it does not leave an oily residue, WD40 or switch cleaner should not be used on motor brushes for that reason.

Before trying to remove the shaft I’d recommend cleaning the external section of the motor shaft with some fine emery, there is a brass bearing/bush just inside the case and this will come out of it’s housing when you remove the shaft as it will be stuck on the shaft if you don’t clean the shaft first. It’s not the end of the world if the brass bearing comes out but it’s a bit fiddly getting it back in again. One the shaft is out the commutator can be cleaned with very fine wet and dry paper. The pic below shows the brass bush stuck on the shaft – that was the first motor I dissembled and the others I managed to keep the bush in the housing be cleaning the shaft first before I removed it. There are some very fine washers on either side of the shaft, be careful not to loose these and or forget to put them back on when putting it back together.
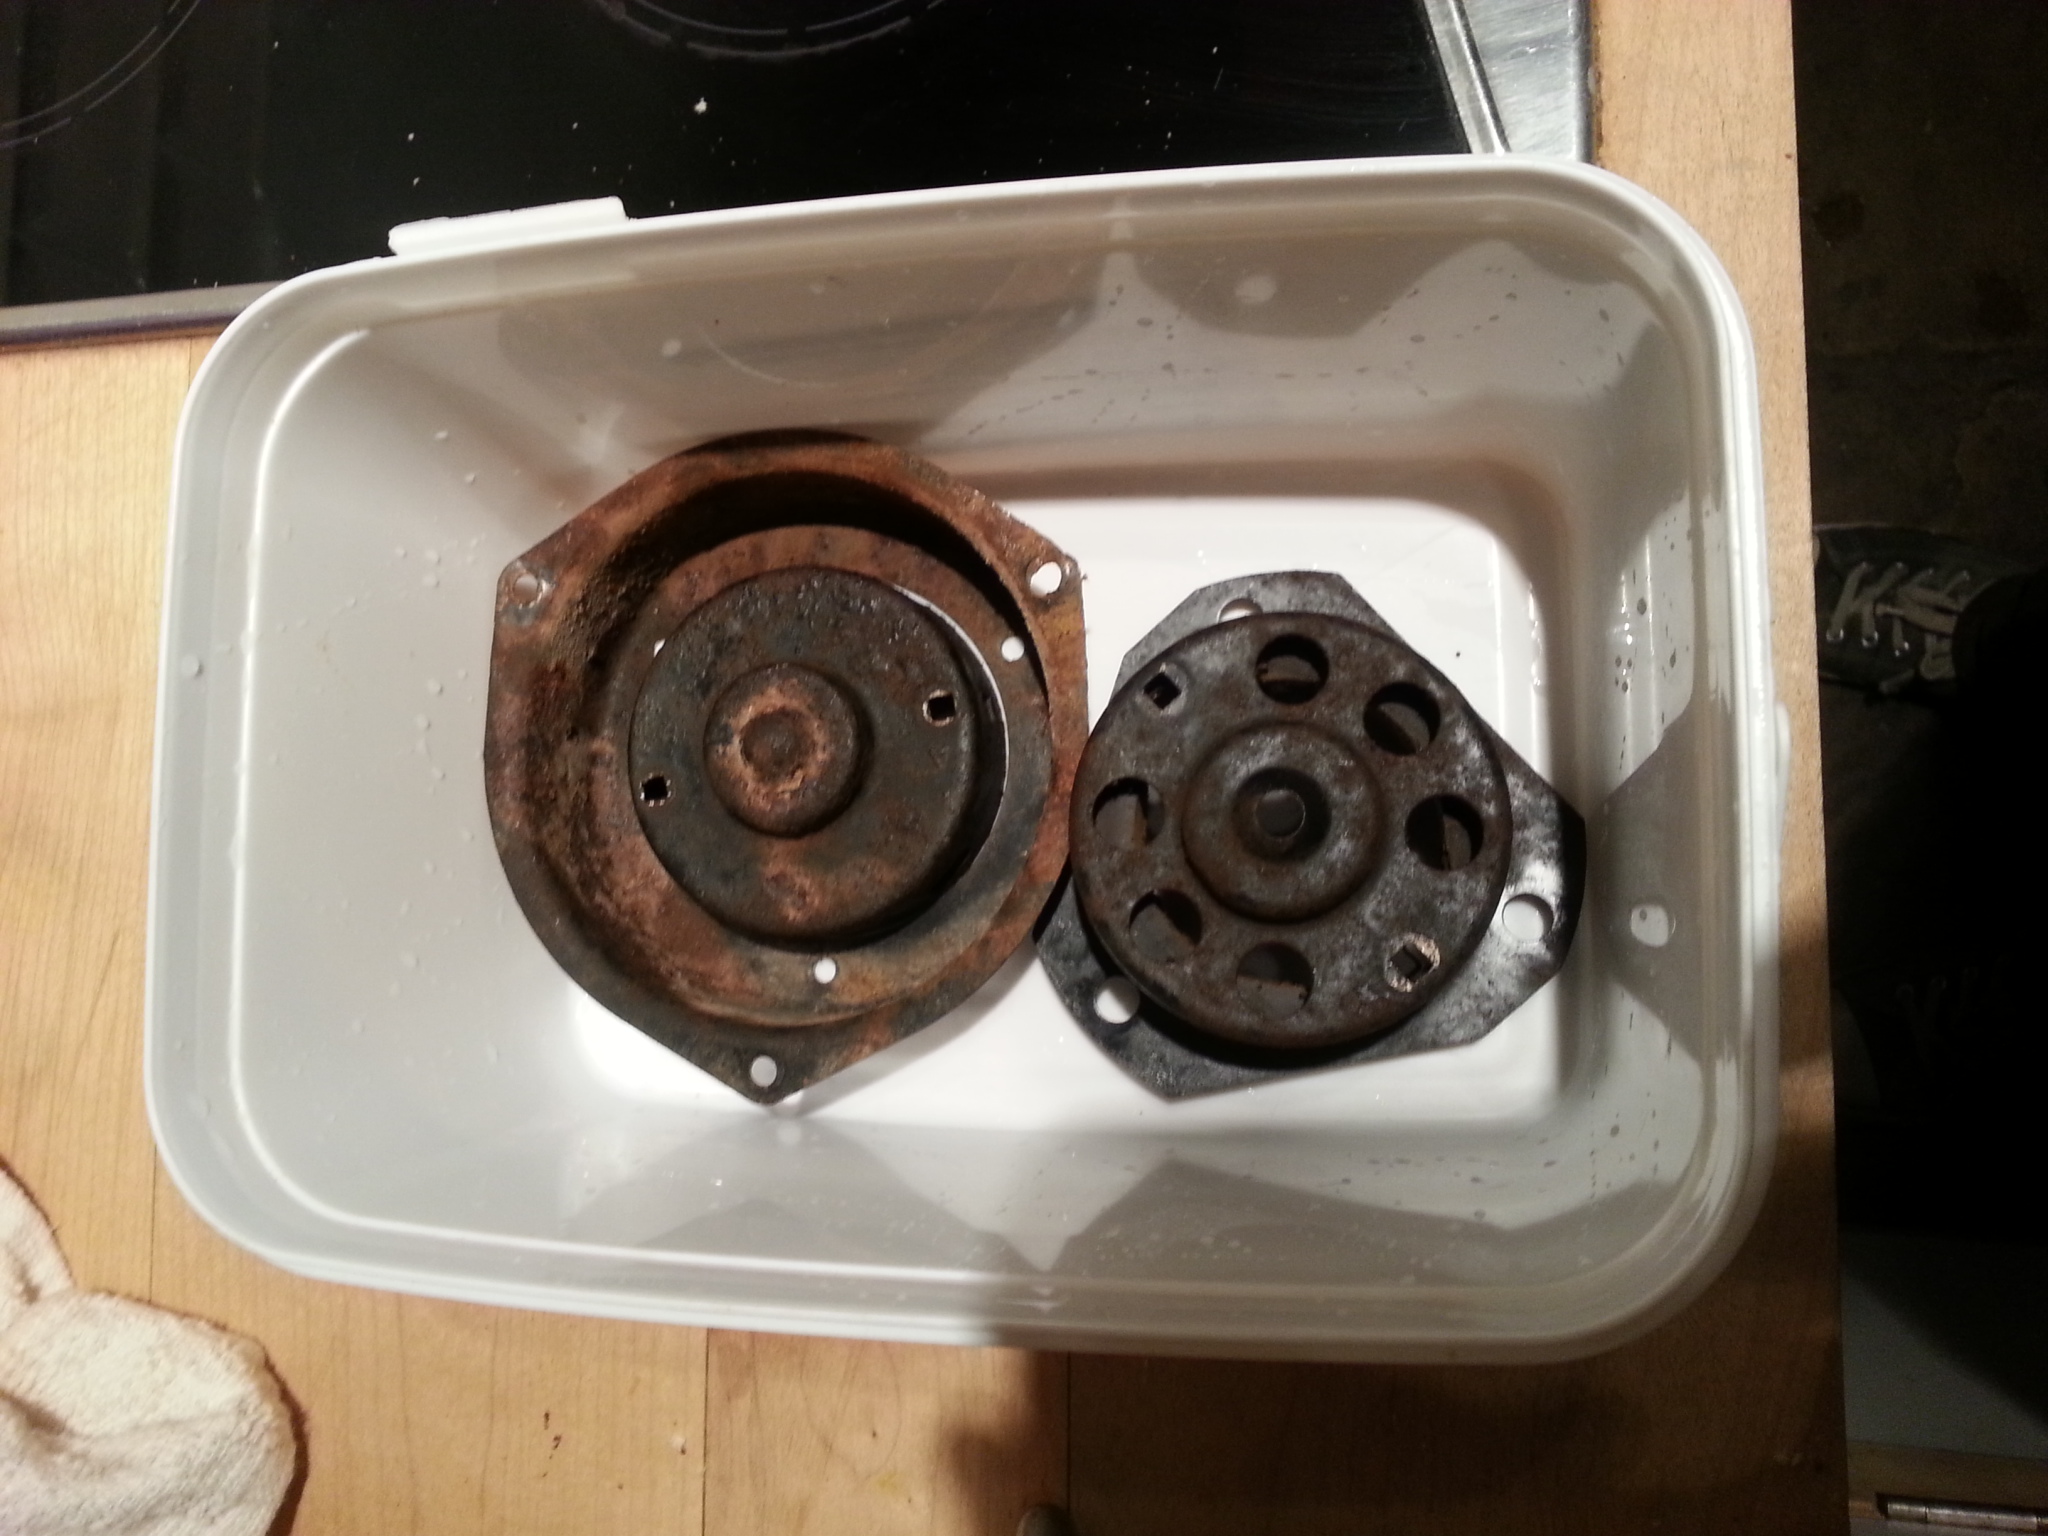
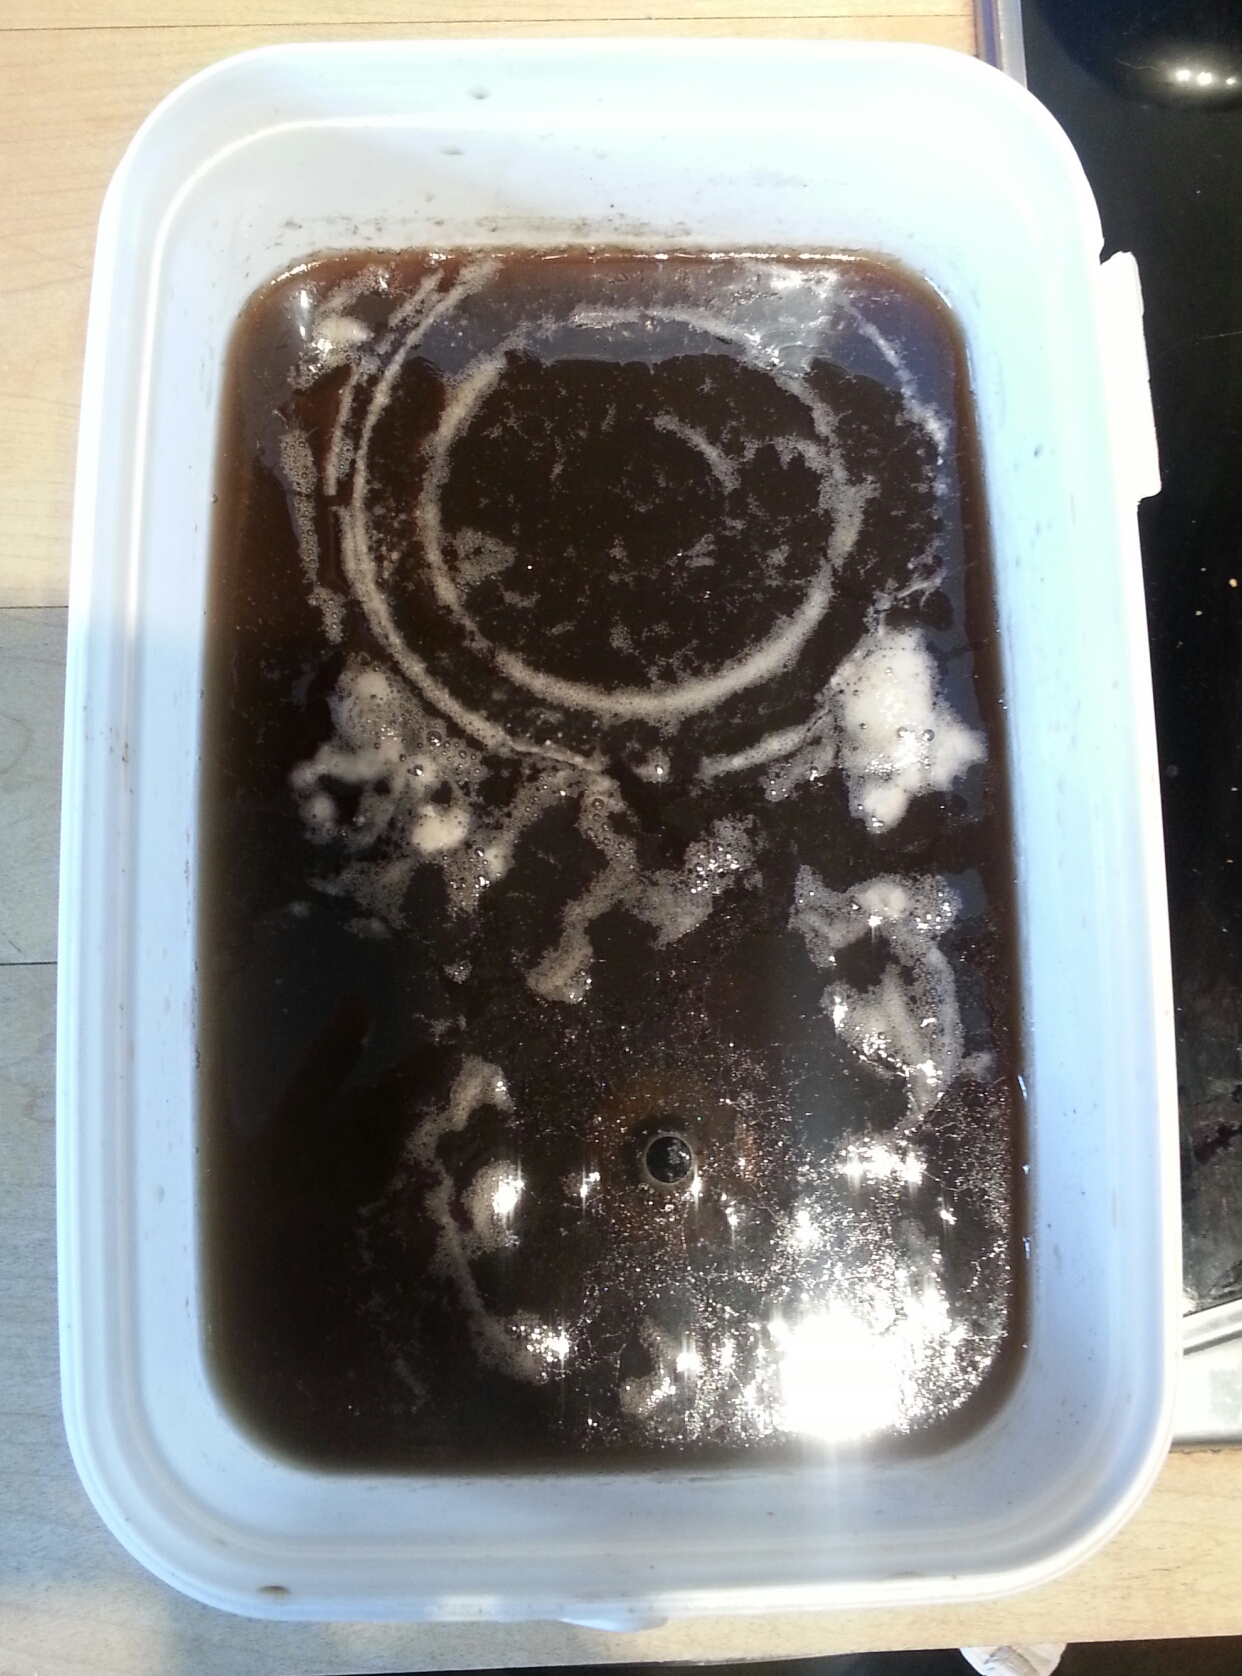
My favourite method of rust removal is soaking in vinegar. It’s a method that requires very little effort and cost, 500ml of vinegar is only 20p at Aldi, so I buy 10 at a time! I submerged the rusty cases and left them for two days, then I scrubbed them under a tap with a washing up scourer, then left them to soak for another day. On the third day, after another scrub the parts are all back to clean metal ready for priming.


I also had a new heater motor kicking about that are made by Clayton Heaters Ltd. It is a Canadian made motor that is a direct replacement for the original Smiths motor. It’s much better made than the originals and so I’ve used this motor with one of the new galv snail cases. The Clayton Heaters part number is M1210 and Clayton Heaters sell them for £67.80 inc vat plus shipping. I got this one from a job lot of parts I bought some time ago from a local farmer, only cost me £30 for the lot including an engine! Here’s the finished one with the Clayton motor – this one’s now been sold but I’ve still got a few more to finish with the cleaned up Smiths motors and new wiring. I’ve also fitted one to my 109.