Refitting Inner Wing Mudshields

Just got a few things left to finish before taking the 109 for it’s first MOT in 3 years. I’ve just fitted the inner wing mudshields in place, the bottom end of these are usually bolted directly to the footwell of the bulkhead however the area where the mudshield meets the footwell tends to be a rot trap as all sorts of soggy things end up stuck down there like soggy leaves and mud etc.

To avoid this happening I’ve used some 10mm nylon spacers to open up enough space for water, leaves mud etc to drop through to the floor instead of getting stuck there.

Military style under seat tool tray


It’s been a while since I’ve updated due to being very busy with work and another new baby. I’ve done some more front panel refurbs and I’ve also made some under seat tool trays that go in the cavity under the centre seat as usually found in ex MOD Land Rovers. I’ve had the front panels and the tool trays hot dipped galvanised to protect from rust.

Here are some pictures one of the front panels which was in a very poor state, much of the bottom section was completely missing after shot blasting. The last image is of the panel fully repaired and galvanised. This panel is a late 2A panel that has the ‘Maltese Cross’ grille – it looks like a Series 3 panel but on closer inspection it has two large round holes at the top where the badge screws in and secures the top of the grille. It also has the two lower grille brackets hold the bottom of the grille.

Series Land Rover Front Panel

Series Land Rover Front Panel

Series Land Rover Galvanised Front Panel

Here are the tool trays that I have also made and had galvanised as used by the military and are helpful for storing tools etc. The bottom of these trays are open to the elements and tend to rust out quite quickly unless well protected, galvanising these trays will make them last a very long time.

Series Land Rover Under Seat Tool TraySeries Land Rover Under Seat Tool TraySeries Land Rover Under Seat Tool Tray

The trays are for sale at £35 + £6 postage each (within UK), if you would like to purchase one then send me your details through my contact section and I’ll send you a Paypal invoice.

Also if you have a front panel that you would like to repair rather than scrap and buy a new one then I can repair it for you, price dependent on how much work is required. Again, contact me through the site and I’ll get back to you.

New bulkhead vent seals


Today I’ve replaced the vent seals and also freed up the mechanism that opens and shuts the flaps, they were both partially siezed and not opening properly. The below pic shows the flap as far as it would open before I had a look at the mechanism(!):

Bulkhead vent flap

I managed to force it open a little wider so I get to the two small bolts that secure the flap to the opening mechanism and removed the flap. Below with the old seal:

Vent flap seal

I removed the opening mechanism by undoing the two screws that hold the lever to the dash and pulled out the mechanism which was seized solid. I managed to loosen it up with some WD40. To work properly all three pivots should be moving easily.

Vent opening mechanism

I removed the old seal and cleaned up the vent surround for the new seal. I have used seals made by Allmakes (MUC4299) which are far superior to other pattern seals. I’ve also got a set of Allmakes one piece door seals to go on at some point. I used a bead of clear silicone to secure the seal in place and closed the flap and left it to cure.

As you can see in the pic below, the flaps are now opening and shutting fully with ease. The seals are a good fit and water tight. When the silicone has fully cured I’ll remove the flaps again to clean up and paint them.

 opening bulkhead vent flap

Door bottom repairs


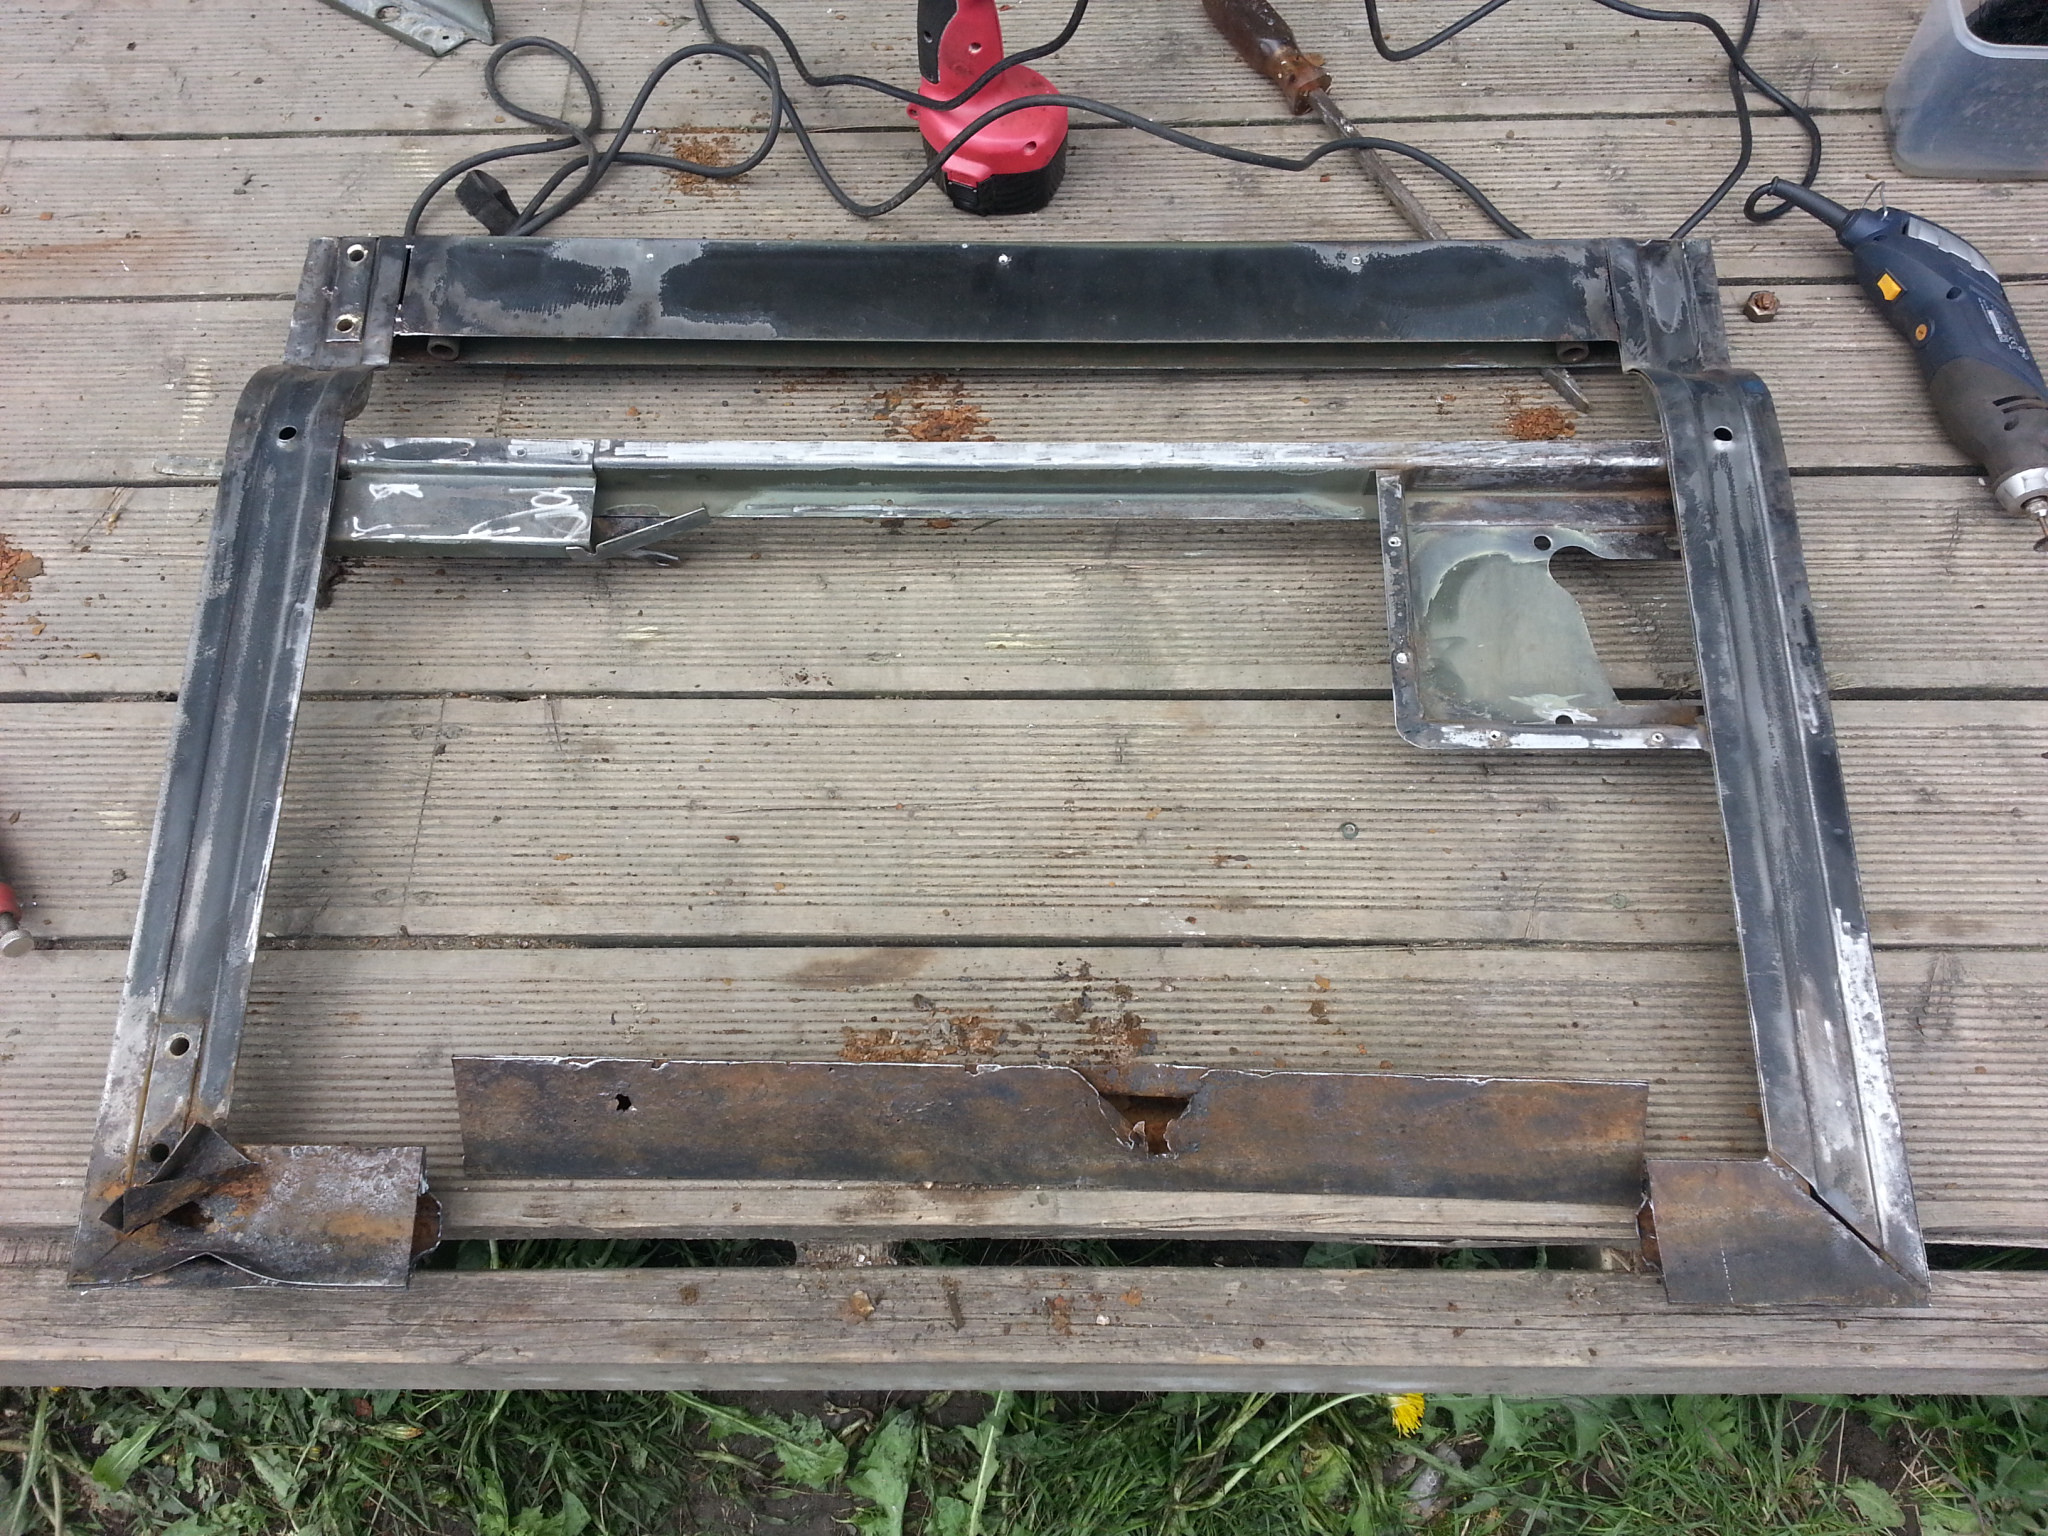
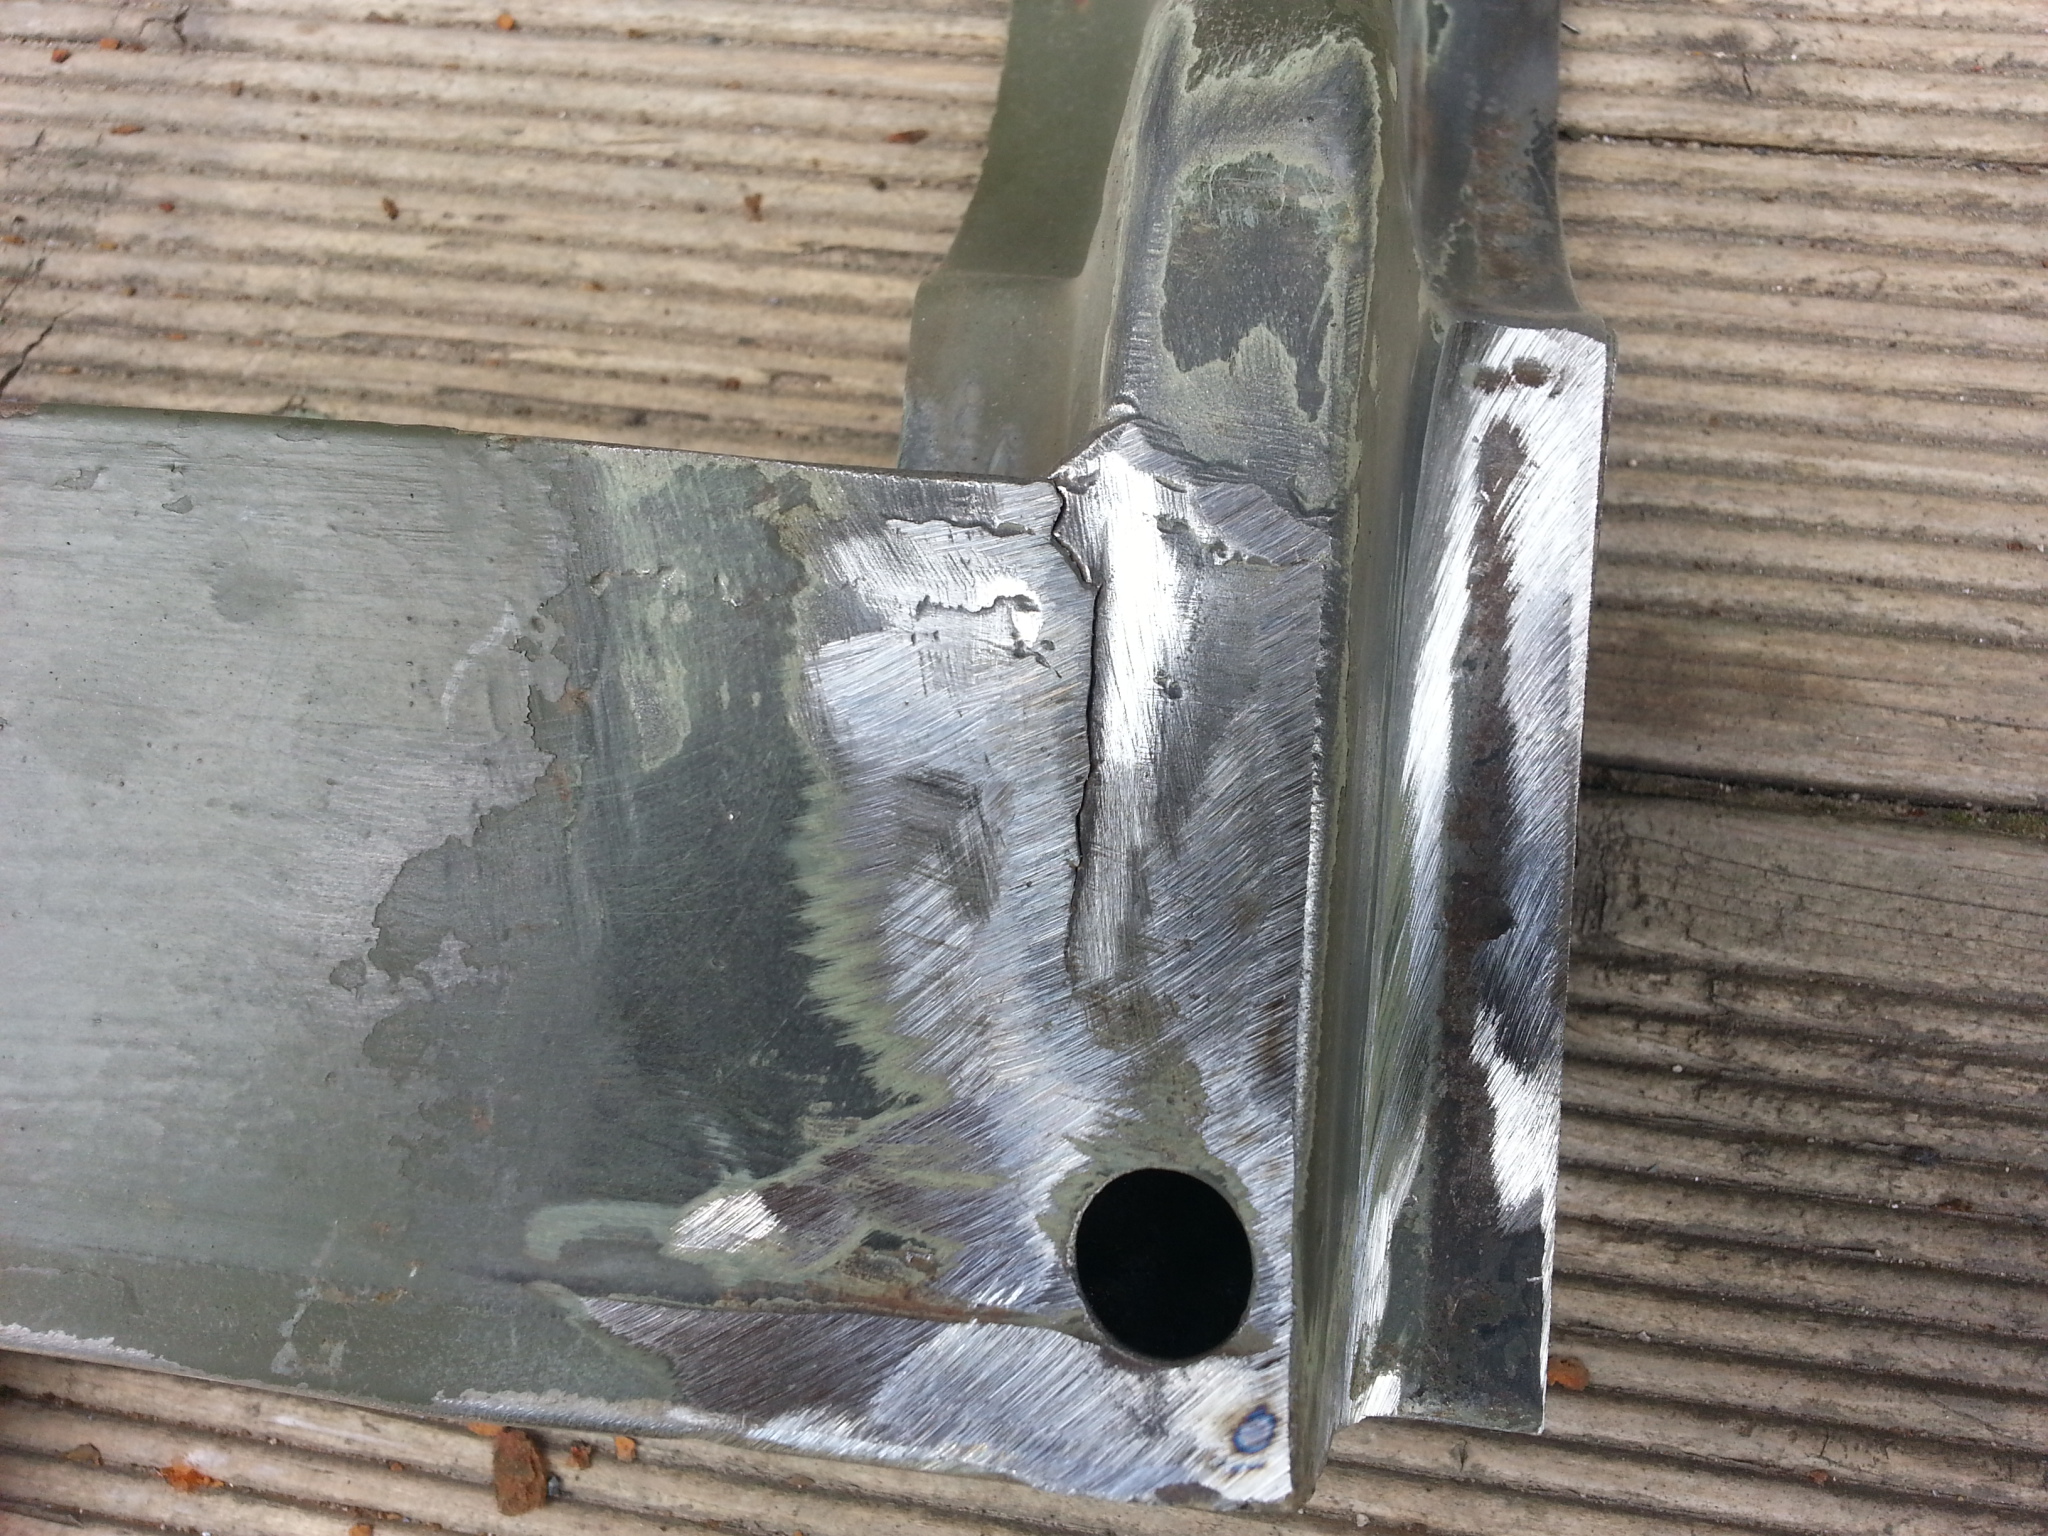
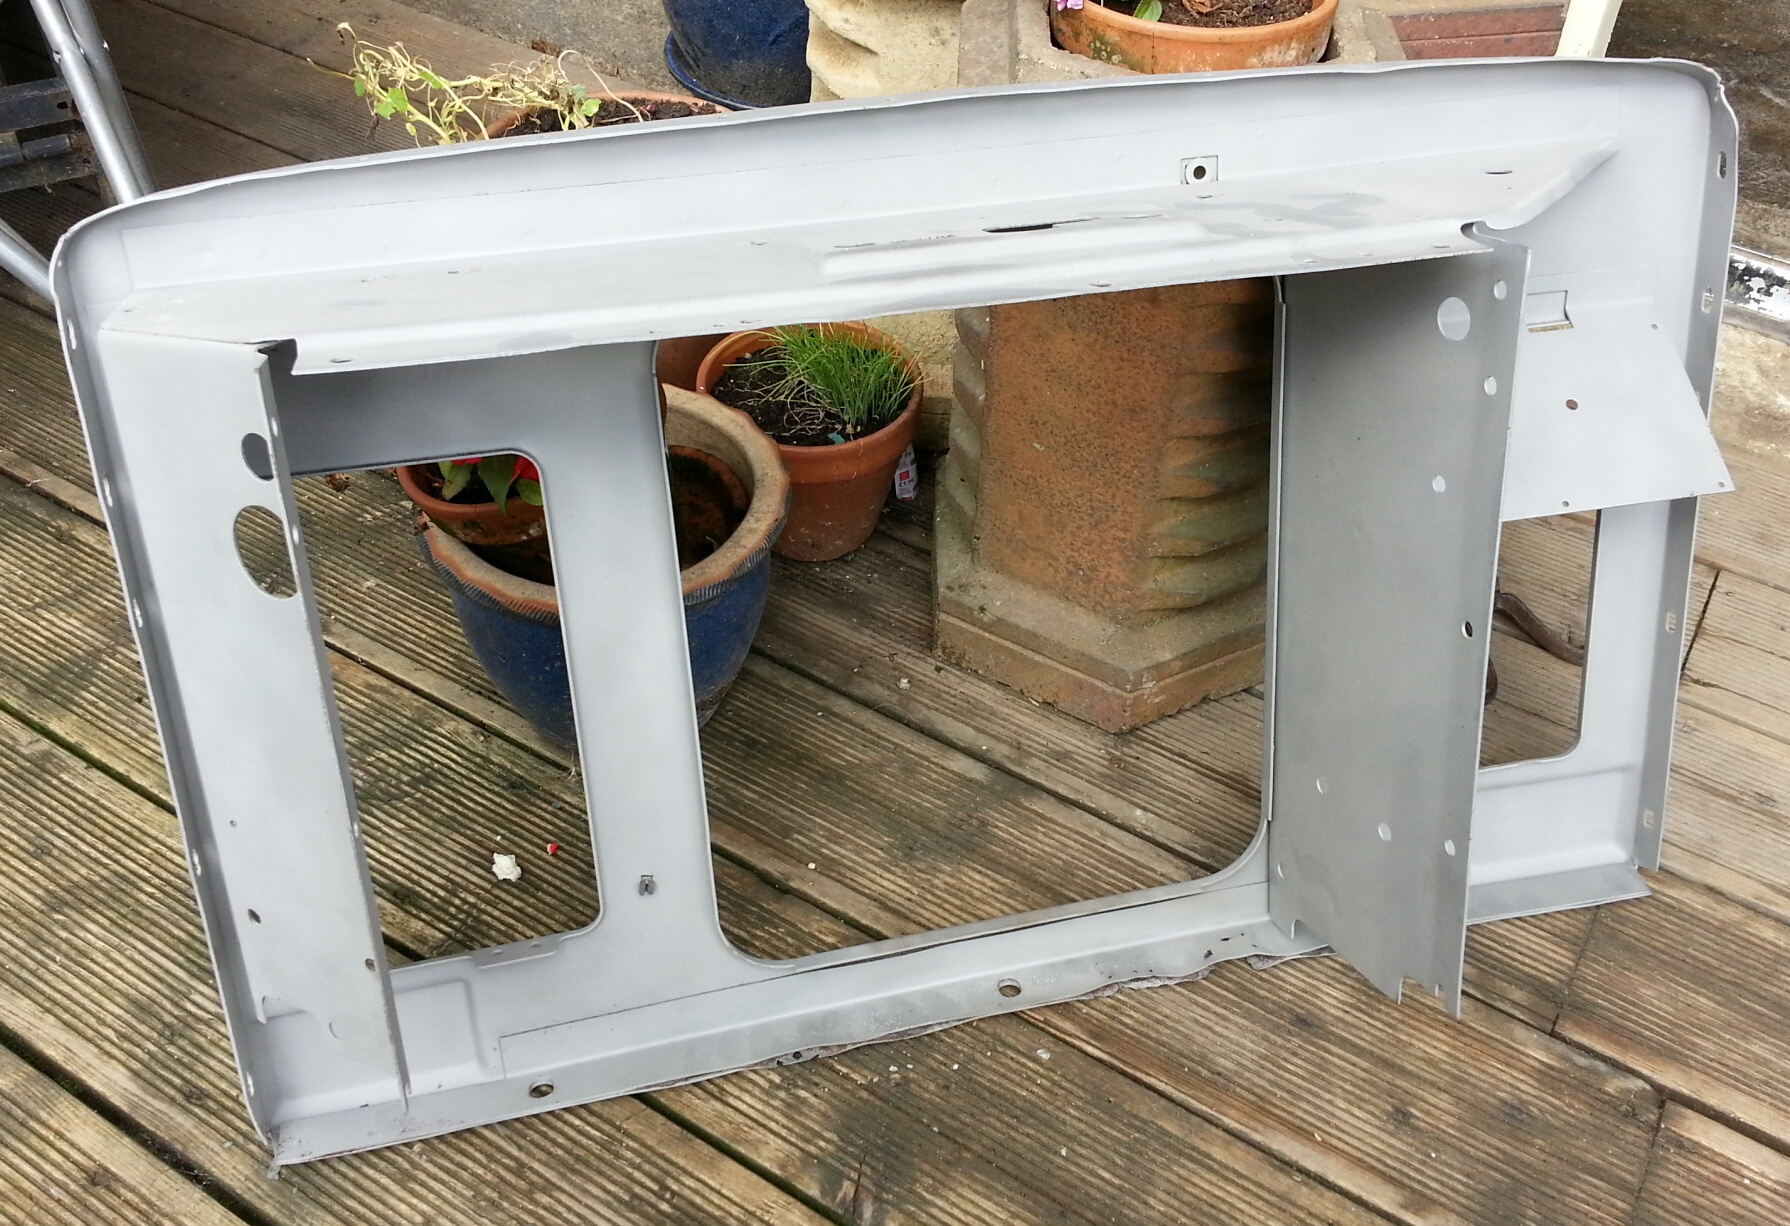
The skins had split at the bottom of my doors where the aluminium and corroded against the steel door frame. The bottom of the frames appeared to be quite corroded too so I decided to remove the skins, repair the door frames and replace the skins with some better ones that I have on some spare doors with rotten frames.

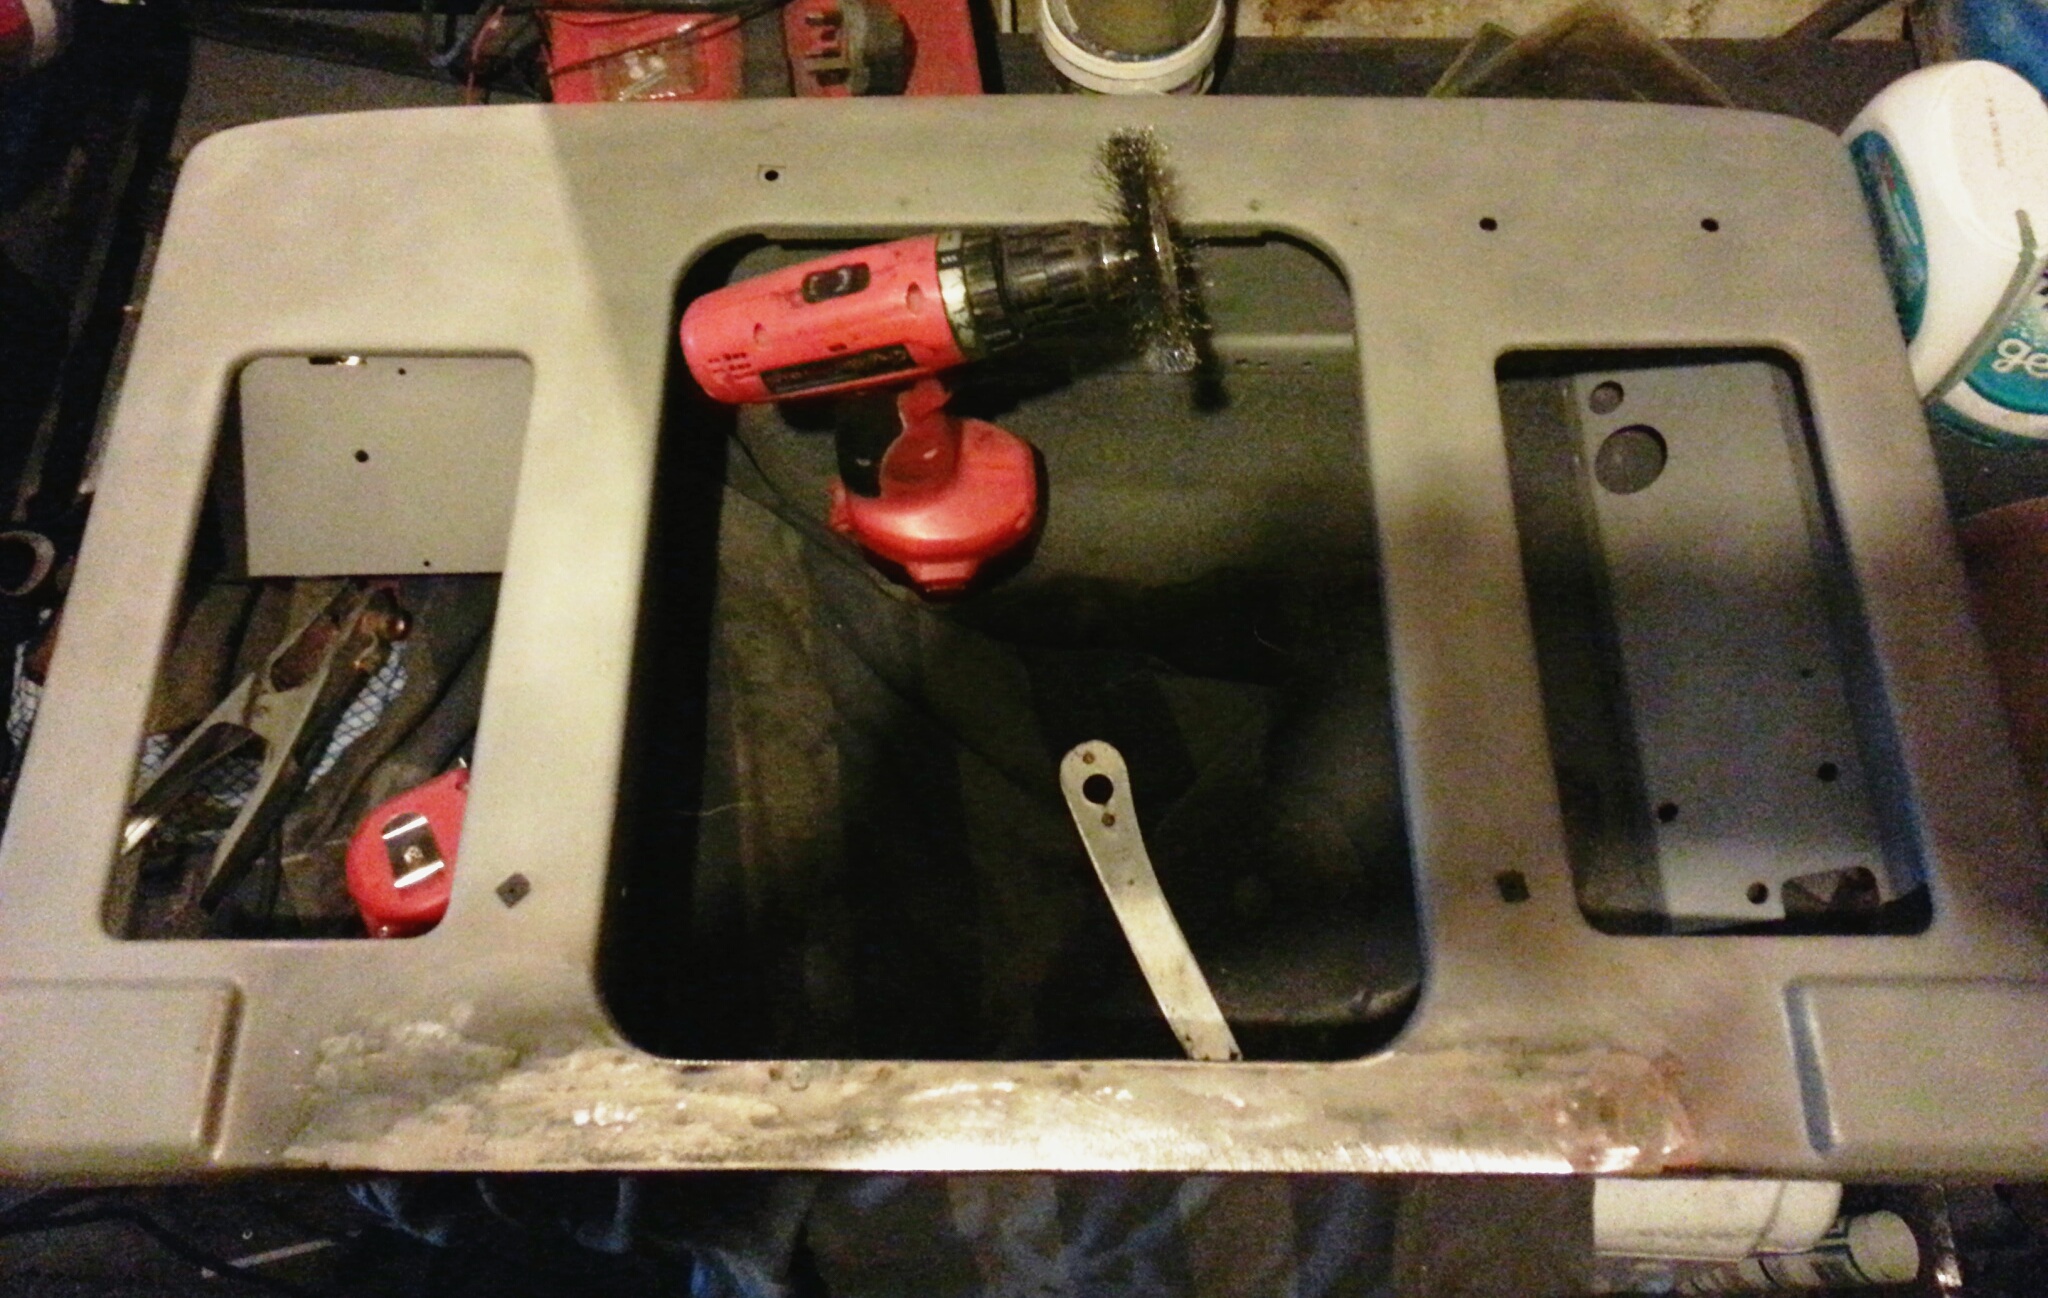
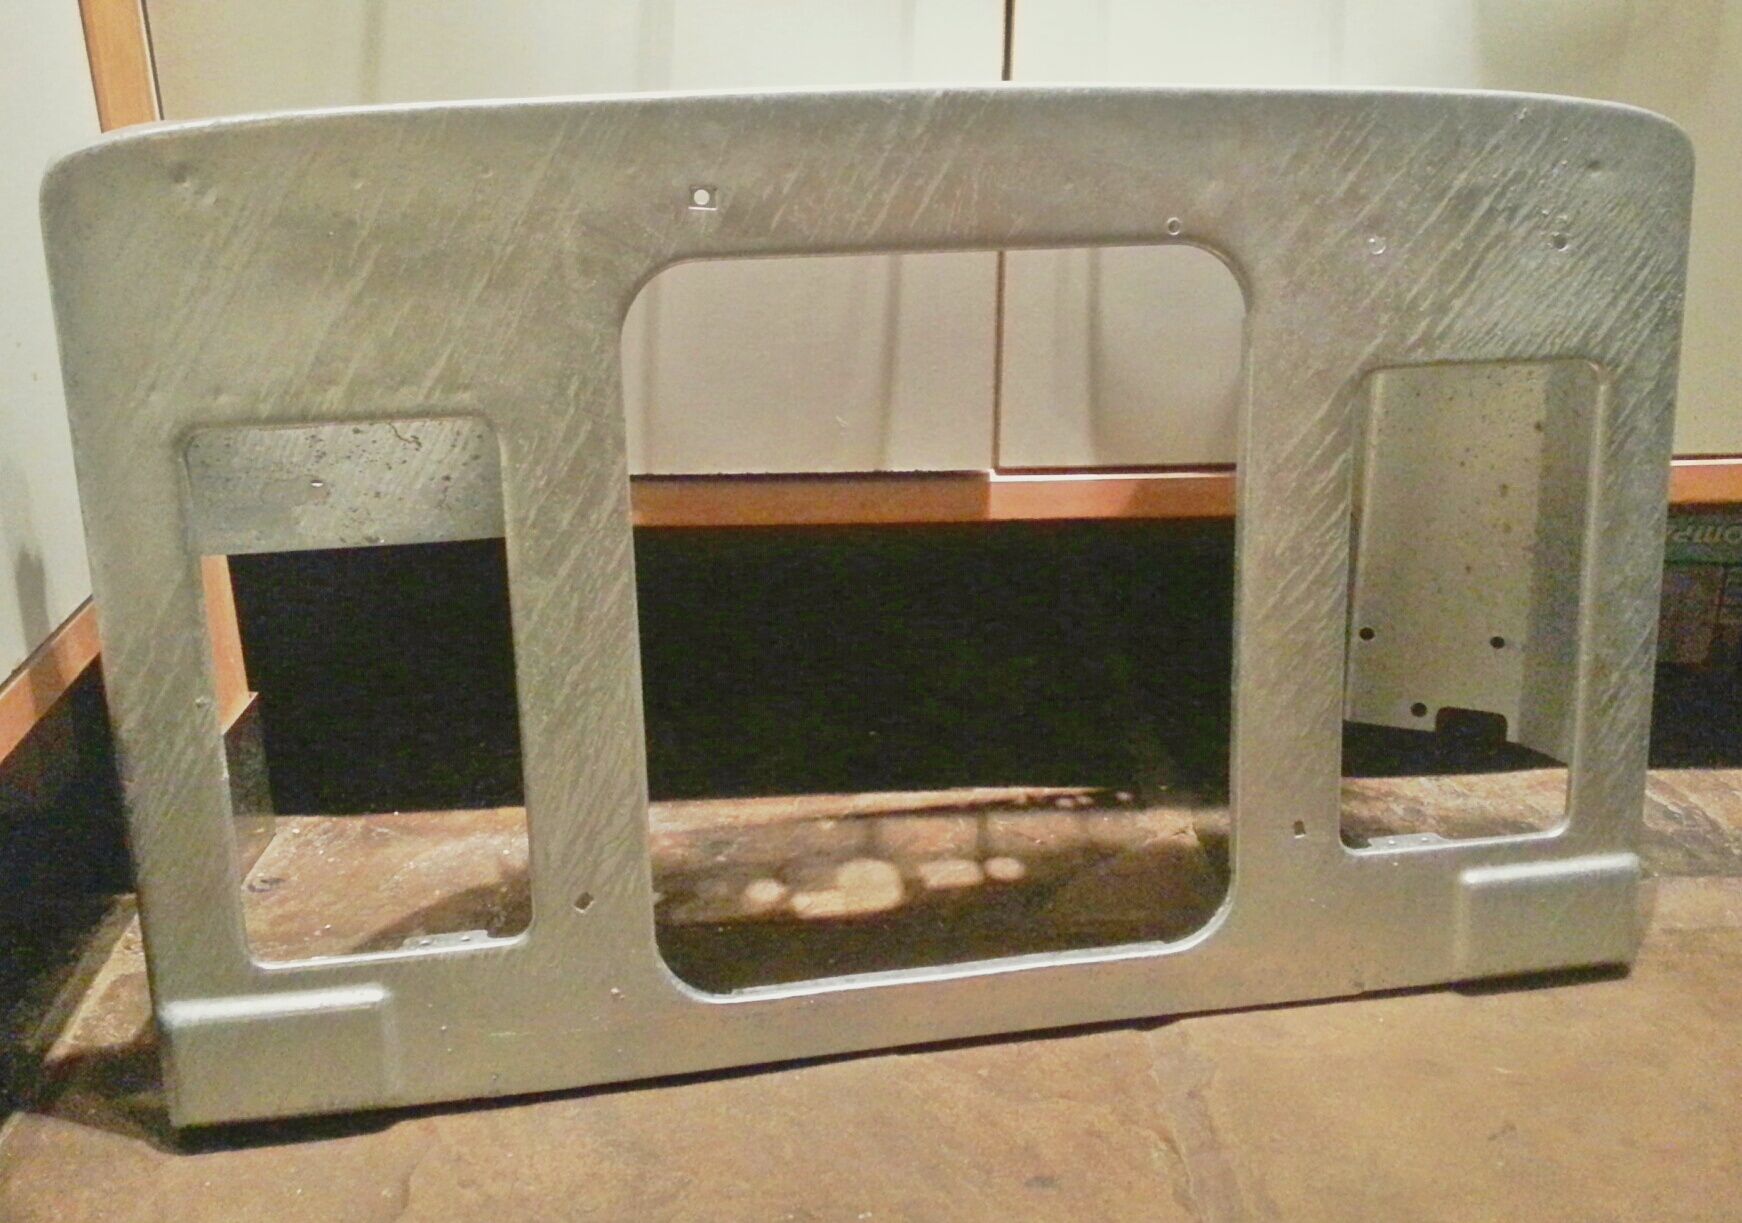
Firstly I prised off the old skin using a screwdriver to lift up the lip of the skin. The rot was worse than expected on the bottom rail so I replaced it with a repair section bought off ebay. The rest of the frame was ok, needing only a couple of minor welding repairs. I cleaned up the rest of the frame with a wire brush in an angle grinder and gave it a coat of red oxide primer.

Door bottom frame

Door Bottom frame repairs Door Bottom frame repairsDoor bottom in primer

repaired door bottom repaired door bottom

New door skin

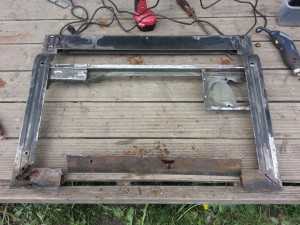
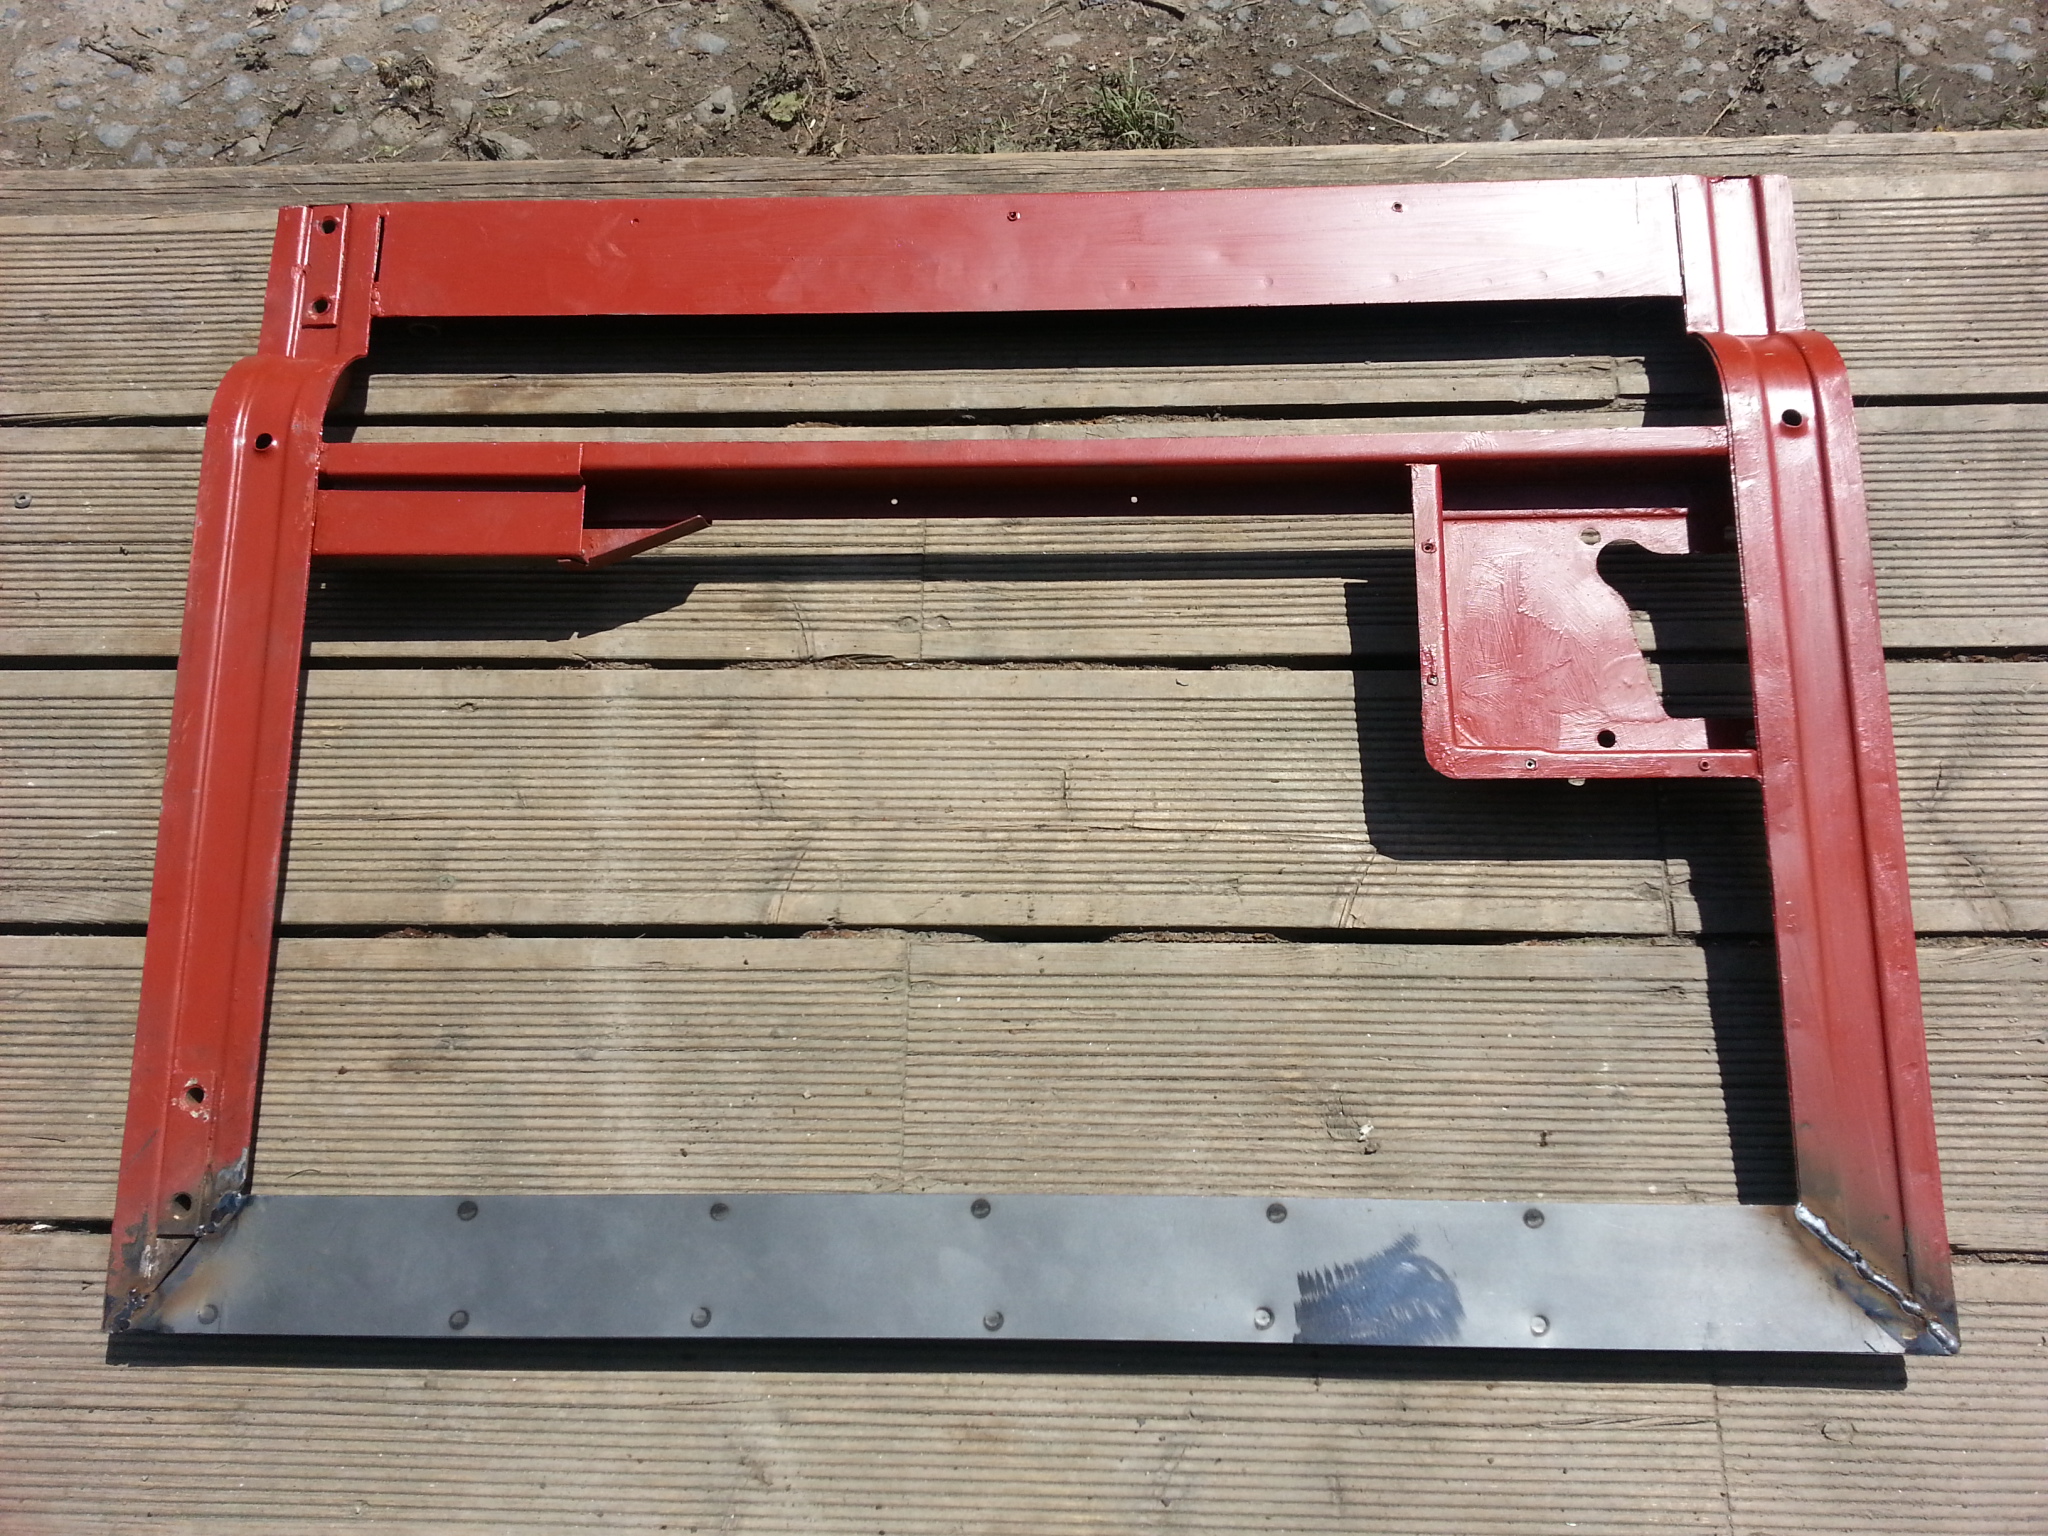
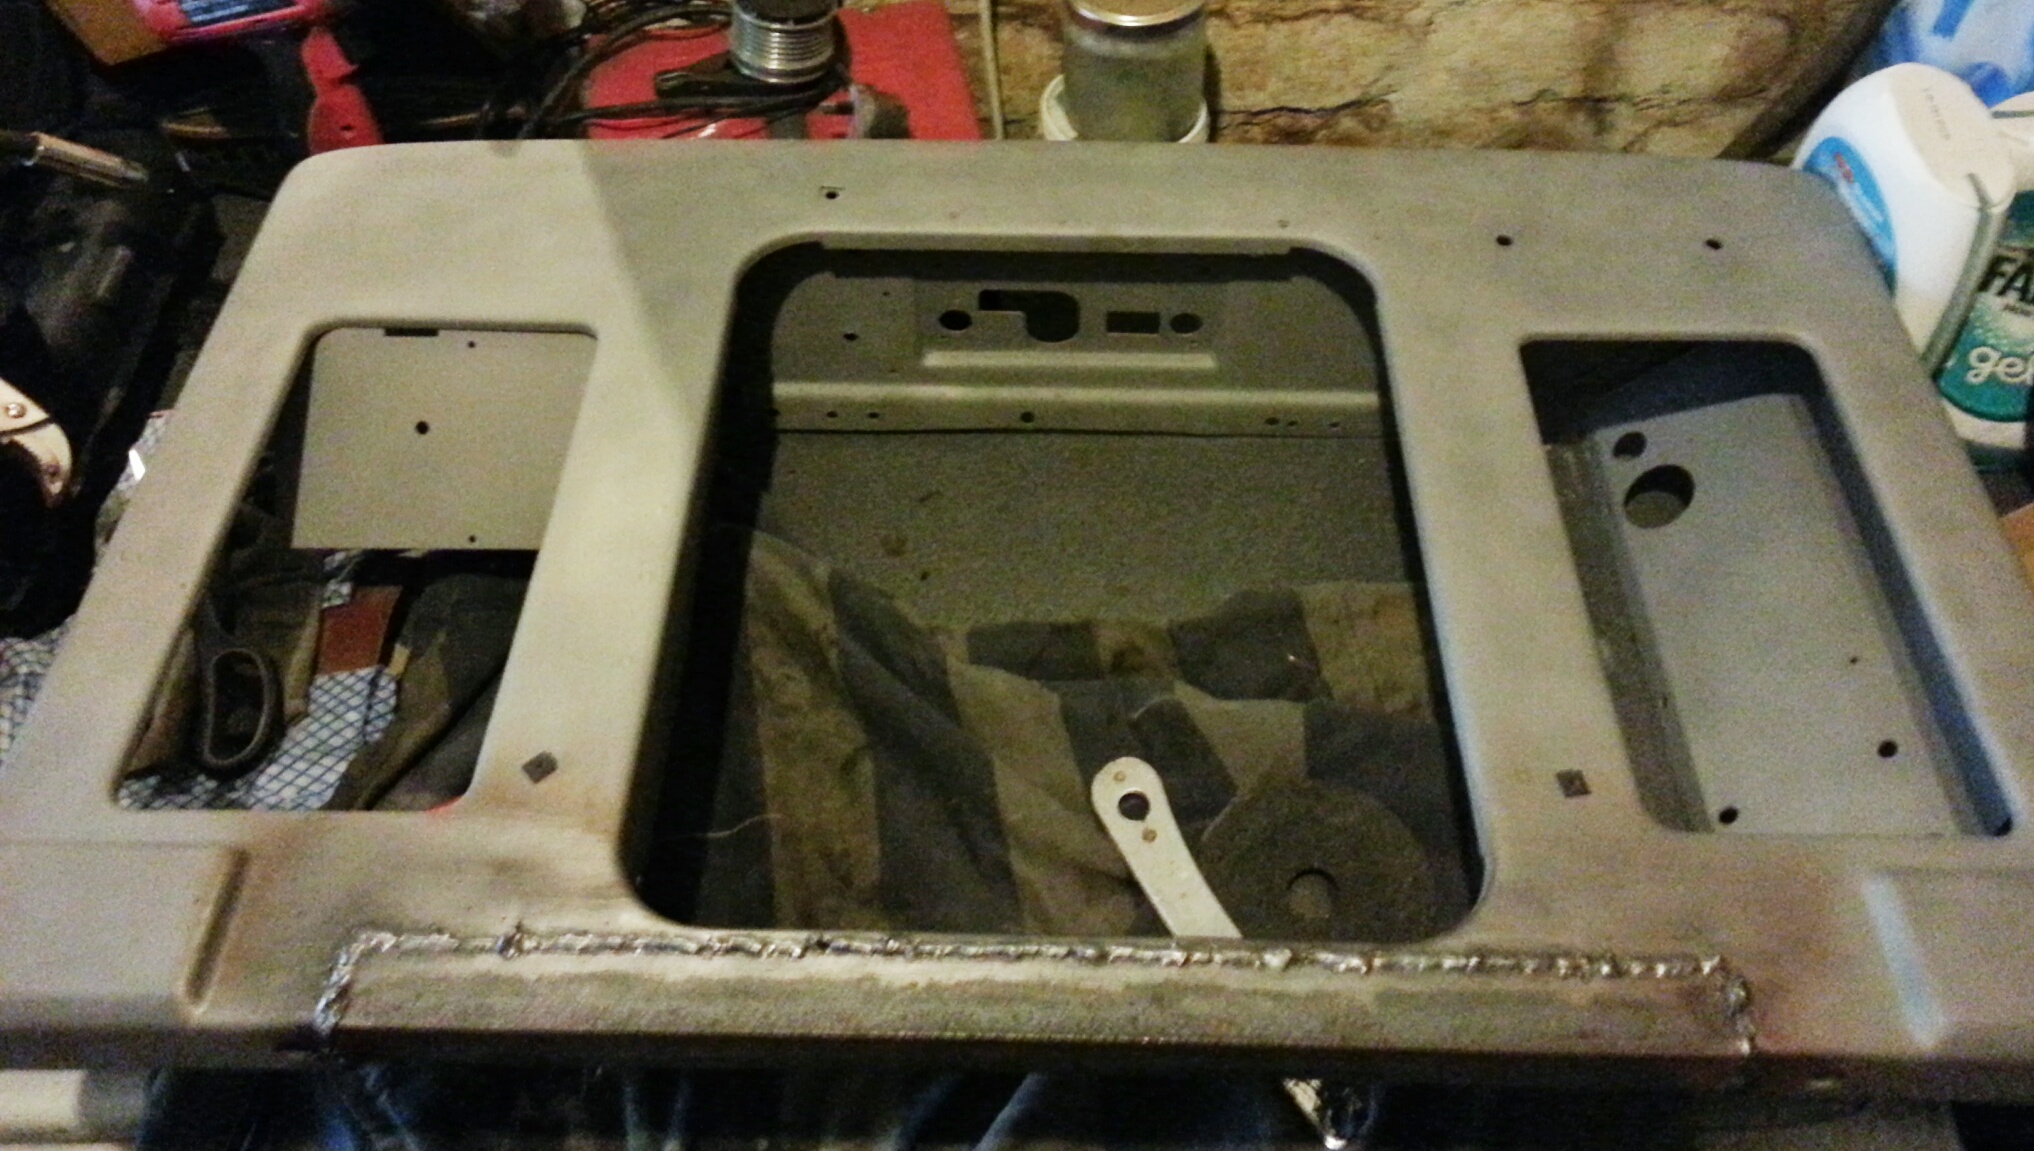
The other door bottom had similar corrosion to the bottom rail but only the flat section was corroded, the U channel was ok, so I drilled out the spot welds and replaced that section with galvanised steel and spot welded it on.

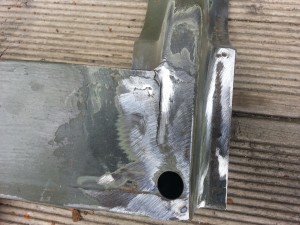
*If you weld with galvanised steel, unless you are using professional breathing apparatus, always grind off the galv in the area you are welding as welding zinc creates a poisonous gas that is very dangerous to your health if you breath it in*

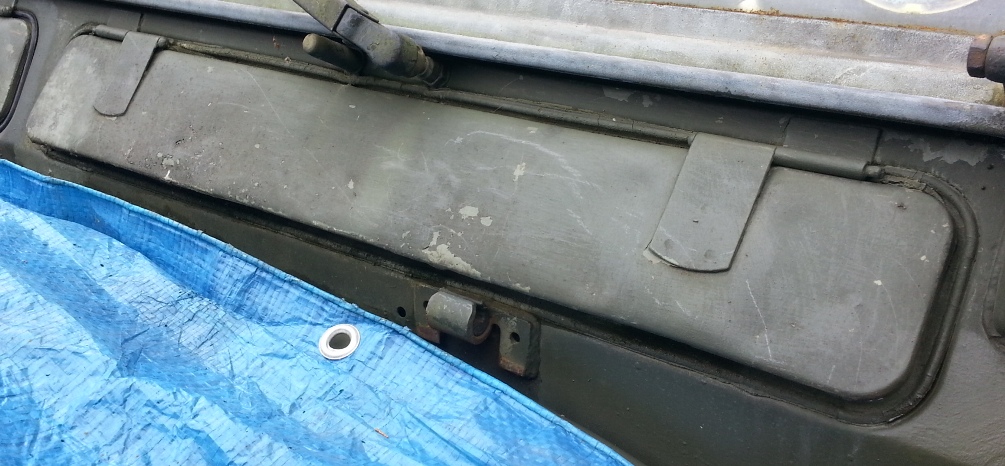
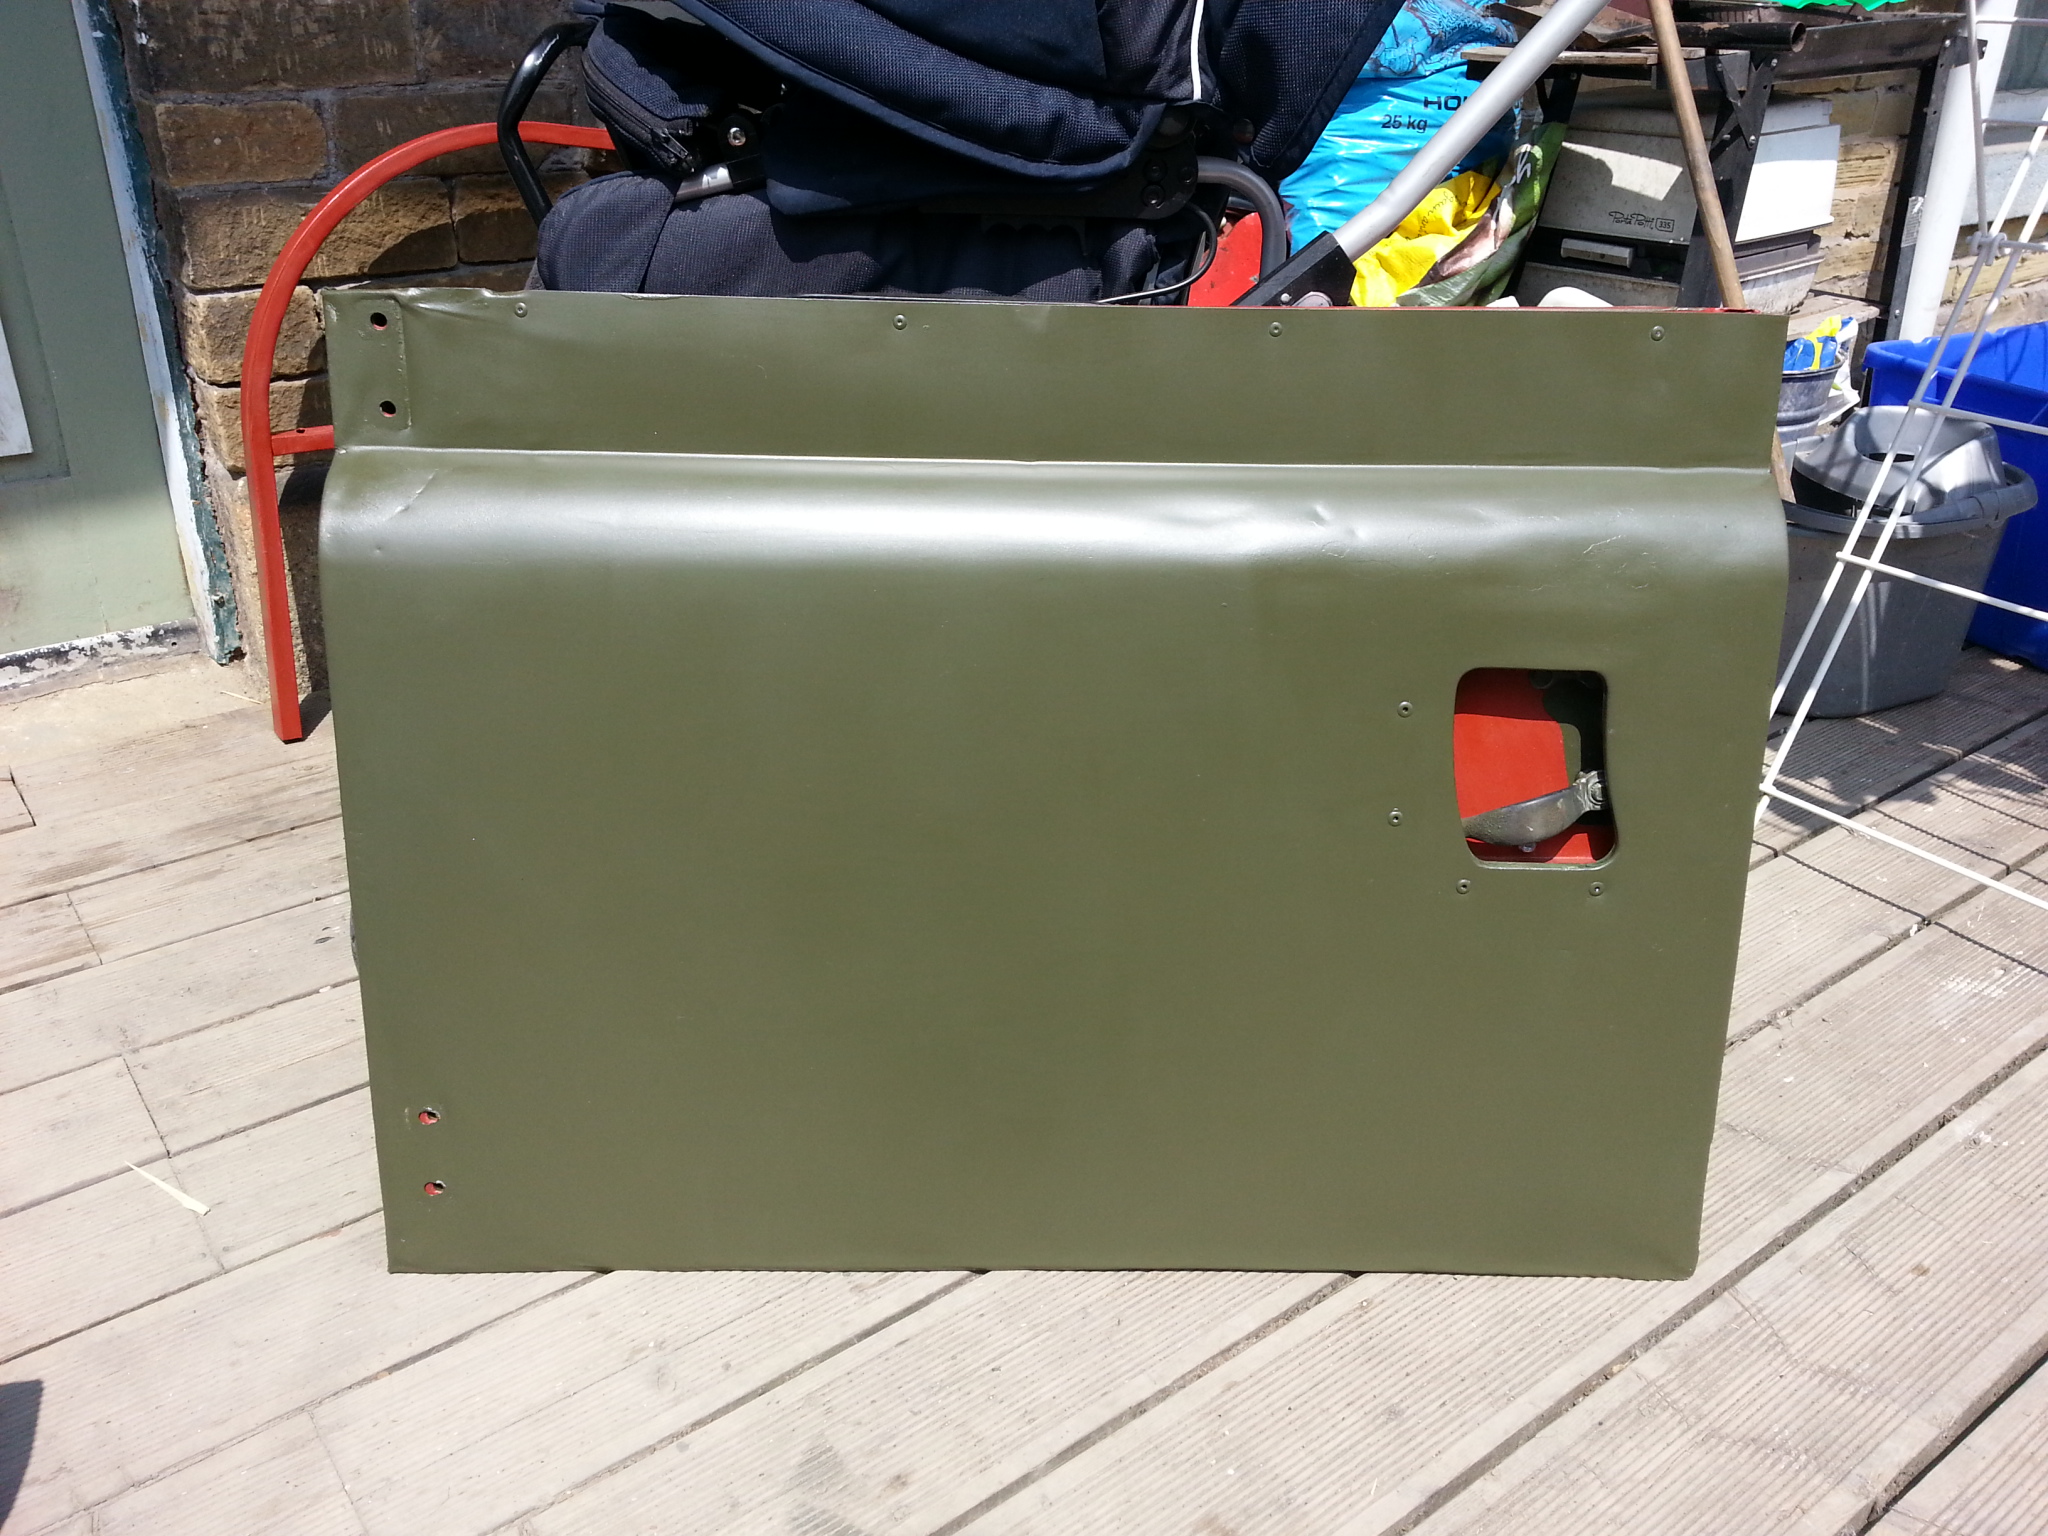
Below is the finished door, needs another coat of paint.

Front radiator panel repairs


I’ve just had a large amount of parts shot blasted including three front panels that I am going to get galvanised. All three panels have the usual rot on the bottom section of the panel and I’m repairing this by cutting out the damaged area and welding in some 30mm x 3mm angle iron that I’ve got kicking about. All three panels have come back in great shape after blasting, I didn’t take any pictures of the panels prior to blasting but believe me they were rough!! Apart from the bottom sections that obviously need repair, the rest of the panel is as good as new. The first two panels just required a section cutting out and replacing with a length of angle, the third has a bit more rot then the other two and will require more fabrication.

20130907_093107_1

20130907_093120_1

Shot Blasted Front panel

Welding front panel

Welding front panel

Repaired front panel

And the finished galvanised article:

Galvanised front panel